Point and Shoot Depth of Field

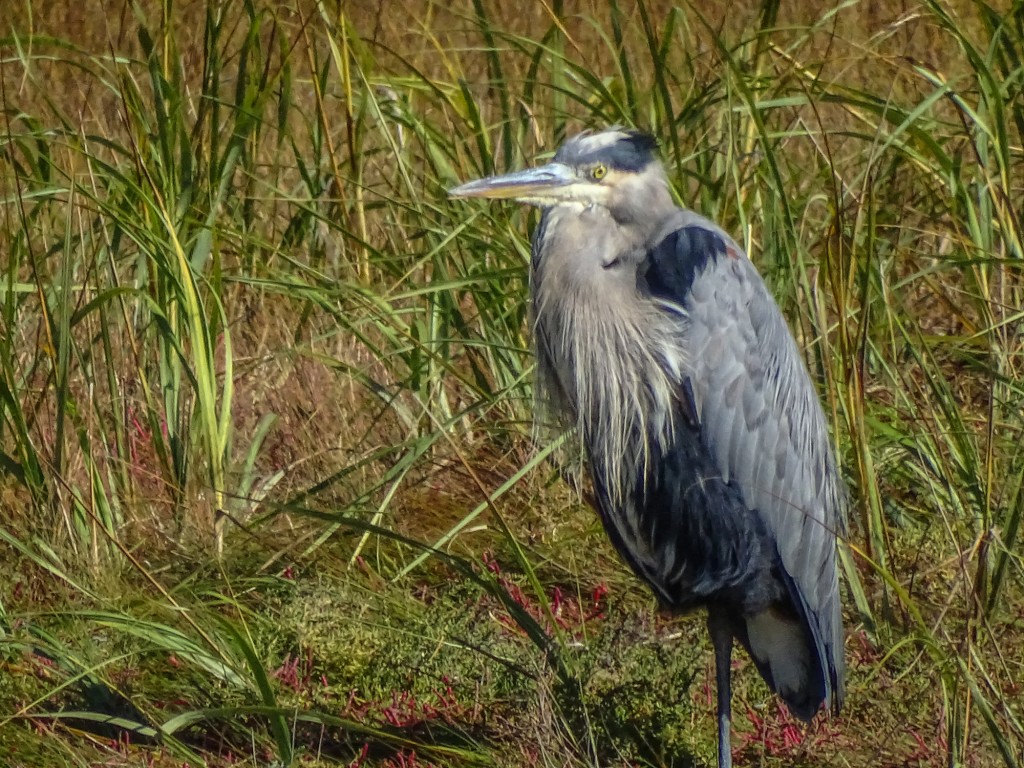
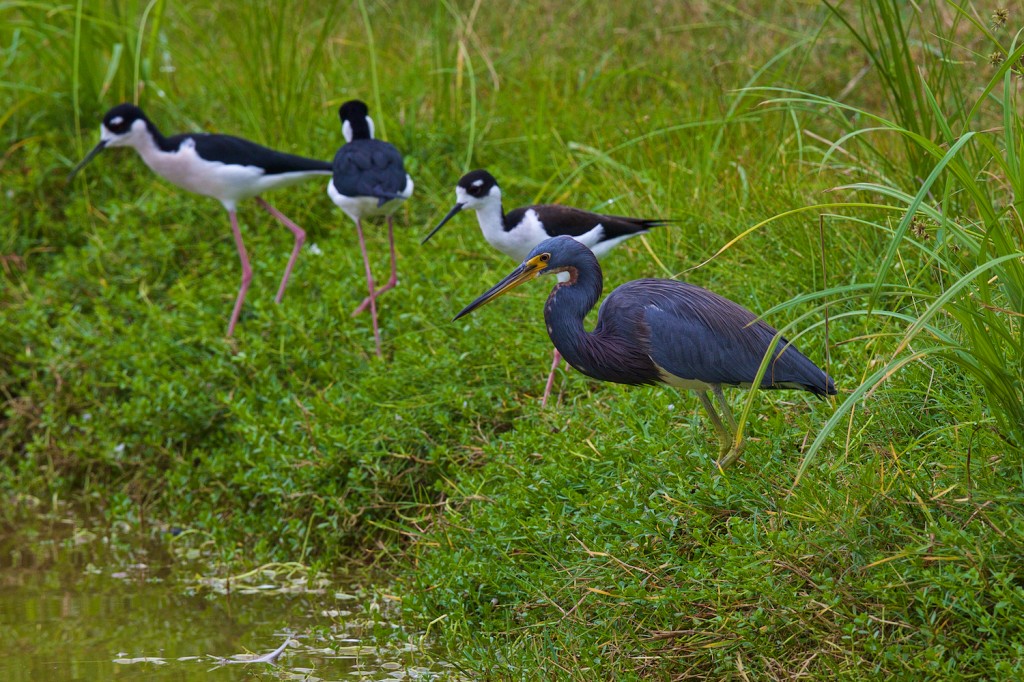
Tricolored Heron and Black-necked Stilts. Edinburg Scenic Wetlands World Birding Center, Edinburg TX

My DSLR, long lens, tripod totting, friend Paul and I spent several days photographing side by side in the Rio Grande Valley of south Texas. He shoots, much of the time, with his massive 400mm, f2.8 Canon Image Stabilized lens mounted on his 5D full frame DSLR and a heavy-duty carbon fiber tripod. It is a brilliant lens and a very capable camera, and he gets stunning results. However he found a few things to envy in my long zoom Point and Shoot rig (I was shooting with the Sony HX400V, 50x, 20mp camera.)

Of course I was shooting my first images while he was still setting up his tripod, and, of course, I had 4 times the reach he had…with 1200mm equivalent field of view. And of course, as the days wore on it became obvious which of us was carrying 8 pounds of lens…close to 12 pounds total equipment, and which could tuck his whole rig into a small bag at his waist. 🙂

But the thing Paul kept coming back to when we looked at our images later in the day was how much depth of field the small sensor camera gives you when compared to his full sized sensor…and most of the time he was comparing his depth at 400mm and mine at 1200mm. By depth of field, if you are not familiar with the term, I mean how much of the image, from foreground to background, is apparently in focus and sharp. For birds, wildlife, and macro work the depth of field can be critical, especially at the longer focal lengths needed to fill the frame. It is especially critical when shooting a group of birds (or other critters) as in the leading photo here. Paul was not able to get the Tricolored Heron in the foreground in focus at the same time as the Black-necked Stilts in the background, even if he stopped his 400mm lens down to f5.6 or so (reducing the aperture increases depth of field). As you see, even at 1200mm equivalent field of view, the Sony managed to get all the birds in relatively good focus.

For comparison here is one of Paul’s shots with his 400mm plus 1.4x extender for 560mm. He stopped down to f10 to improve depth, and was shooting at less than half the equivalent focal length of the Sony P&S, but still did not manage to get the same group of birds in focus.
Canon 5D with 400mm plus 1.4x telextender. f10

Here is another example: the Little Blue and the Snowy were separated by about 3-4 feet, yet the Sony managed to get both in focus at 1200mm equivalent and f6.3. Only a Point and Shoot superzoom is able to do that trick 🙂

Little Blue Heron and Snowy Egret

It has to do with sensor size, and the real focal length of Point and Shoot camera lenses. Since the sensor in my Sony is 5.6 times smaller than the sensor in Paul’s Canon 5D, it only takes a 215mm lens to make objects (or subjects) the same size in the image as thew would be with a 1200mm lens on his camera (215×5.6=1200). More practically for comparison, when I set my zoom to 400mm to match Paul’s 400mm Canon lens, my real focal length is only 71mm. He gets the depth of field of a 400mm lens, and, while framing the same group of birds so they look the same size in the image, I get the depth of field of a 71mm lens. That is a dramatic difference. Even at my 1200mm setting (remember 215mm real focal length), I still have twice the depth of field he does with his 400mm lens. That means that even if he crops his image to match mine, I will still have significantly more depth.

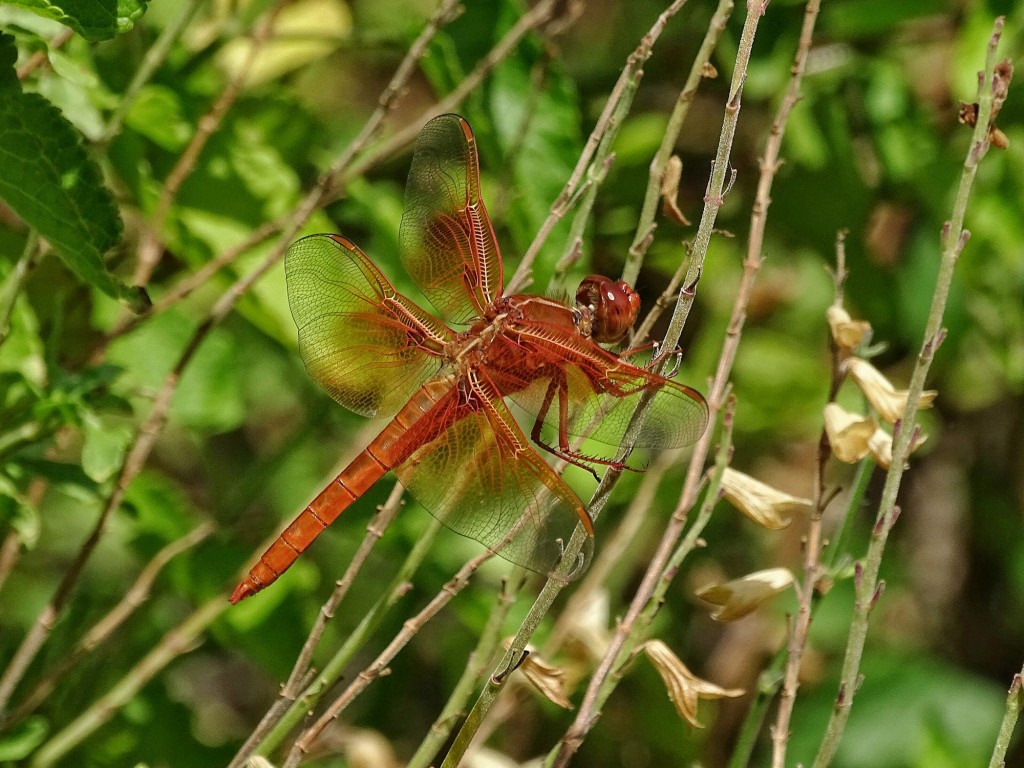
Depth of field differences also come into play when shooting close your subject. This shot of a Red Saddlebags Dragonfly from 7 feet at 2400mm equivalent field of view (1200mm optical plus 2x Clear Image zoom on the Sony), would simply not be possible in any single image from a conventional DSLR and lens, unless you shot from a few inches away with a 71mm lens (and even then you would have to crop the image by a factor of 2). And believe me, getting that close to a Red Saddlebag in the field is not easy 🙂

Red Saddlebags 2400mm equivalent from about 7 feet.

Or consider this true macro, taken from about an inch, using the Sony HX400V at about 61mm equivalent field of view. The real focal length of the lens at that zoom is 10.9mm…which on a full frame sensor would be a fish-eye wide angle. I get as much depth of field as I need in any macro setting.

Spider at about 1 inch.

The spider is relatively isolated, but in a macro like the one that follows, depth of field is critical to the effect.

Bee on the Blazing Star

Even when shooting at wild angle, for landscapes, the extra depth of field of the P&S superzoom can be used to good advantage. I enjoy a photograph with a great depth.

Low angle, wide angle, with great depth. 24mm equivalent (real focal length 4.3mm)

It is sometimes argued that the greater depth of field in small sensor Point and Shoots is a disadvantage when you do want to use selective focus…as in some wildlife, some macro, and almost all portrait photography…where you want your subject isolated against an out of focus background for the classic photographic effect.

Portrait at 400mm with a full frame DSLR. Nice separation and excellent bokeh.
Same distance, about 200mm equivalent with P&S

If I had cropped in closer by zooming out to match Paul’s 400mm, the background would have been less sharp, but not as well isolated as the full frame shot. Still, as the macros above demonstrate, subject separation can be achieved even with a P&S.

All in all, I find the extra depth of field of the P&S superzoom to be an advantage for nature photography way more often than it is a disadvantage. It makes both telephotos of wildlife and macros of bugs and flowers easier, and produces great landscape effects. In fact, I am so used to working with generous depth of field that I am pretty sure I would be quite frustrated moving to a full frame system at this point. I love shots like this one of a Common Paraque in the half-light too much. Only a P&S superzoom could produce this result…with so much of the bird in focus at this distance and scale.

Common Paraque. Estero Llano Grande SP World Birding Center, Weslaco TX

So, just one more reason to enjoy Point and Shoot Nature Photography. 🙂
Fear not the darkness…

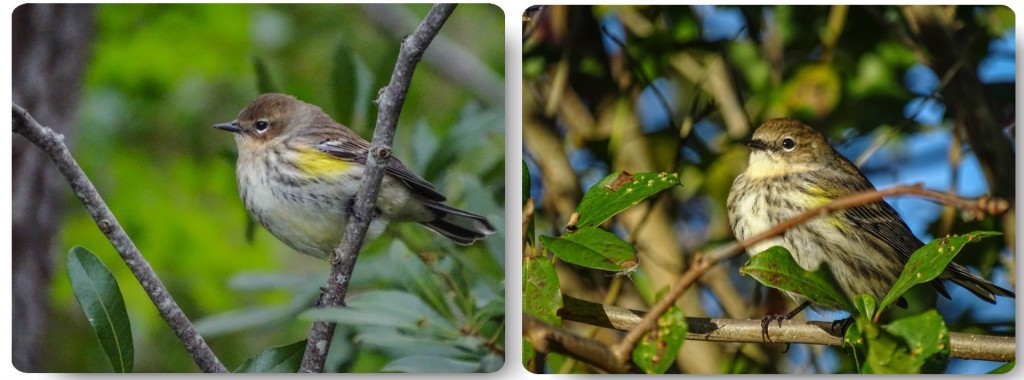
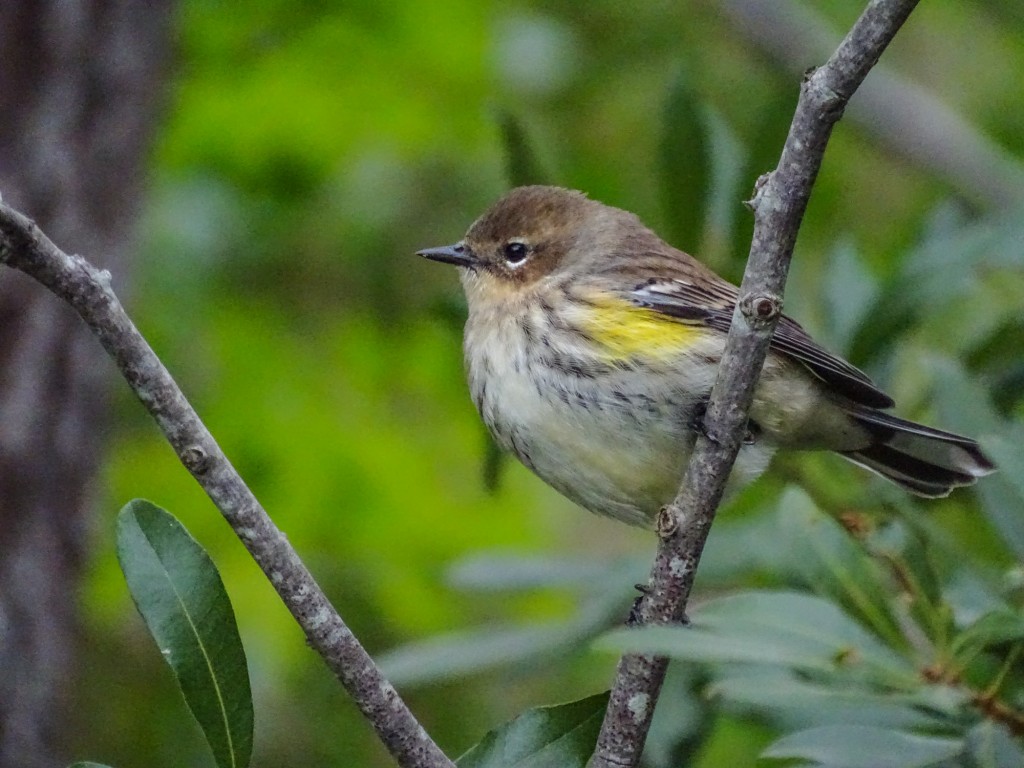
Yellow=rumped Warbler, Cape May NJ, ISO 1600.

When you read the reviews of Point and Shoot cameras, especially the superzooms we favor for bird, wildlife, and nature photography, you are sure to come across comments about their less than stellar low light performance. No digital sensor camera does as well at high ISOs as it does at low ISOs. Digital sensors love light, and the more light, within reason, the better the image quality and the image detail you can expect. And the smaller the sensor, the common wisdom goes, the worse the high ISO, low light, performance you can expect. The tiny senors in the P&S Superzooms can not be expected to equal the performance of APS-C or full frame sensors.

Full sun vs full overcast: ISO 160 ves 1600
Full overcast vs full sun: ISO 1600 ves 160

On the other hand, you will notice that with each new generation of digital sensors, the maximum ISO ratings increase. Full frame cameras will let you set ISO to 5 digits these days…totally unheard of, undrempt of even, ratings back in the days of film. Remember, ISO 800 color slide film (ASA 800 in those days) was revolutionary, and only to be used in emergencies, since its performance…with highly visible grain, limited contrast range, and muted colors…left a lot to be desired. Those were the days when Kodachrome 25 was still the standard for published photos.

Even today’s P&S cameras will reach 3200-6400 ISO, though to listen to the reviewers, anything over ISO 400 on some, and certainly ISO 800 on most, is simply unusable. Same issue: visible noise (the digital equivalent of grain), limited contrast range, and desaturated colors. However, each new generation of P&S cameras also has improved noise reduction built into the jpeg processing engines. Yet the common advice is still to turn it off if you can…or to shoot in RAW (again if you can)…and do any noise reduction in software after the fact. The Image Quality issues (watercolor effects and detail smearing) that are often claimed for P&S superzooms are often attributed to “overly aggressive noise reduction.”

Still, if you shoot wildlife…especially active birds…in anything but full sunlight, you sometimes find yourself making the hard choice between higher ISOs and slower shutter speeds. Nothing will destroy image detail quicker than camera or subject motion, so you pretty much have to keep the shutter speed up, and let the ISO got where it needs to.  I do not like to shoot birds and wildlife at anything under 1/500th of a second, even with today’s excellent optical image stabilization. Even if the camera does not move, the critter is likely too. 🙁

On my latest photo trip to Cape May, New Jersey, for the Autumn Bird Festival, the days ranged from rain and overcast to full sun. If I wanted to shoot birds it was necessary to let the camera do its ISO thing, using the full range available to me. The first two days I still had not figured out how to set the camera so that it was not limited to ISO 1600 in Auto ISO, so that limited me even more. I did eventually figure out how to let the IsO ride all the way up to 3200.

Reflecting on the results, and my efforts around home over the past weeks and since returning from Cape May, I have come to a pretty startling conclusion. At least with the superzoom I am using (Sony HX400V), the high ISO results were not all that bad…in fact…they were very good…especially when you consider that I could not have gotten the images any other way. When choosing between some kind of pretty good okay image and no image at all…well, that is an easy choice for me. 🙂

The first thing I learned is that there is a lot of detail in underexposed images. While the camera was limiting me to ISO 1600, many of my bird and wildlife shots were seriously underexposed…by several stops. Yet, when taken into Lighroom, I was able to bring them up to quite acceptable levels and produce images that were satisfying, if not spectacular…and you might even consider them spectacular if you take into account the conditions they were taken under.

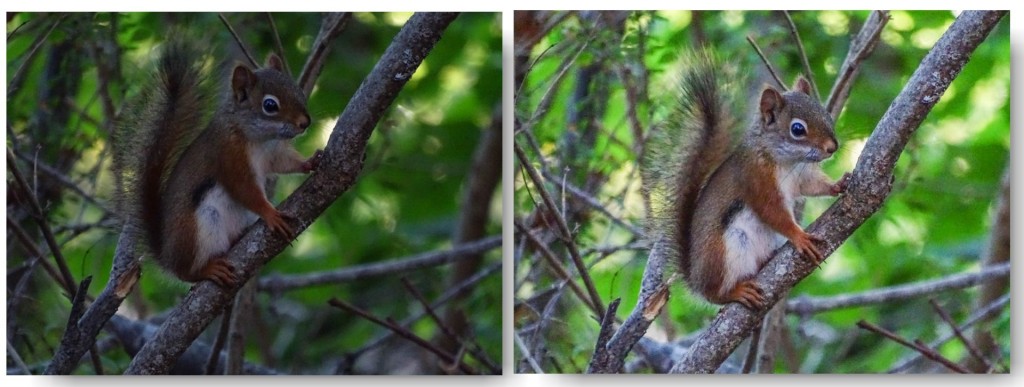
Consider this Red Squirrel from Laudholm Farm…taken before I left for Cape May. It was so dark in the under the apple trees and in the brush that I pushed the shutter speed all the way down to 1/160th at ISO 1600, stretching both the Image Stabilization of the camera, and the good will of the squirrel to the max…and the image was still several stops underexposed.

underexposed at 1/160th @ ISO 1600, processed in Lightroom

As you see, while not a great image, it is hard to tell the processed result was ever that underexposed. Color is pretty good. Detail is satisfying. Both noise and digital artifacts are visible in the finished result, but only if you view the image at full resolution. At normal screen sizes it looks pretty good okay! And…of course…I could not have done any better with any camera I could have been carrying…a full frame DSLR would have wanted even more light…pushing the ISO higher and the shutter speed lower…and no lens I could have hand-held…no…no lens I could have used even on a tripod…would have equaled the 1200mm reach of the Sony HX400V. I would have had to crop heavily to achieve this image scale. Given that, I am convinced that this image is better than I would have gotten with any other camera. You want more proof…

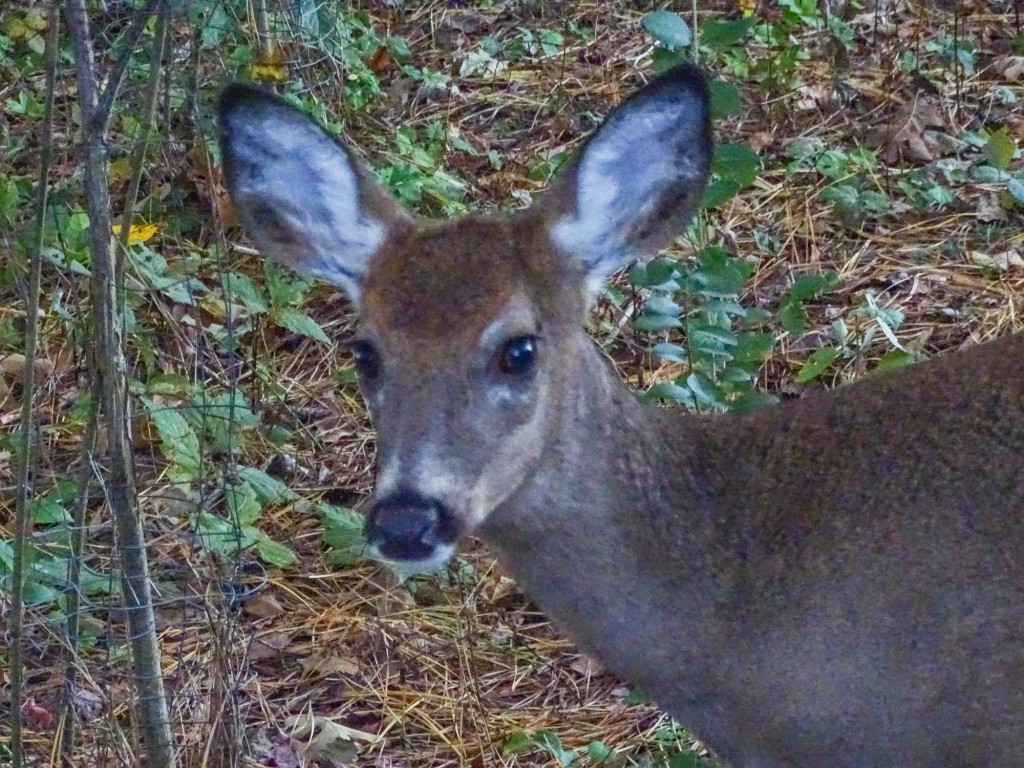
Deer at 1600 ISO. Well underexposed and brought up in Lightroom.


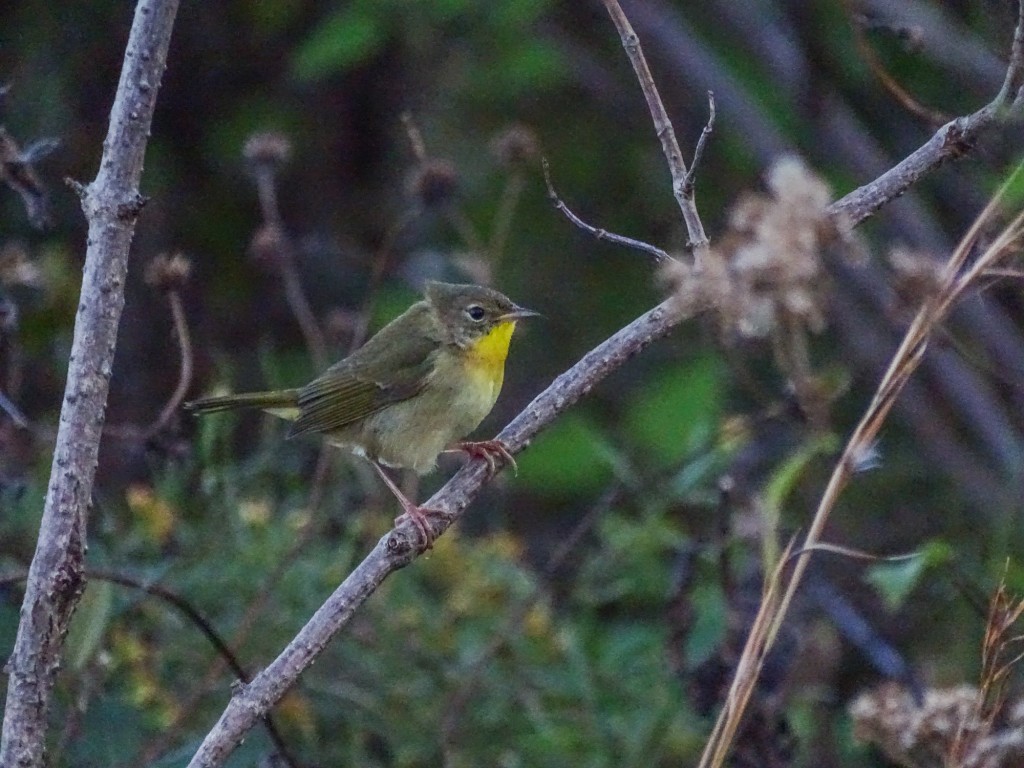
Common Yellow-throat, again underexposed at ISO 1600.

Again, not great shots, but satisfying, considering any reasonable alternative. 🙂

When I did figure out how to set Auto ISO for the full 3200 range on the HX400V, I was even more surprised by the results! The images, of course, required much less lightening in post-process, and maintained good color saturation, satisfying detail, and very few visible artifacts in the backgrounds (a problem area for any high ISO shot). And this is straight from the camera, with only my standard one click preset Lightroom processing. I did not, at first, even apply any extra noise reduction in Lightroom…though I did find that some slight Luminance NR, with detail emphasis, did produce an even more satisfying result.

It is even possible to crop an ISO 3200 image from the Sony HX400V and get acceptable results…pretty good okay results! This chipper is proof enough for me. In-camera Noise Reduction set to standard. Sharpening to -1. Saturation to +1. My standard one click processing in Lightroom with some added NR.

ISO 3200.
ISO 3200. Cropped.
ISO 3200. Cropped.
ISO 3200. Cropped.

So folks, here is my conclusion. Unless you are looking for magazine quality publication images…if, in other words, your main interest is sharing on the web and the occasional print for the wall or for a gift…you have no reason, with the latest crop of P&S superzooms, to fear the dark. Go boldly. Set your ISO high and bring back satisfying images of the birds and wildlife you encounter in less than ideal light…images you would be very unlikely to get with any other camera.

Do not fear the dark…

P&S Nature Photographer does Cape May Autumn Weekend

Golden-crowned Kinglet. Cape May NJ. Sony HX400V

I had a wonderful few days in Cape May NJ, covering the Cape May Autumn Bird Festival for ZEISS Sports Optics, and teaching my P&S for Wildlife workshop. Lots of photo ops. Lots of great birds, relatively close. The light was not always the best, and it often stretched the limits of the Sony HX400V camera, but I am more than pleased with the results. I also, of course, did some macro work, and a bunch of in-camera HDR. I also practiced using Sports Mode for flight shots.

You can explore the results to your heart’s content by visiting my gallery at Wide Eyed In Wonder.  Cape May 2014. 

Enjoy!


DIY: Bird and Wildlife Mode

When shots like this present themselves, you need to be ready, and so does your camera. Wouldn’t it be nice if there was a Bird and Wildlife Mode that would take care of all the settings for you…leaving you free to frame the shot and shoot?

The Nikon P600 actually has a Birding Mode as one of its scene settings, and other cameras may have a Pet mode that is similar, but reviewers have pointed out that these generally are not actually the ideal combination of settings for birds and wildlife. On all other Point & Shoot superzooms, you can fairly easily create a Bird and Wildlife Mode and save it to one of you Custom or Memory settings. This is not for the faint hearted. It will require some digging around in menus and even your manual if you are going to succeed…but the rewards are worth the effort.

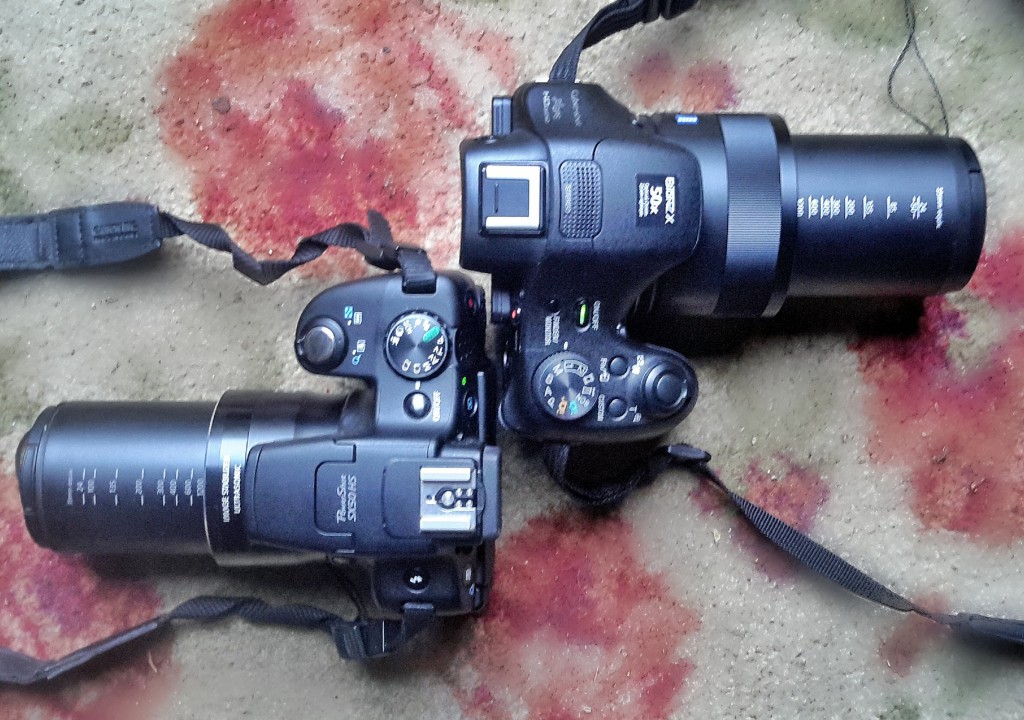
Canon SX50HS and Sony HX400V in Bird and Wildlife Mode

This I show I set up my cameras for birds and wildlife.

The base mode for birds and wildlife, since you will be using the top half of the zoom, and the full zoom most of the time, will be Shutter Preferred (labeled “T” on many control dials, “S” on others). Begin by setting your camera to T or S.

Either using the control wheel or the left/right rocker switches on the 5 way control on the back of the camera (rarely the up/down rocker switches) set your shutter speed to the lowest speed experience has shown your image stabilization will handle at full zoom. More telephoto shots are lost due to subject and camera motion blur than to any other cause. Even with the best IS, a high shutter speed will increase your chances of success. I use 1/640th and that is more risky than some would prefer. 1/1000th is probably safe. That means that when you switch to your saved Bird and Wildlife Mode, the shutter speed will be automatically set to no lower than your number…1/640th in my case. Once in Bird and Wildlife Mode in the field, if the light is good, and ISO at a reasonable value, you can easily bump the shutter speed up using the same control you used to set it.

Leave ISO on Auto (or set it to Auto if it is not there). You will need free ranging ISO to compensate for the higher shutter speeds, especially because the the typical superzoom only goes to f6.3-6.5 at the long end. You are going to be shooting wide open, at the lowest possible f-number, 99% of the time.

Set shooting to continuous. I prefer normal continuous to any high speed burst mode that might be available. I find that high speed burst too often gives me 10 identical images. 2-5 frames per second is fast enough, in my opinion, for most bird and wildlife action. If you have a choice, choose the continuous mode that uses auto-focus between frames. Both birds and wildlife are active, and you need all the help you can get keeping them in focus.

If you have control of the size of the focus square (check your menus and manual), set it to spot focus and the smallest area possible. Matrix or wide area focus, where the camera picks the focus point, will not work well, especially shooting birds or wildlife in deep cover. Also set Auto Focus to continuous to eliminate any lag while the camera finds focus.

Likewise, if you have control over the size and positioning of the exposure metering, set it to spot and the center of the field. You are more interested in getting the bird or animal correctly exposed than you are in the foreground or background.

Set image stabilization to full time, and the most intelligent mode your camera provides. This might be called active IS, or adaptive IS, or just super IS. Again, check the menus and manual.

A very difficult shot without manual over-ride.

If your camera has a manual focus over-ride on Auto Focus, and if it is easy to use, set it to active. Many superzooms provide the feature, but then make it so hard to use, involving rockers on the back of the camera, etc. that it is really useless. One of the best things about the Sony HX400V is the focus collar around the lens that can be used to fine-tune auto focus…or, more often, to quickly get the focus system in the right range so auto focus can lock without a lot of seeking.

If there is some kind of intelligent digital telephoto extender built in to your camera…most have some kind or other…make sure it is set so you have quick access to it. I am not talking about digital zoom. Most superzooms today have a mode that applies extra processing up to 2X beyond the optical zoom setting to produce very satisfying images at great magnifications. If yours works well, you will find yourself using it on occasion, even if you have over 1200mm optical equivalent to work with…especially on birds, butterflies, and dragonflies.

Sony HX400V at 2400mm equivalent

The final setting is zoom position. I keep mine set to full zoom.

Last, and most important, navigate to the menu area that allows you to memorize the the whole set of settings you just made. It might be called save settings, or custom mode, or something similar. Some cameras will allow you to save one set of settings, some will allow for two or more. Save your settings.

Now, rotate the control dial to P or A. Zoom all the way back in to wide angle. When you move the control dial to M1, or C2 or whatever the memory setting is called on your camera, just like magic, all of the Bird and Wildlife Mode settings will be restored…you will be in shutter preferred, continuous shooting, spot focus and metering, etc…and the zoom will automatically extend to full zoom. Within a second or less, you will be ready for birds and wildlife. 🙂

Depending on the features and capabilities of you particular P&S superzoom, you will want to fine tune my formula as you gain experience…or add features that I have not mentioned. For instance, Sony provides adjustable Creative Styles to control the way the image is processed from RAW to Jpeg in the camera. I have a custom designed Creative Style for birds and wildlife that is also programmed into my Birds and Wildlife mode. (It is Memory 1 on my dial, of course! 🙂

By the way, using a similar technique, I set my Memory 2 to the HDR settings I prefer, and I have my P set up (it automatically remembers the last set of settings you used, with the possible exception of zoom length) for normal and macro shooting. With Sports set as my Scene Mode, I than spend 90% of my time at one of 4 settings on the control dial. And that is worth the effort with menus and manuals.

Flame Skimmer: wildlife certainly includes dragonflies!