Enjoy this free eBook of the Point and Shoot Nature Photography Birds and Wildlife Adventure in Uganda in September or 2019, with Epic Uganda Vacations.
Enjoy this free eBook of the Point and Shoot Nature Photography Birds and Wildlife Adventure in Uganda in September or 2019, with Epic Uganda Vacations.
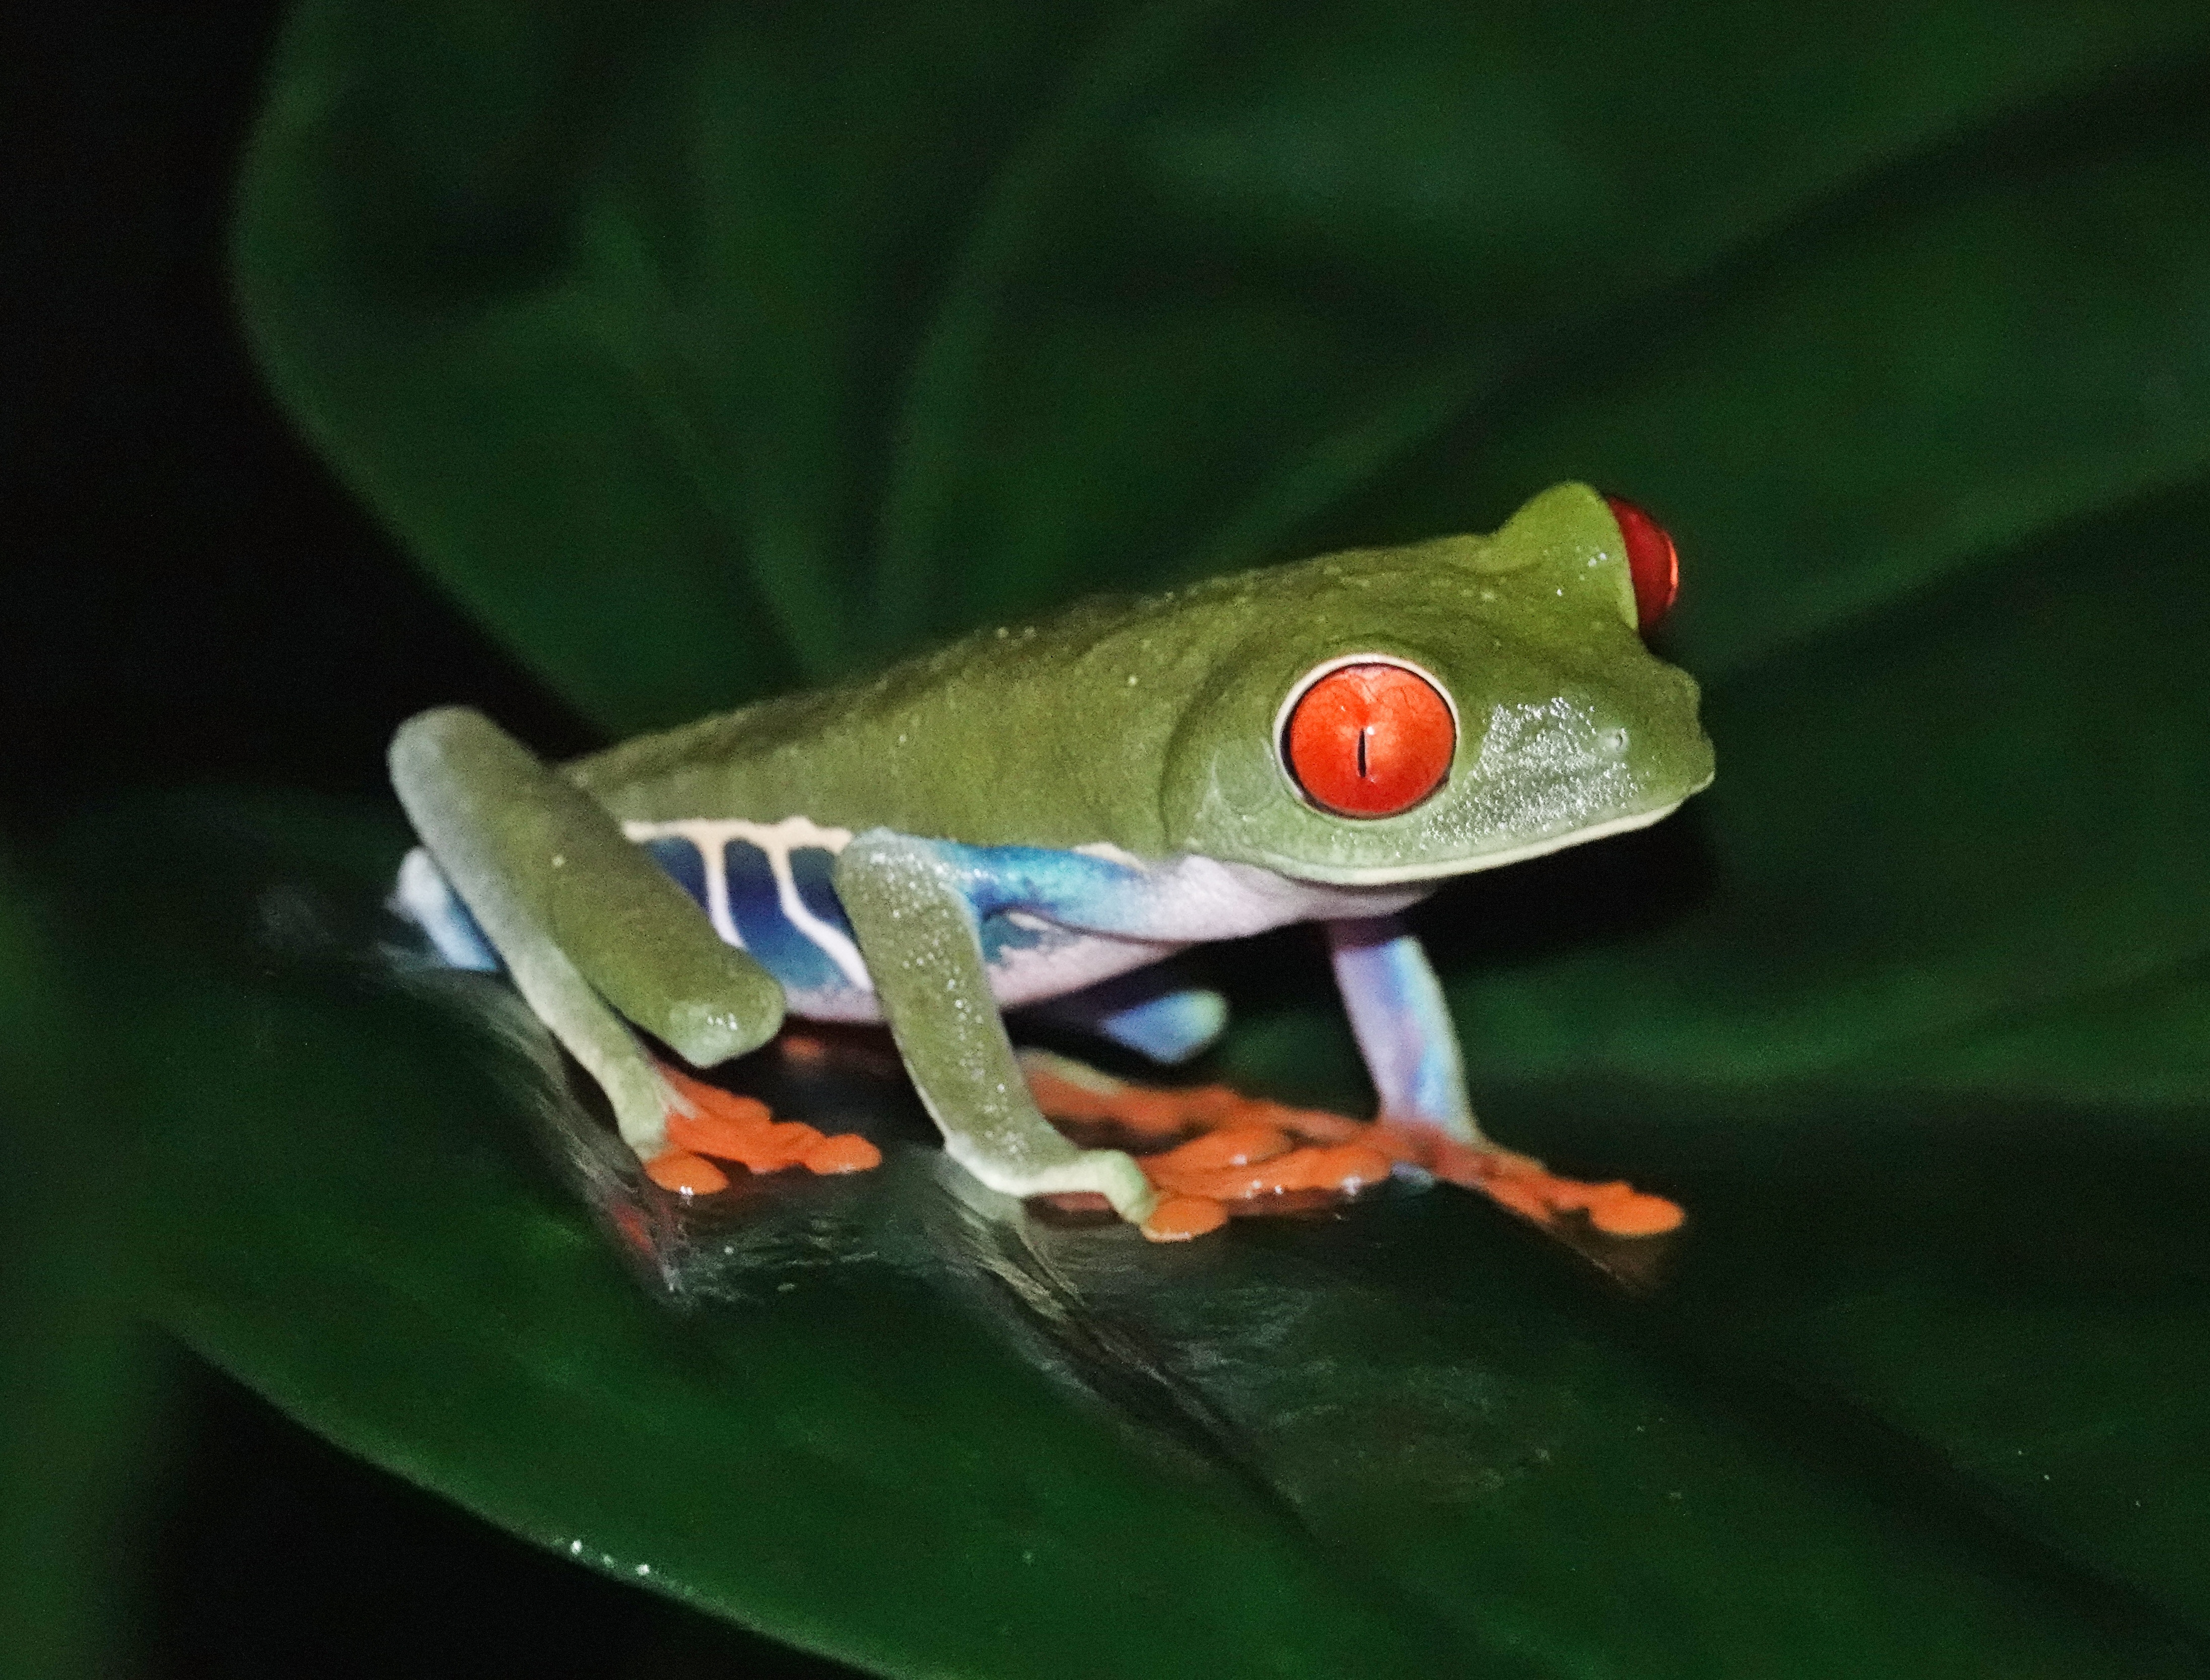
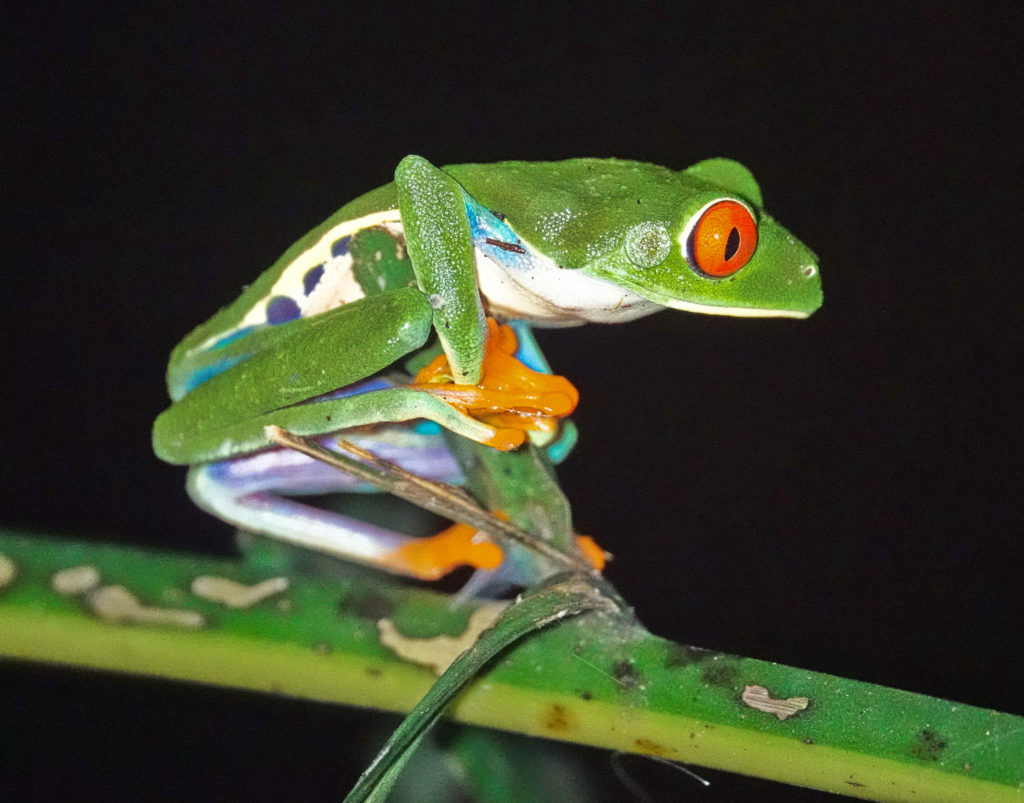
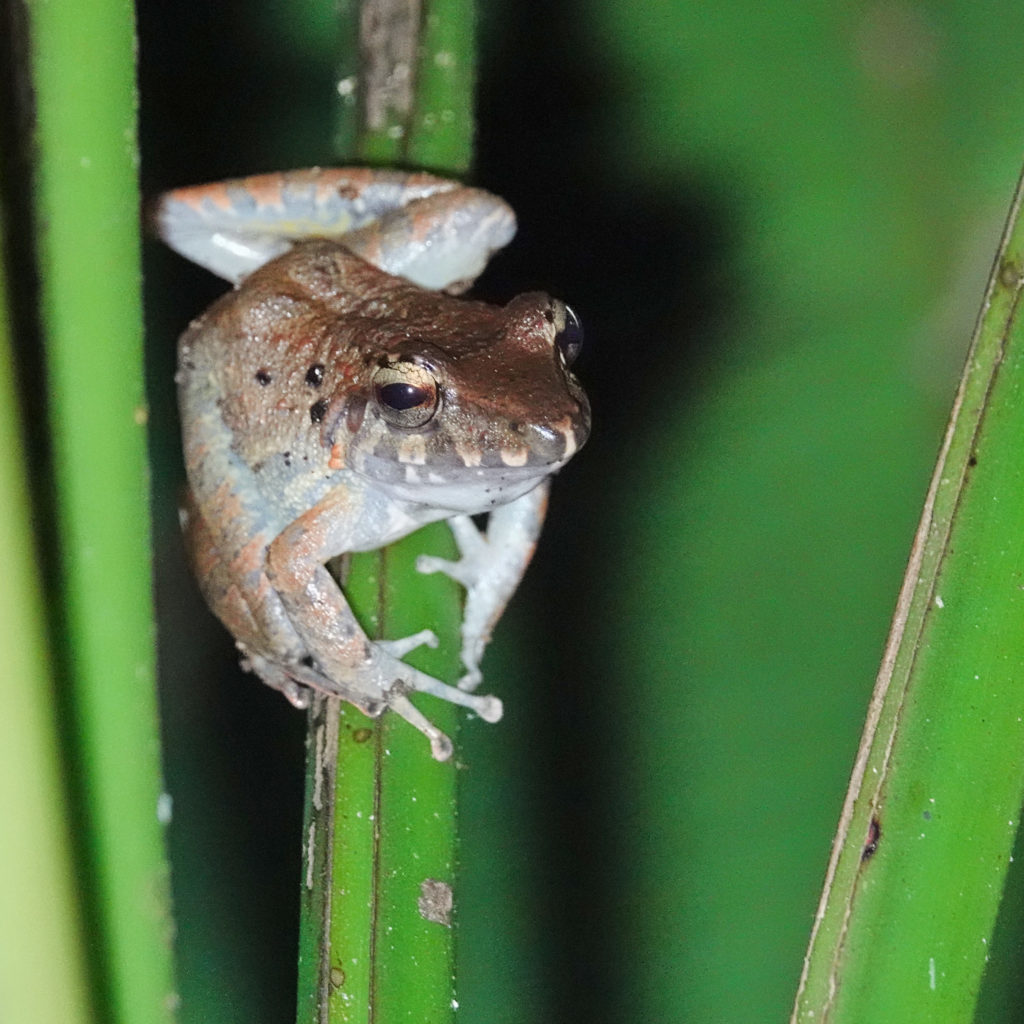
In Costa Rica, you are not allowed to use flash at night when photographing frogs (to avoid damaging their eyes and disrupting their night time routine…in fact flash is discouraged in wildlife photography of any kind in Costa Rica…where it is not actually illegal). In the past I have used a good led flashlight, most recently a Everready daylight balanced flashlight, held beside my camera, with the camera set in “Anti Motion Blur” mode. I have gotten some good shots, but in Anti-motion Blur mode it is not possible to adjust Exposure Compensation and keeping the whites on the Red-eyed Leaf Frogs in check has been difficult. At close distances I often had to turn the flashlight down or shine it slightly off to the side, which pushed my ISO’s higher than they needed to be.
On this year’s Point and Shoot Nature Photography Adventure in Costa Rica, I made two changes to my technique.
1) Inspired by ads for a similar, but much more expensive, device on Facebook, I searched Amazon and bought a little light cube, normally used for shooting video. It mounts in the flash shoe of the Rx10iv and has three levels of adjustable illumination. It was under $30 and came with the flash shoe mount and a set of color filters to change the color temperature. It is roughly daylight balanced as it is.

2) I experimented with “multi-frame-noise-reduction” instead of anti-motion-blur. It does not have the motion processing of AMB but it still takes 3-4 images at a lower ISO and stacks them. Since high ISO noise in an image is random, stacking 3 images tends to ”average out” the noise. I was concerned that if the frog moved…or, more likely, if I moved the camera, the multiple frames would not stack correctly…but in practice it worked better than I expected. MFNR allowed me to dial in the EV for best results and, if I was very careful with motion, to even use Clear Image Zoom. In fact, MFNR did a better job of stacking exposures and I did not have to use much EV compensation at all.
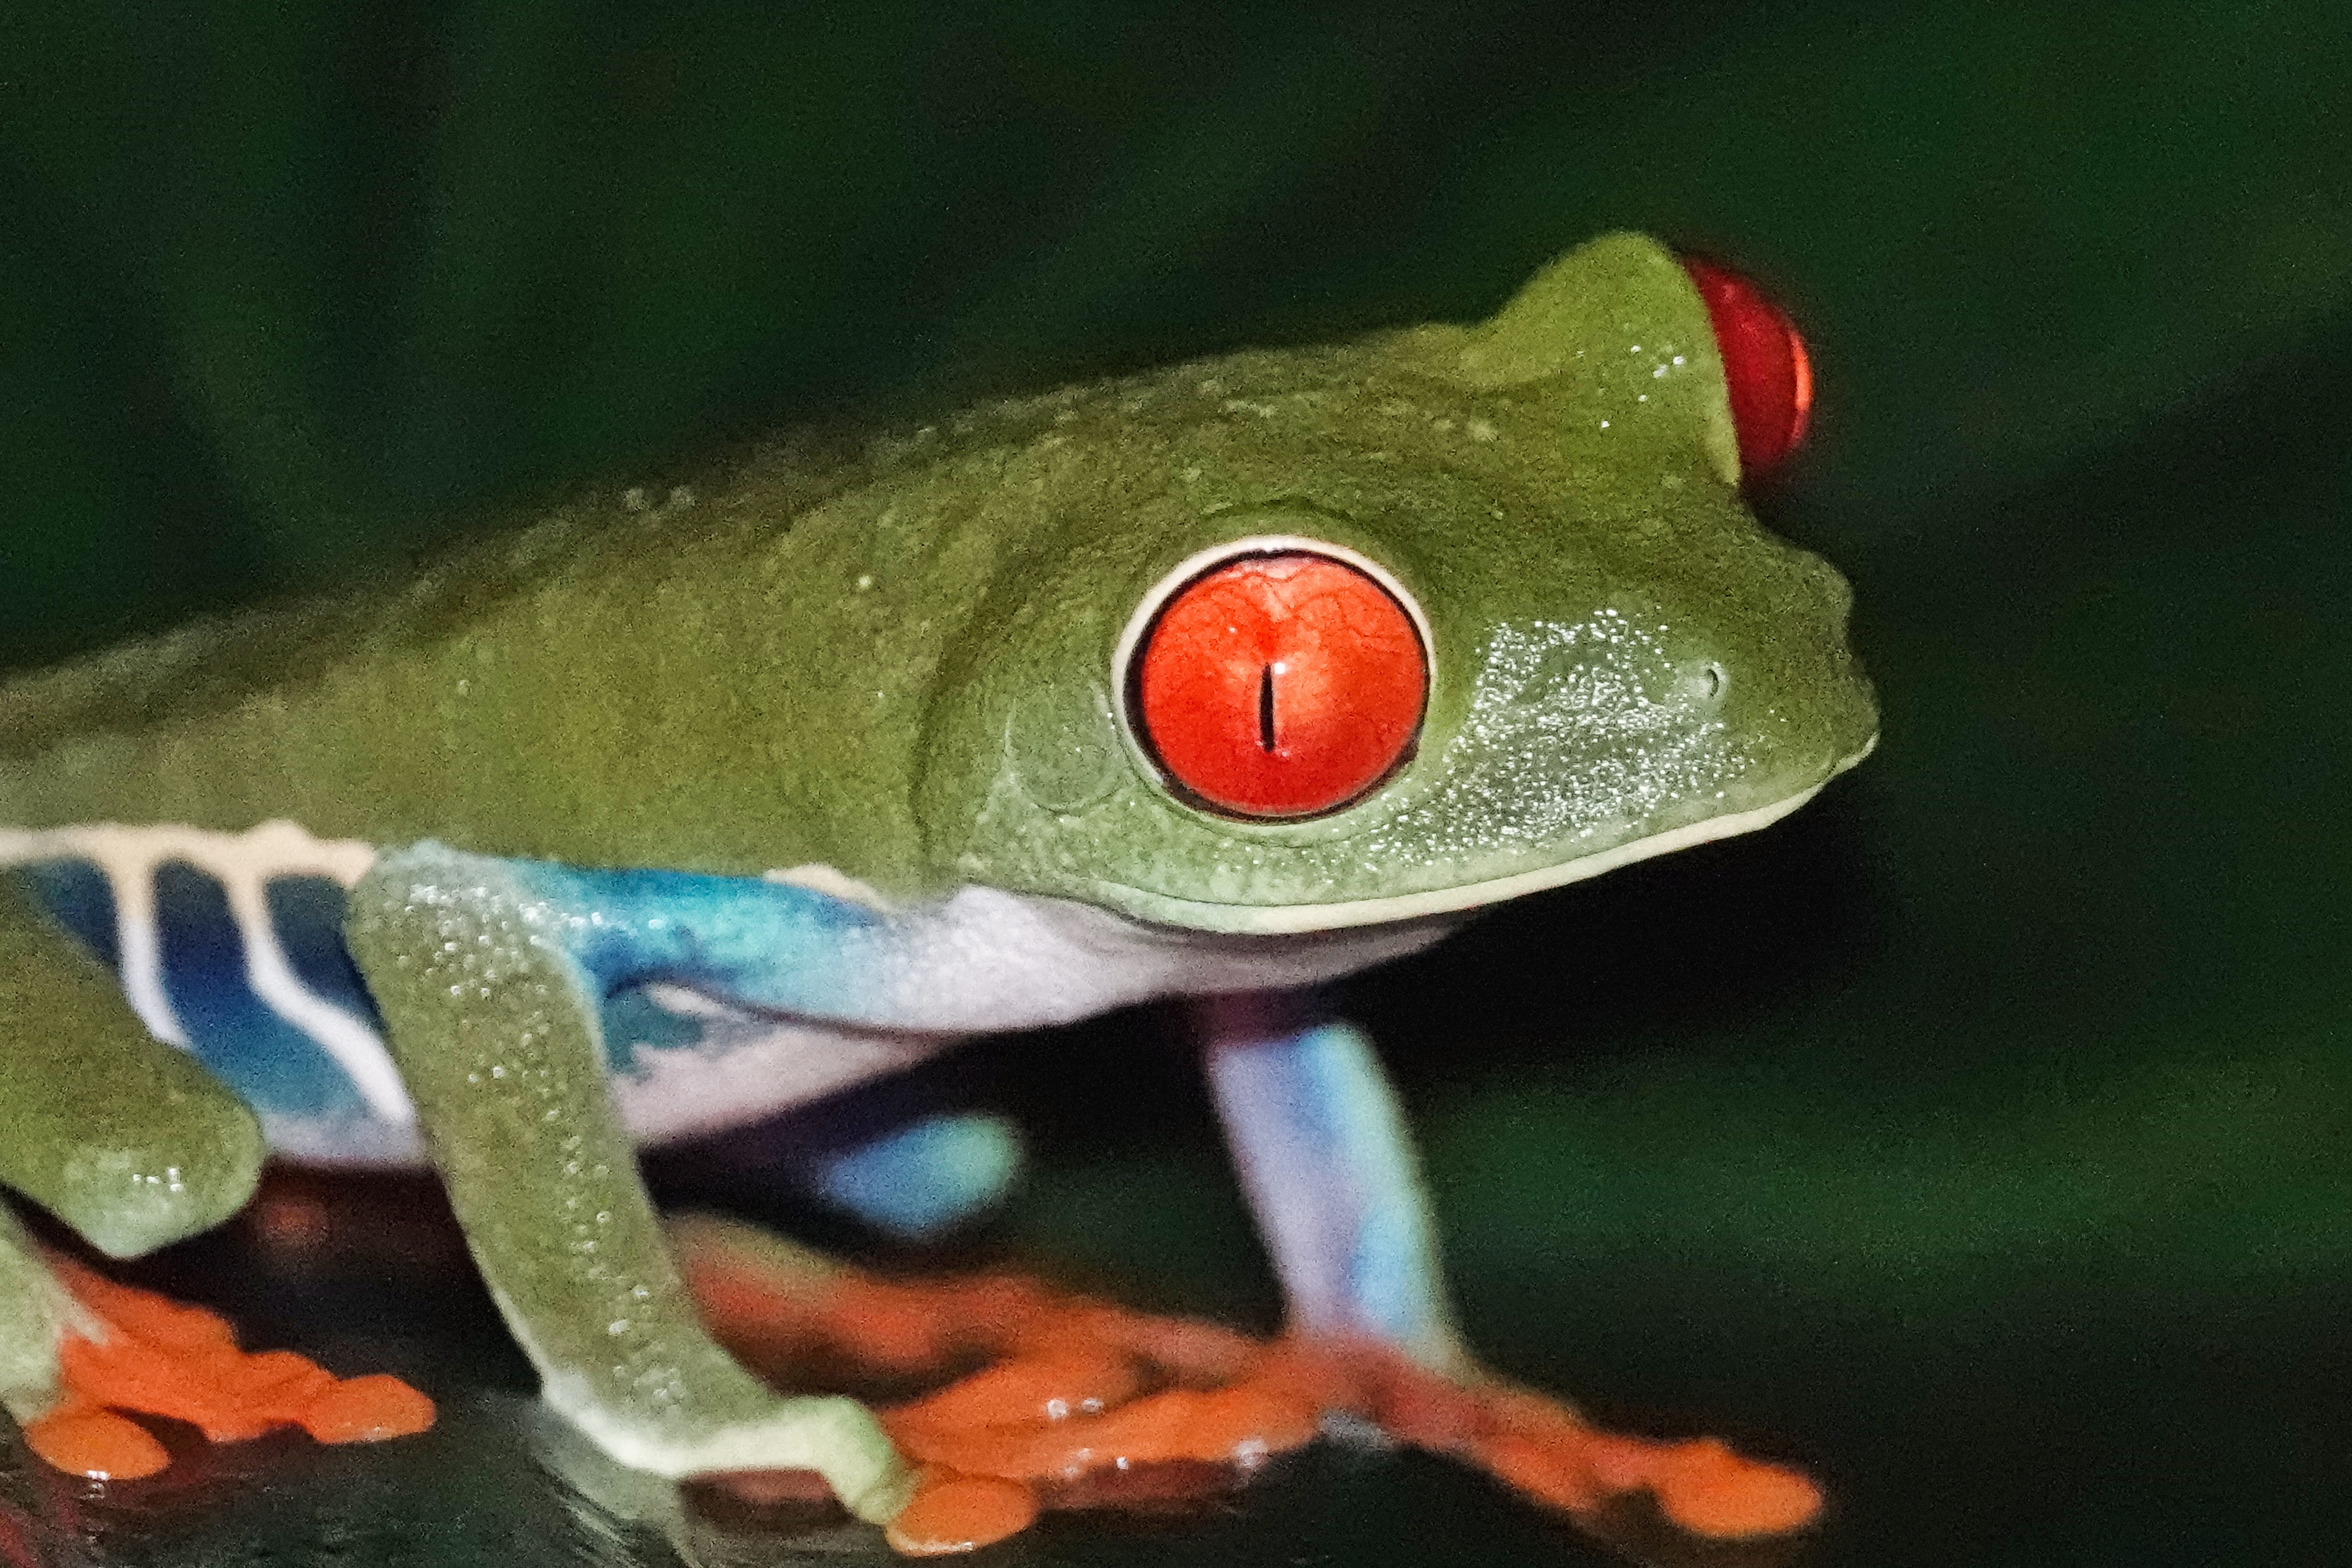
What I also found was that the daylight balanced light cube did not disturb the frogs at all. With flashlights, the frogs first shut their eyes and then hunker down to make themselves as small as possible. You have to be quick to get a shot before they respond. With the light cube I could work a frog for many moments and it did not even close its eyes, much less hunker down.
If you do any night photography, I highly recommend you check out a light cube. They are available from a number of vendors on Amazon, and are inexpensive. They are also way easier to work with an a separate hand held flashlight, and seem to disturb the subject less. What is not to like?
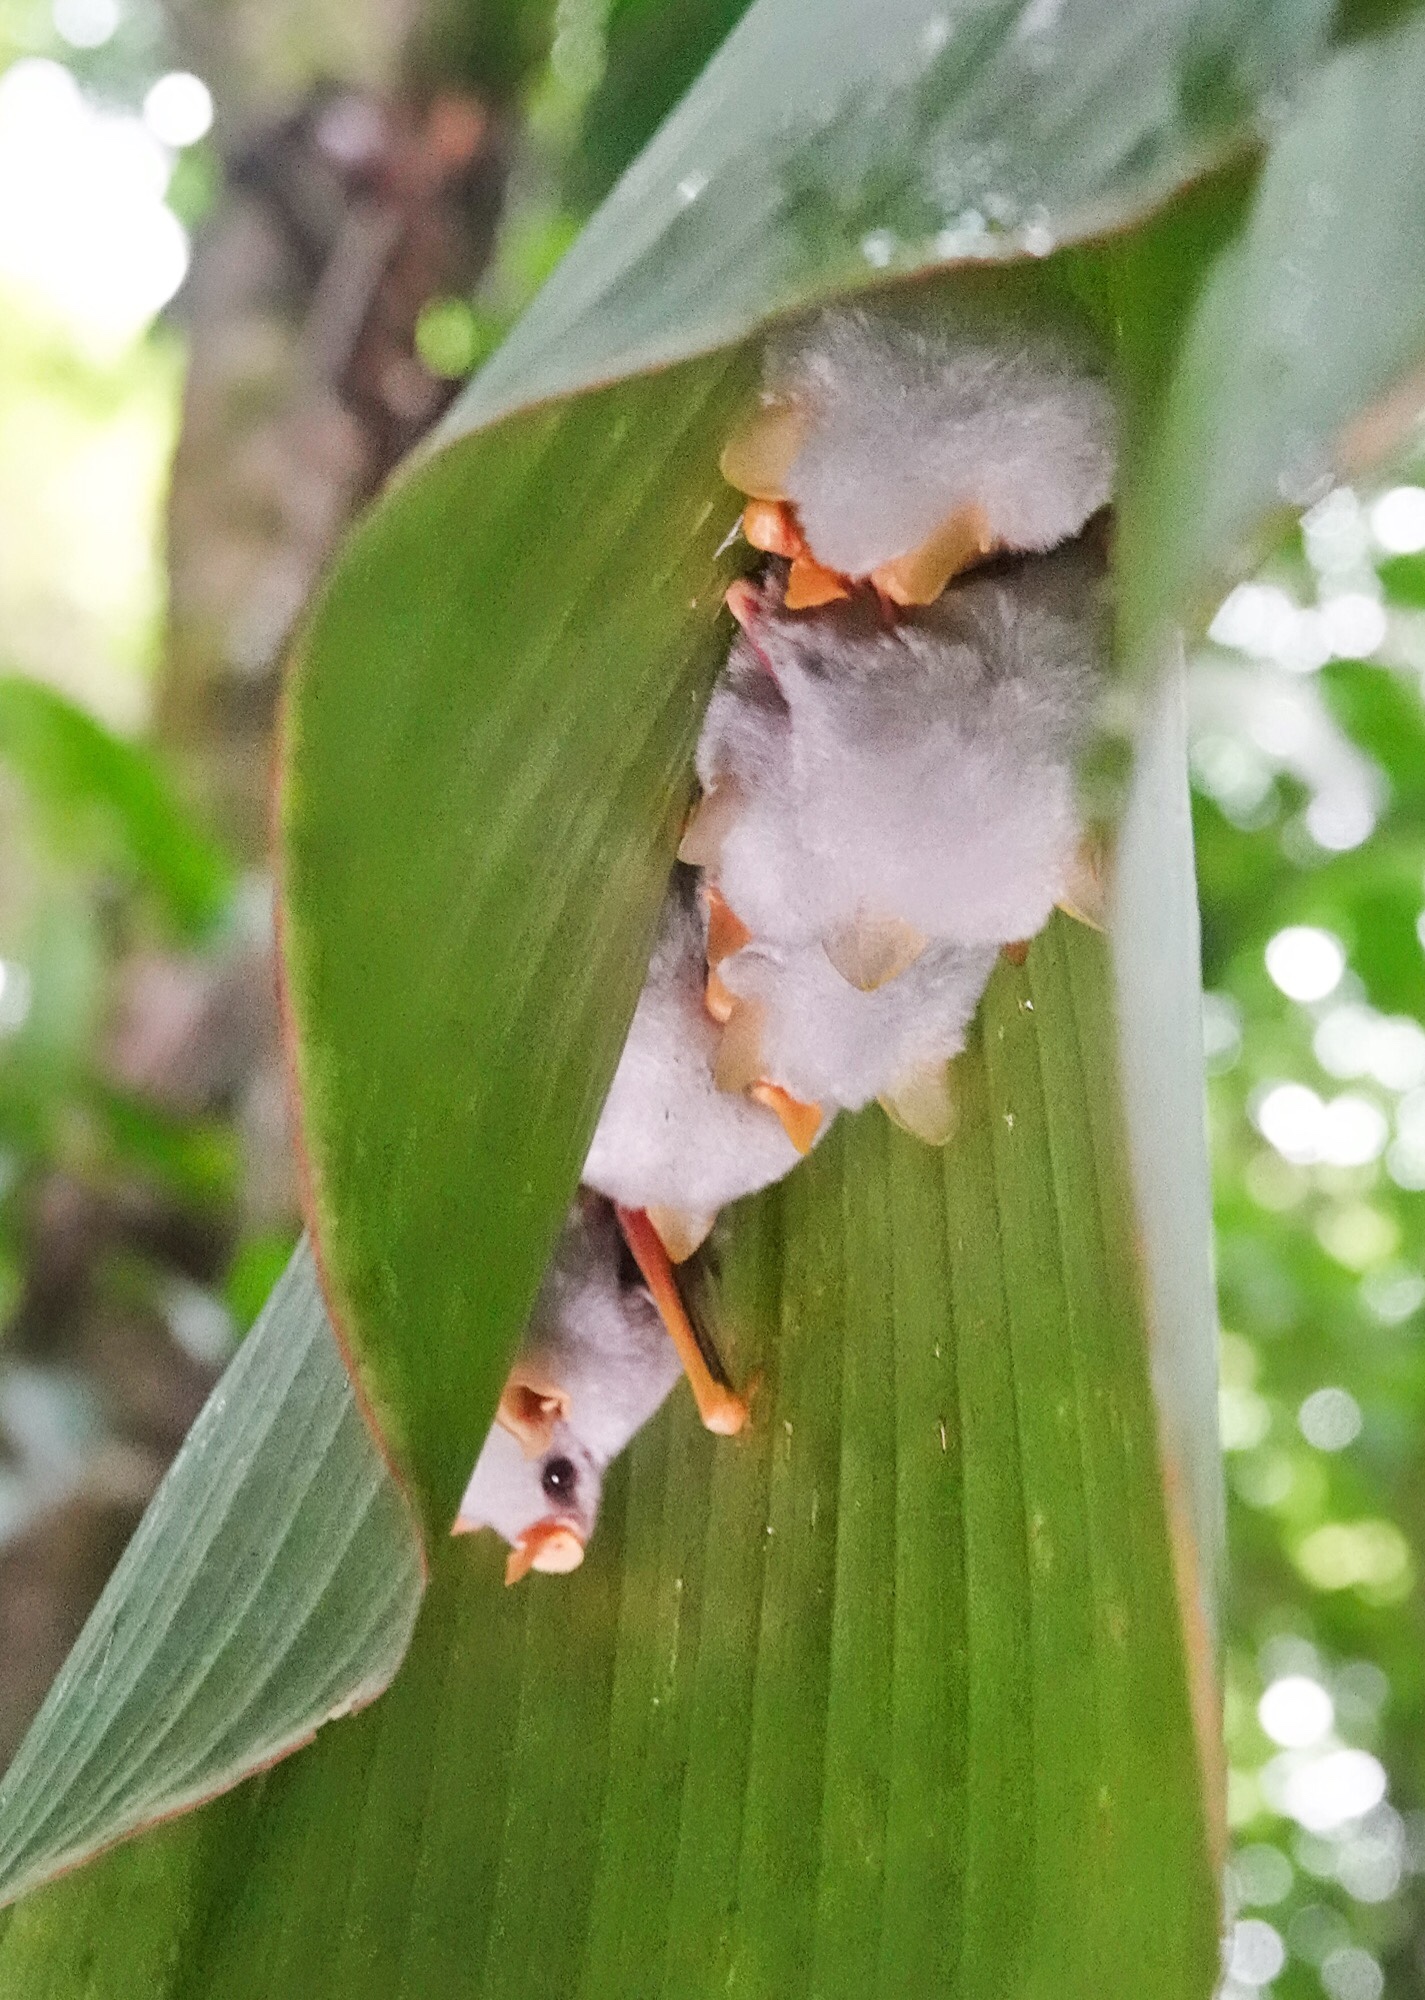
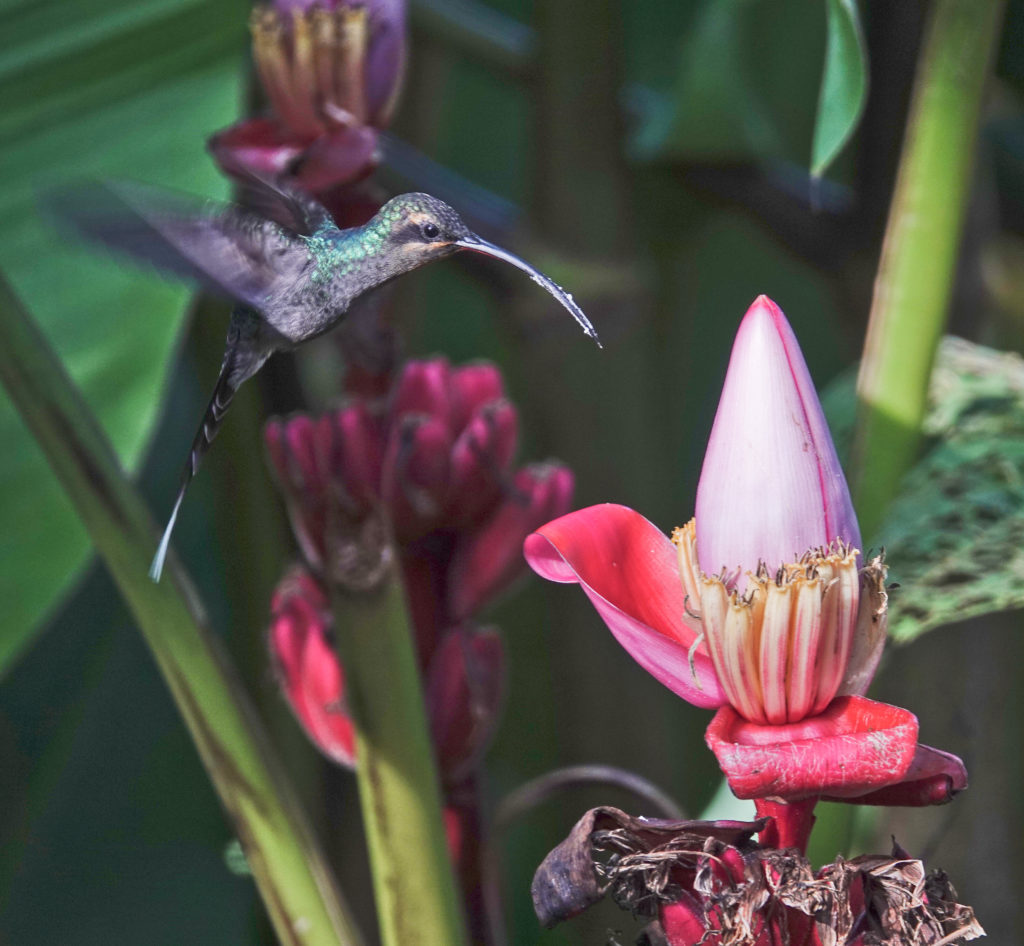
As a final note, while in Costa Rica I worked with Cope, an artist and naturalist who lives in La Union (Donde Cope). He was using an LED array…also sold for video work…with over 150 leds. It seemed to provide a very non-directional light source, much like natural daylight, and would, I think, be very useful for hummingbirds and other birds in low light. That will be my next experiment. This shot of Honduran White Tent-making Bats up under a leaf under heavy canopy was taken using his hand held Led Array, but they do mount in your flashshoe as well. Note how natural the shadows look.
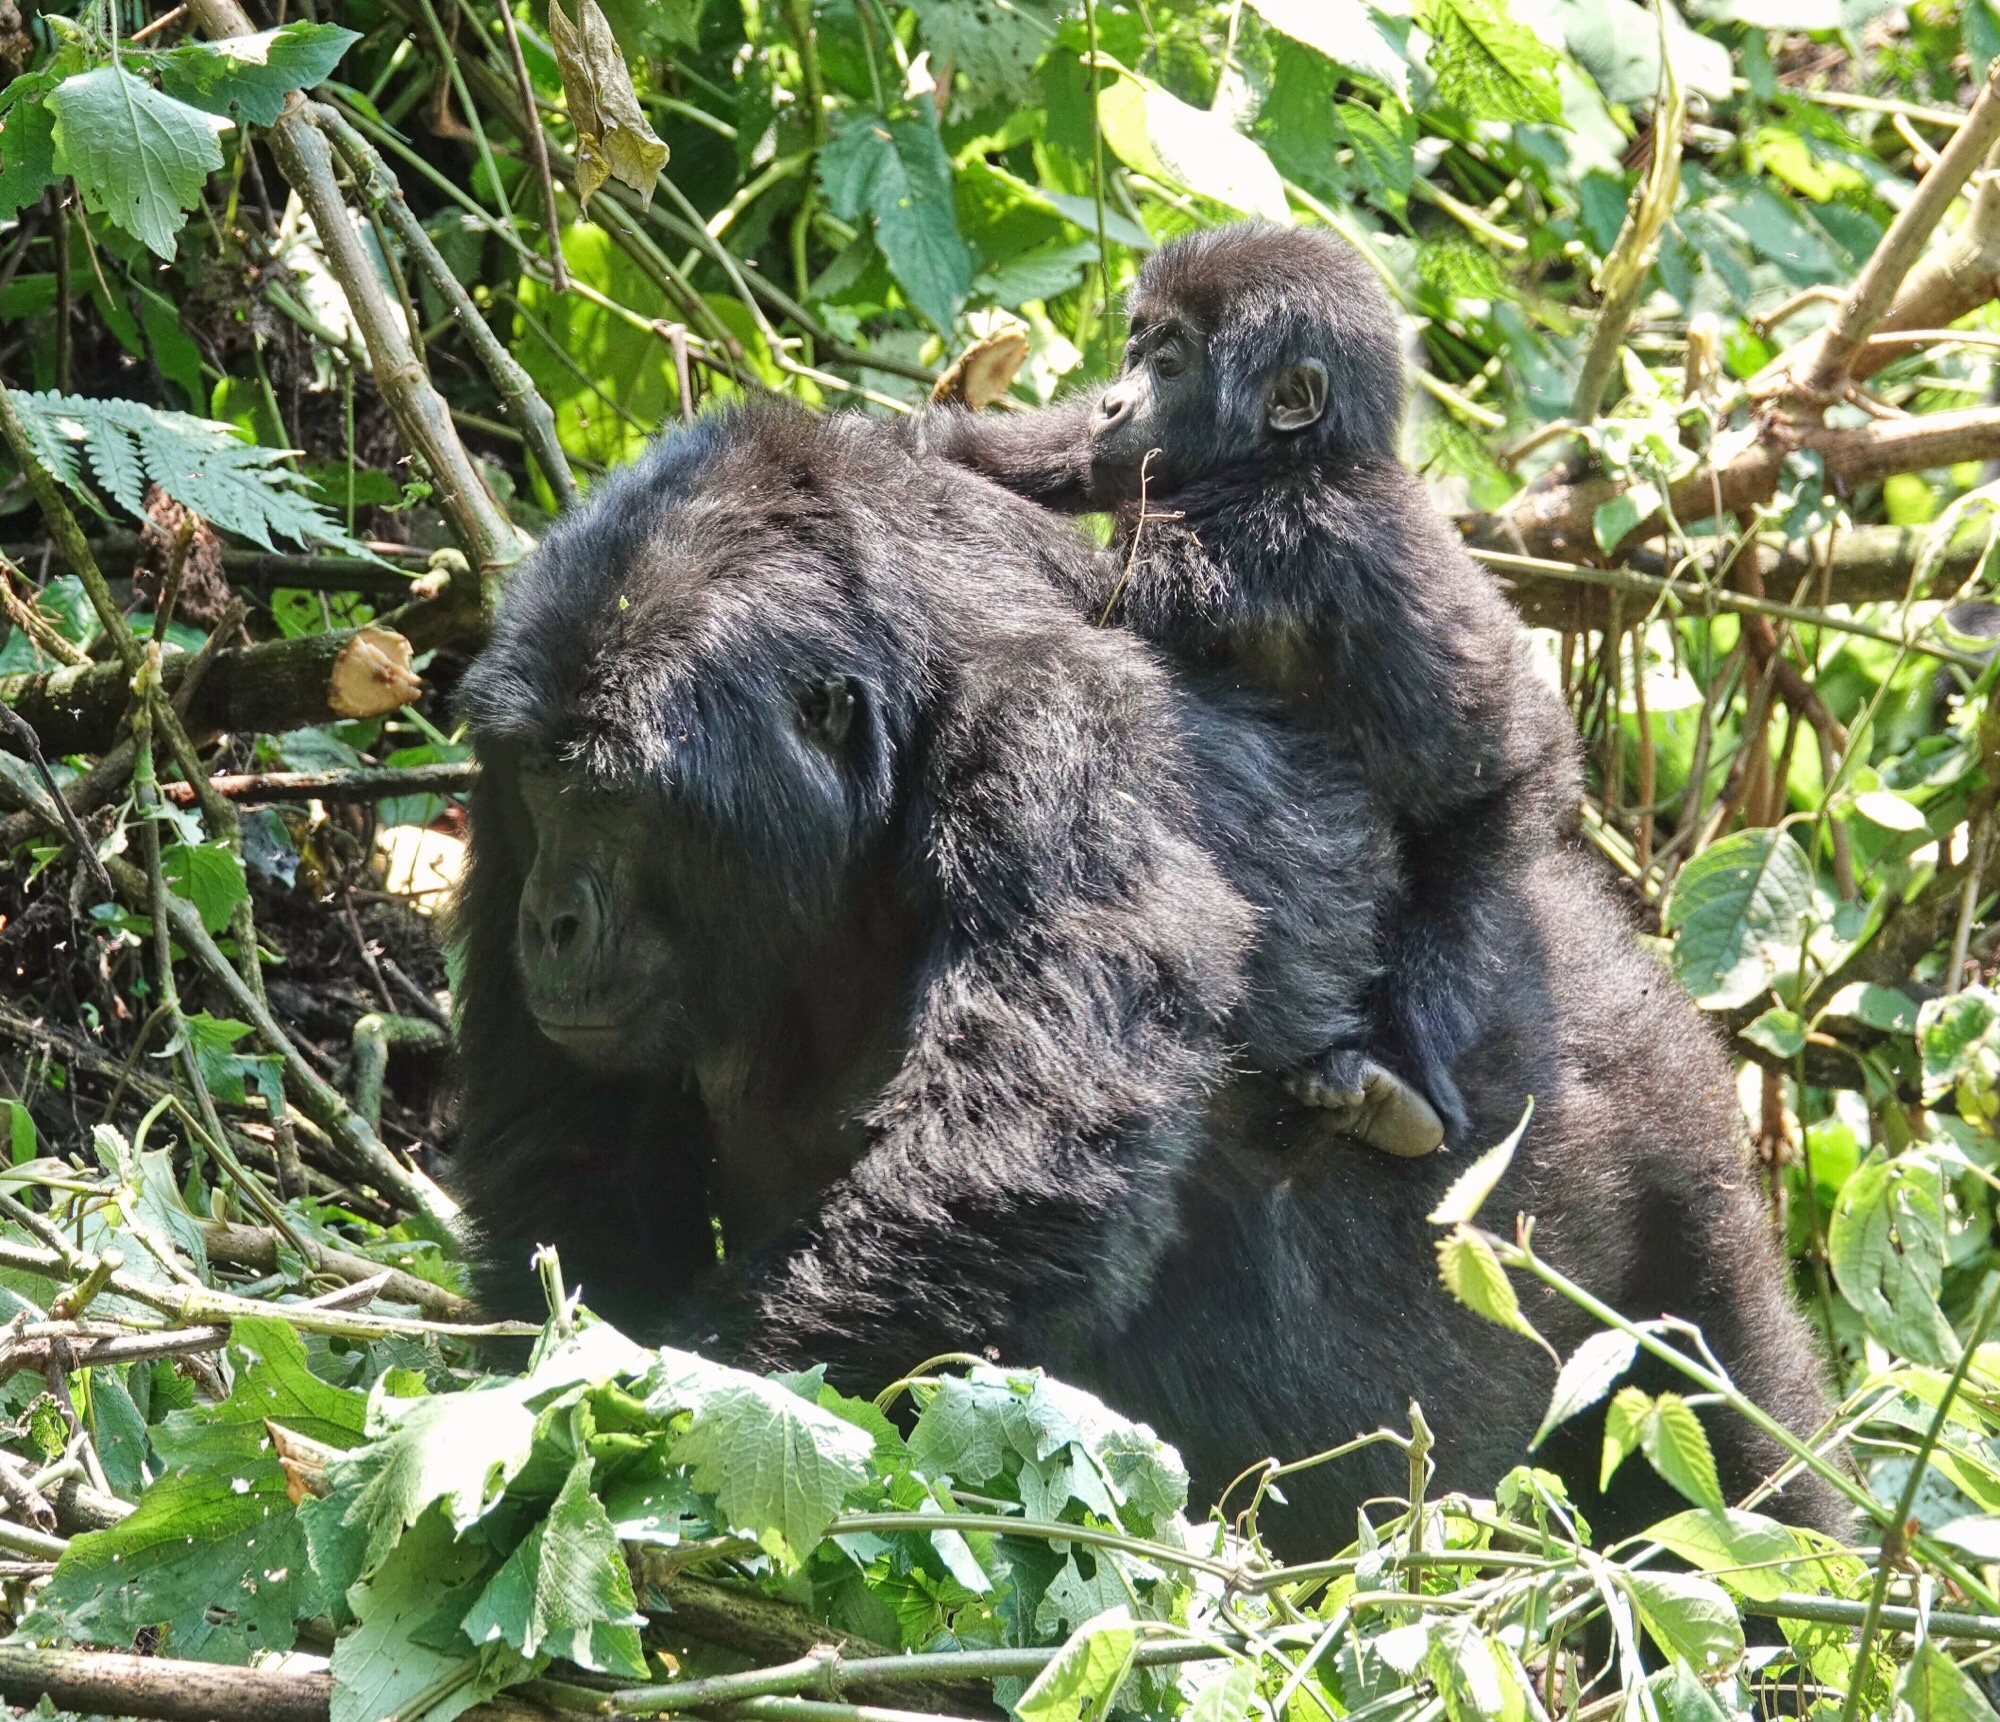
Mountain Gorillas! If you enjoy wildlife, trekking in to visit a family of Mountain Gorillas has to be high on your dream list. It certainly was on mine, and that is one of the main reasons I organized a safari to Uganda. Gorilla Trekking is available in two national parks in Uganda: Mgahinga National Park (which is part of the Virunga Volcano complex of parks in Uganda and neighboring Rwanda and the Congo), and in Bwindi Impenetrable Forest National Park. We visited Bwindi. Mountain Gorillas live in small family groups, generally a “silverback”, the male, and his mate and their offspring. Beginning in the 1990s some of these families were “habituated” to human presence, through a long process of increasing human contact over months, to the point where they can be safely visited…and I mean safe for both the gorillas and their visitors.
Since then, Gorilla Trekking has become a major source of revenue for the Ugandan Wildlife Service and for the local communities around Bwindi. There are 25 habituated gorilla families in Bwindi, and each family is visited by up to 8 people each day year round. That is a lot of Gorilla Trekking permits.
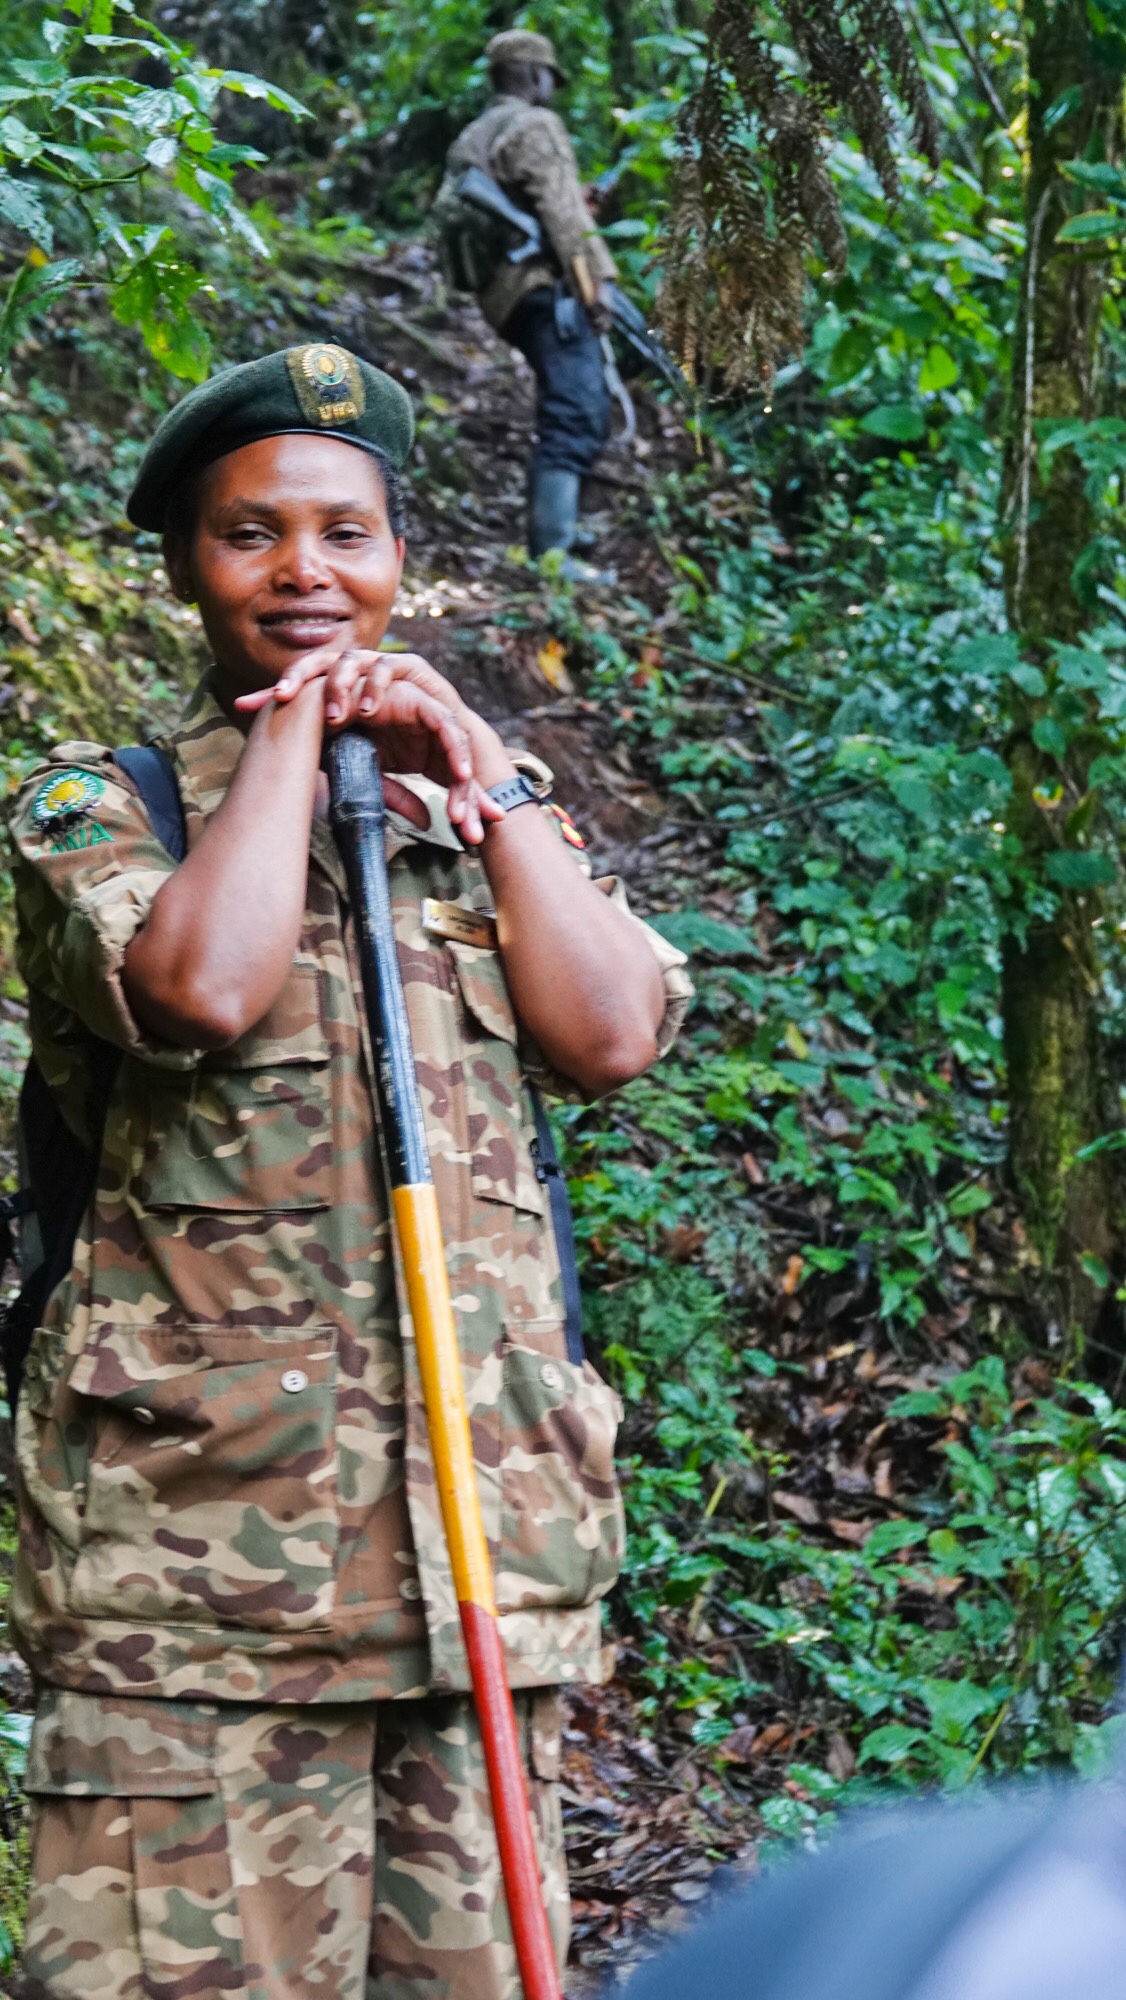
The Mountain Gorillas live in some of the most inaccessible forest in the world…impenetrable…as the name of the park suggests. The slopes are steep, all but vertical sometimes, the ground is continuously wet and unstable, the vegetation is heavy, and every Gorilla Trek involves at least some bushwhacking off the primitive trails to reach the family you have been assigned. Heavy pants, waterproof hiking boots, and even gloves to protect your hands from spines, thorns, and splinters, are required apparel. You can hire a porter, who will help with your pack (lunch and water and possibly camera gear), but who will, more importantly, help you up and down the steepest and most treacherous stretches of trail and ground. I highly recommend hiring a porter, no matter how fit you think you are. It can make the difference between enjoying the trek and merely surviving it.

At the morning briefing you and your group (2 people were added to our group of 5, since groups can be up to 8 people) are assigned one of the local habituated families and the guide who works with that family on a daily basis. Even before the briefing, the early trackers are out to where the family bedded down the evening before. Mountain Gorillas make a new nest, generally on the ground or in low vegetation, each night. The gorillas are generally up and moving before the early trackers can reach the night nests, so the trackers’ job is to follow the gorillas’ track to relocate them for the day’s visit. Your group hikes out with your rangers (two armed rangers accompany the guide to protect against possible Forest Elephant encounters) in the general direction of the last night nest (for us this was about an hour but we had one of the closer families as we used our relative age and fitness level to convince the rangers we need an “easy” family). Then generally you wait an hour or more in some forest clearing for the early trackers to radio in when the family stops to feed or rest or play and seems likely to stay put for long enough for your group to get there. If they don’t stop soon, you might be chasing them for another several hours. For us they stopped about 30 minutes from our waiting spot. Again, your experience may vary depending on how far and how fast your family is moving. Some Treks last 6 hours. By the time you get to the family, the trackers will have hacked a rough path from the nearest trail, and, if necessary, cleared a “doorway” into the clearing where the gorillas are.
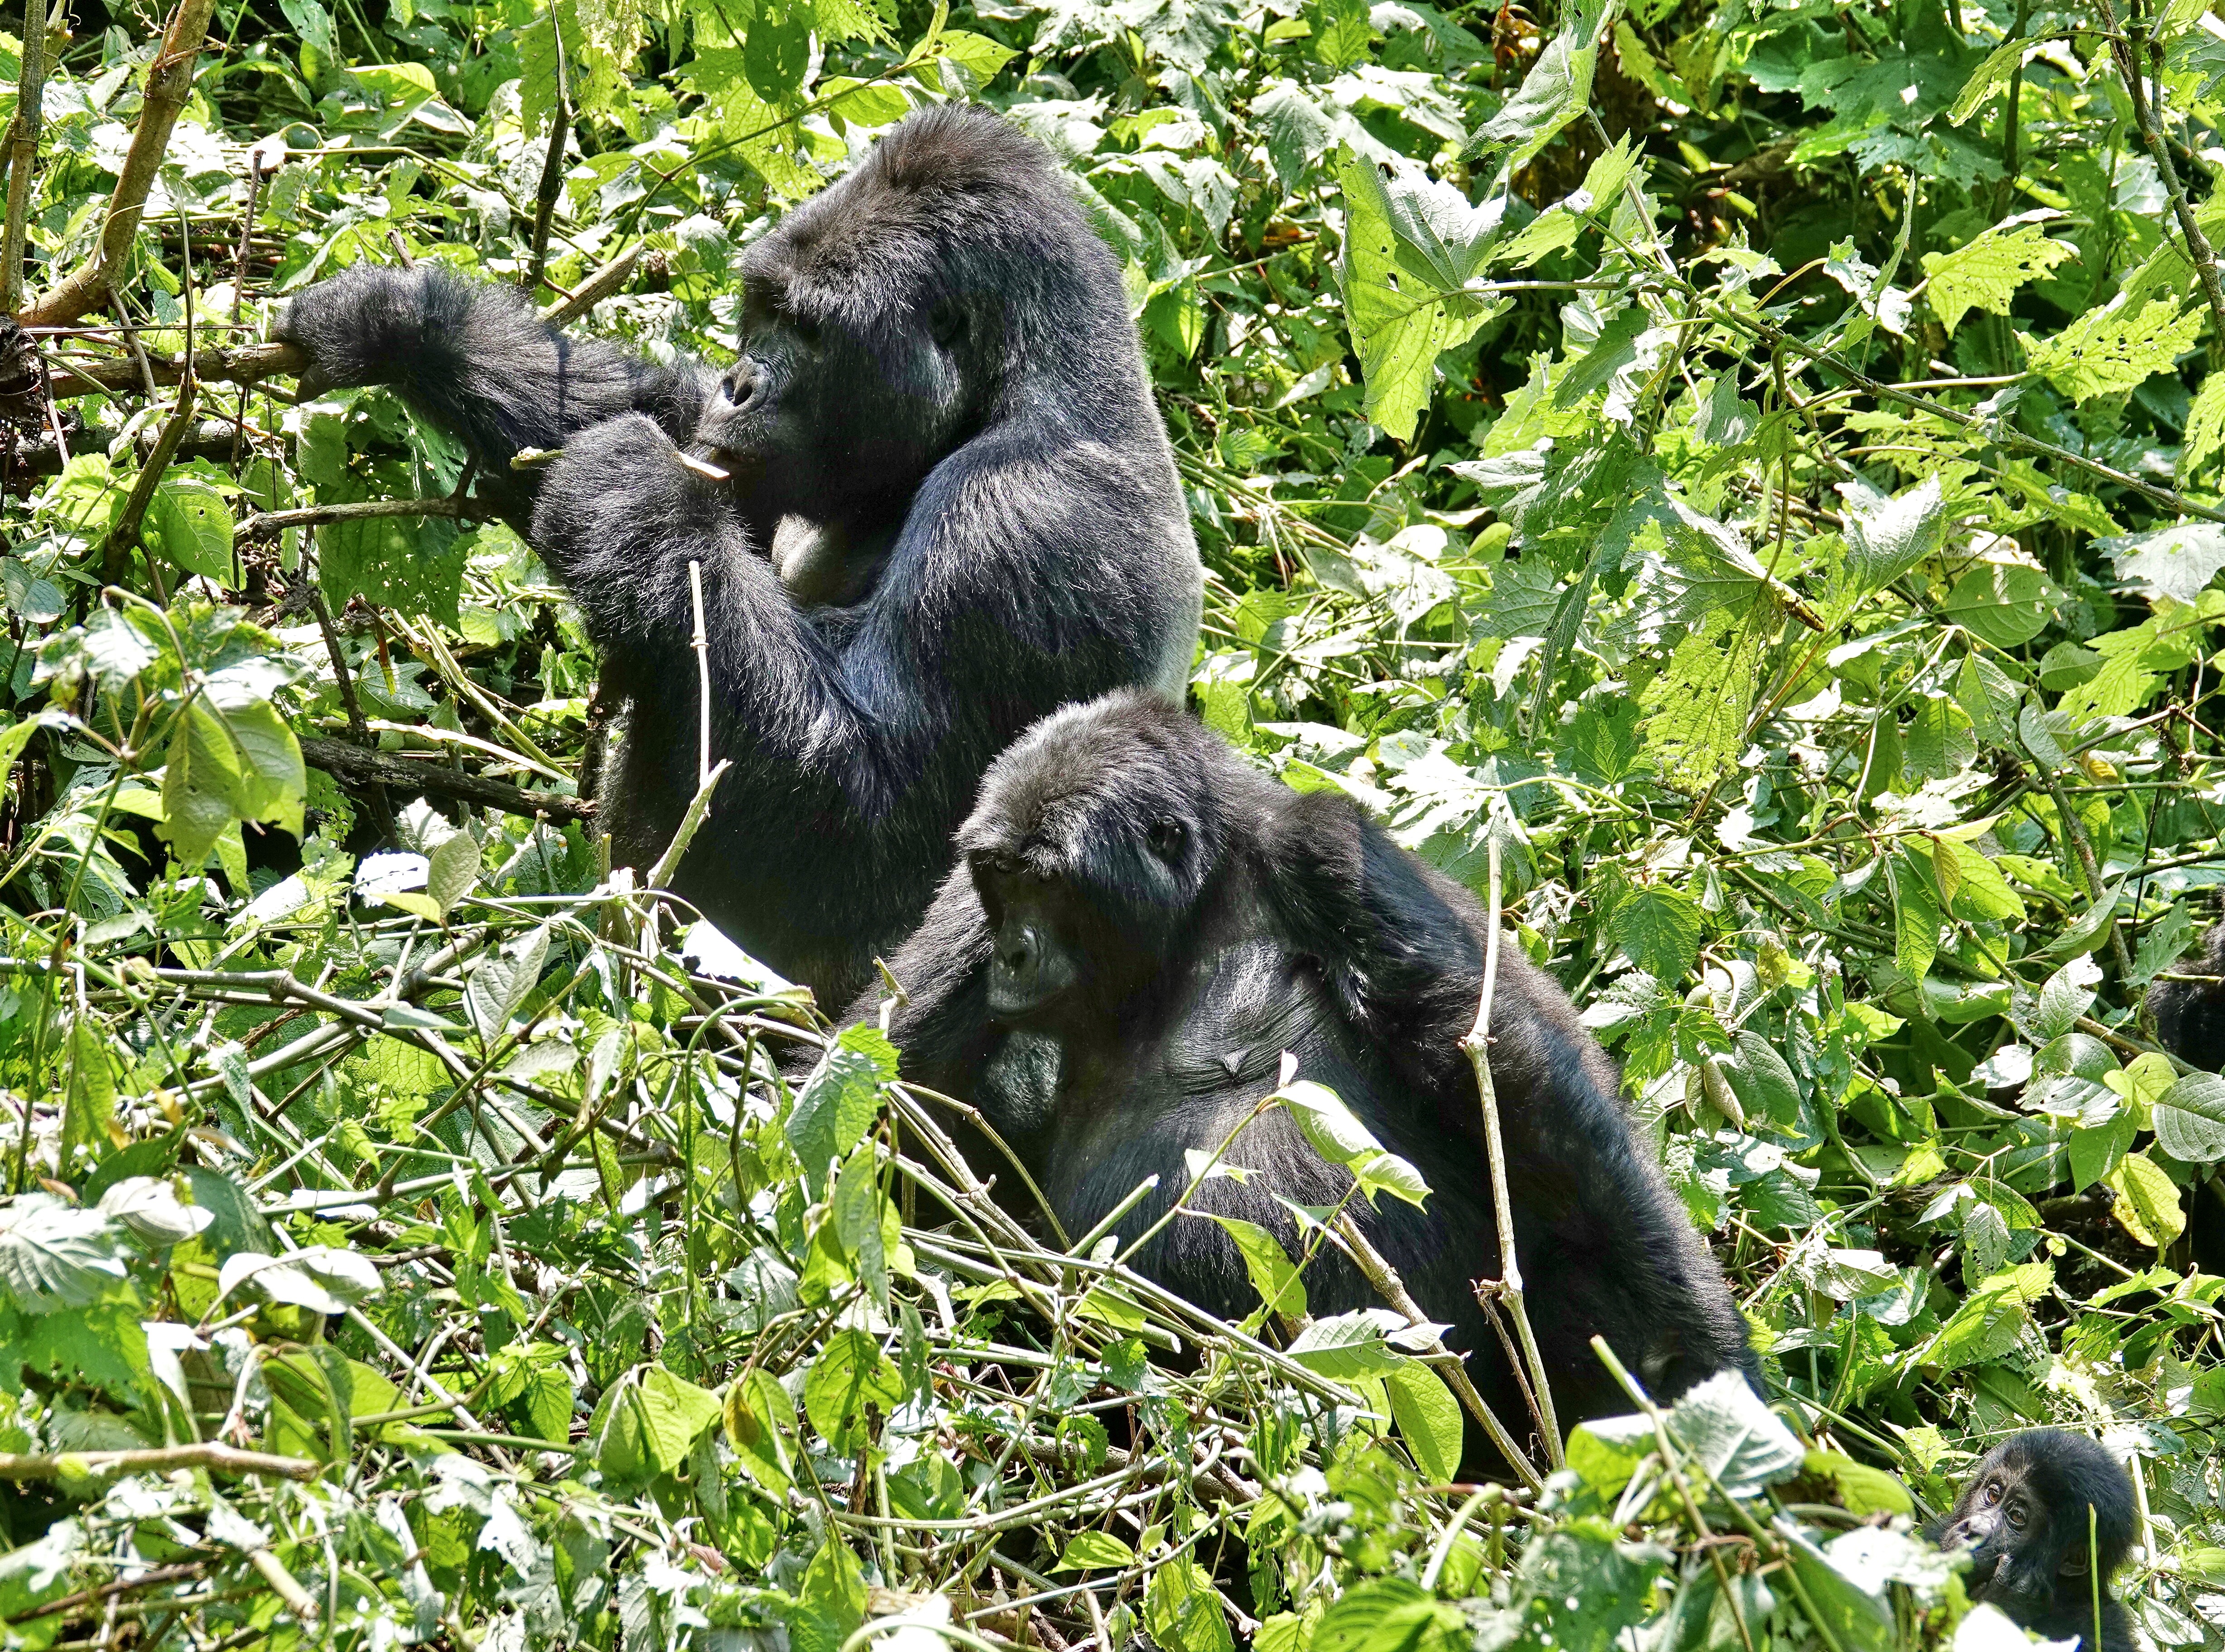
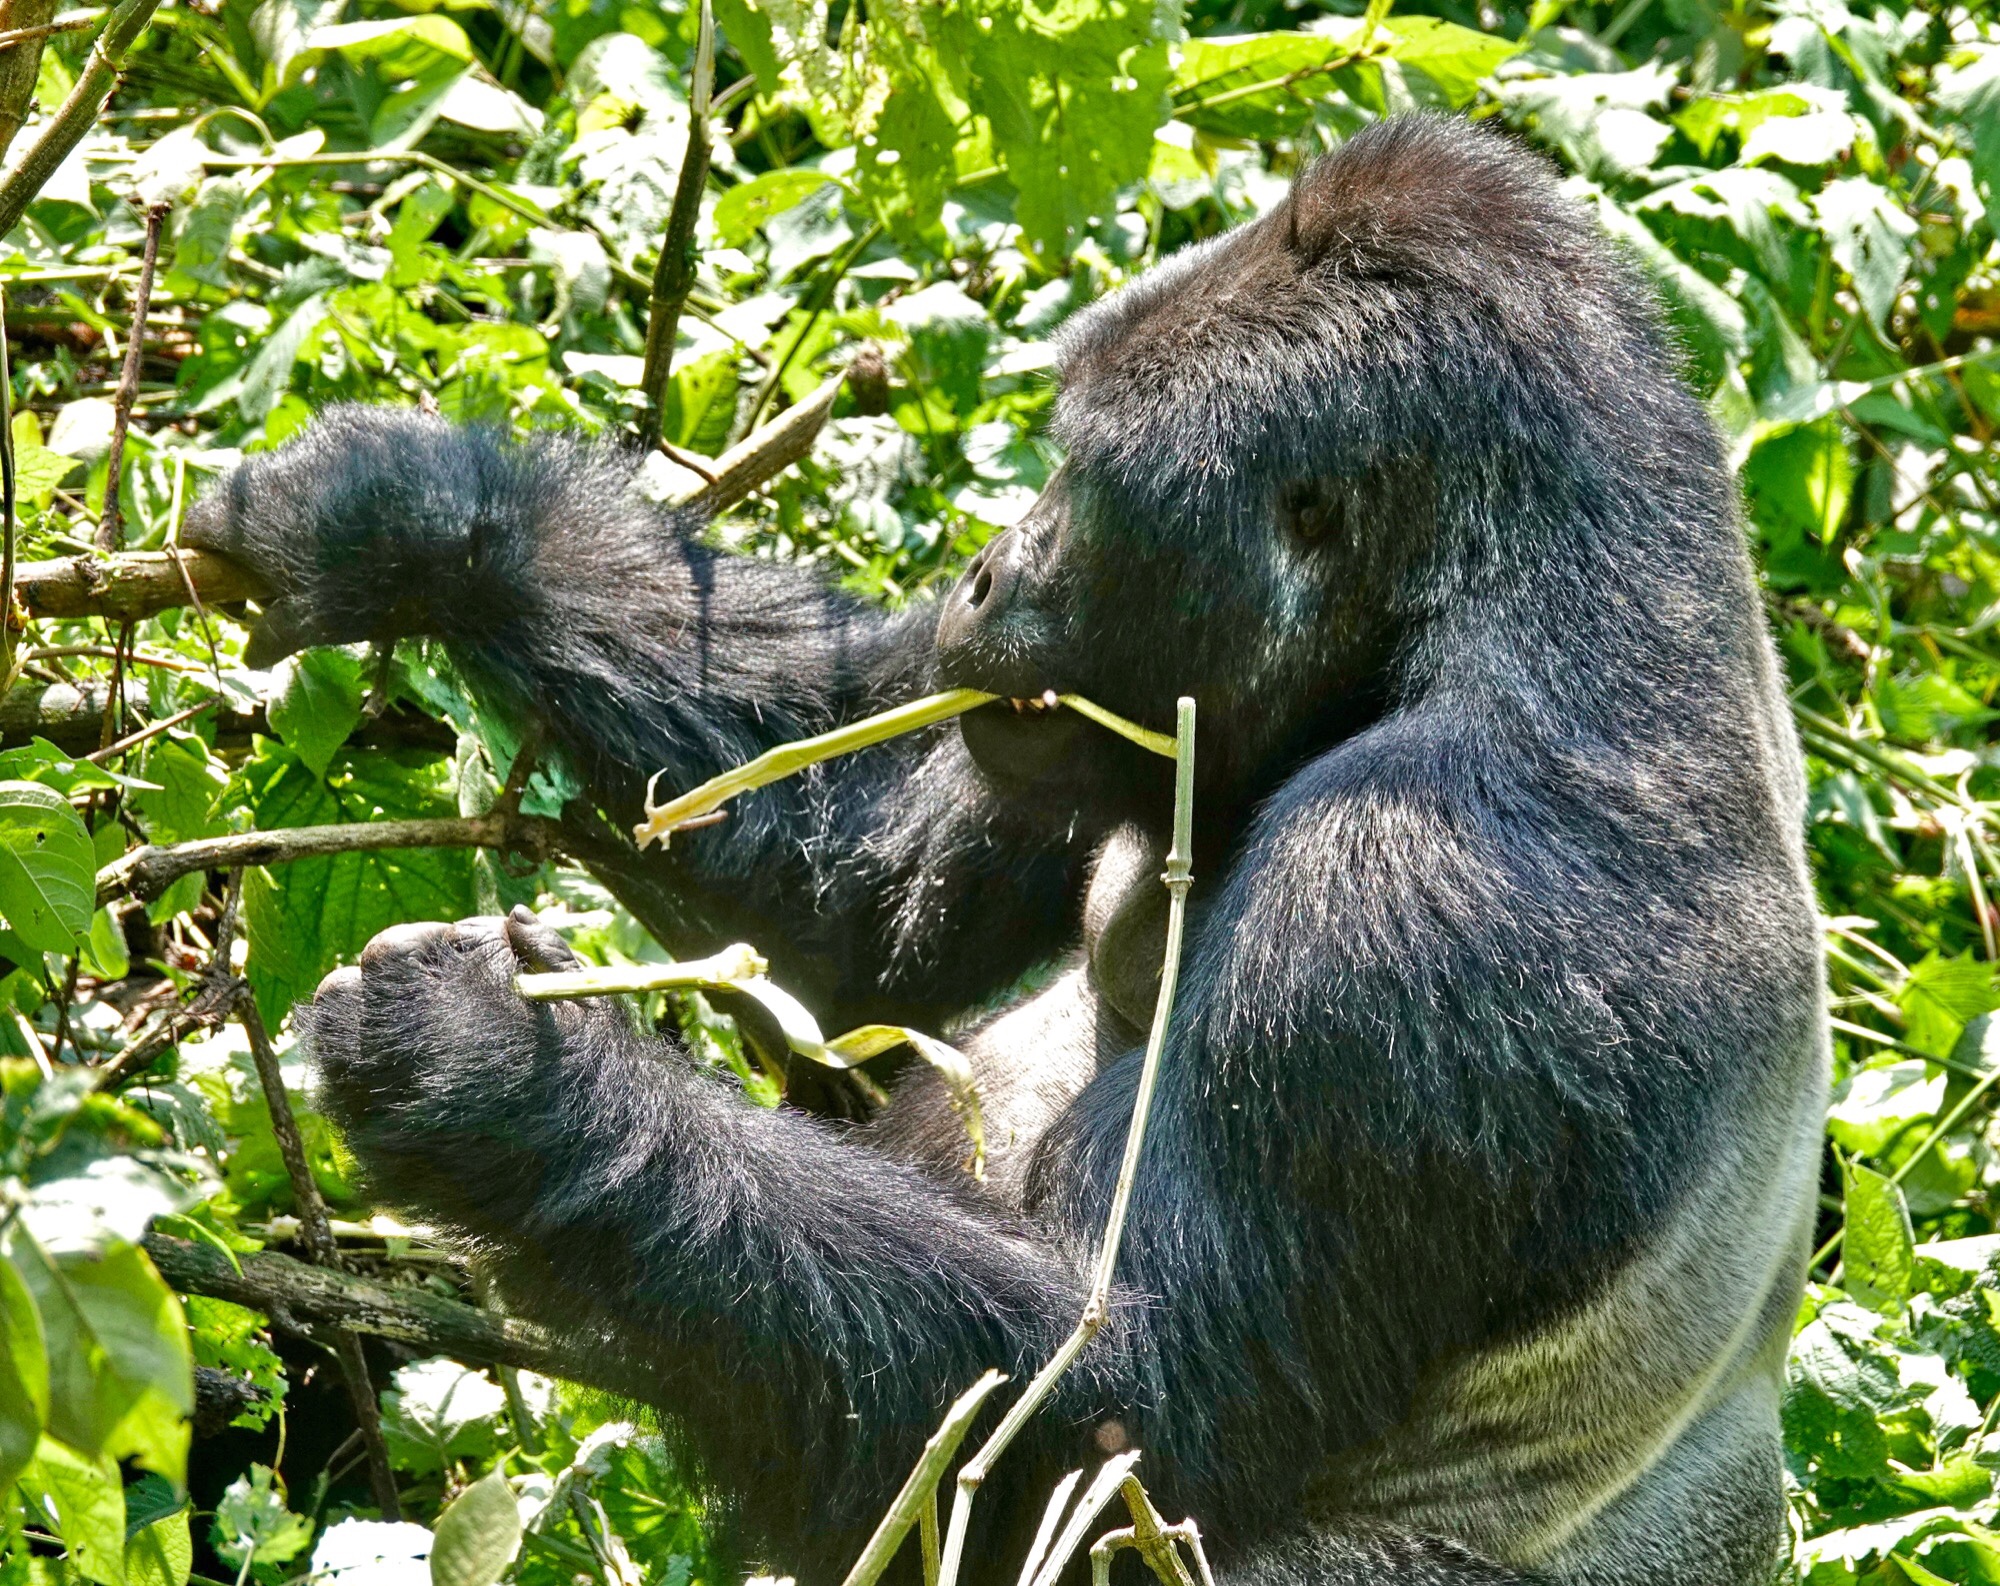
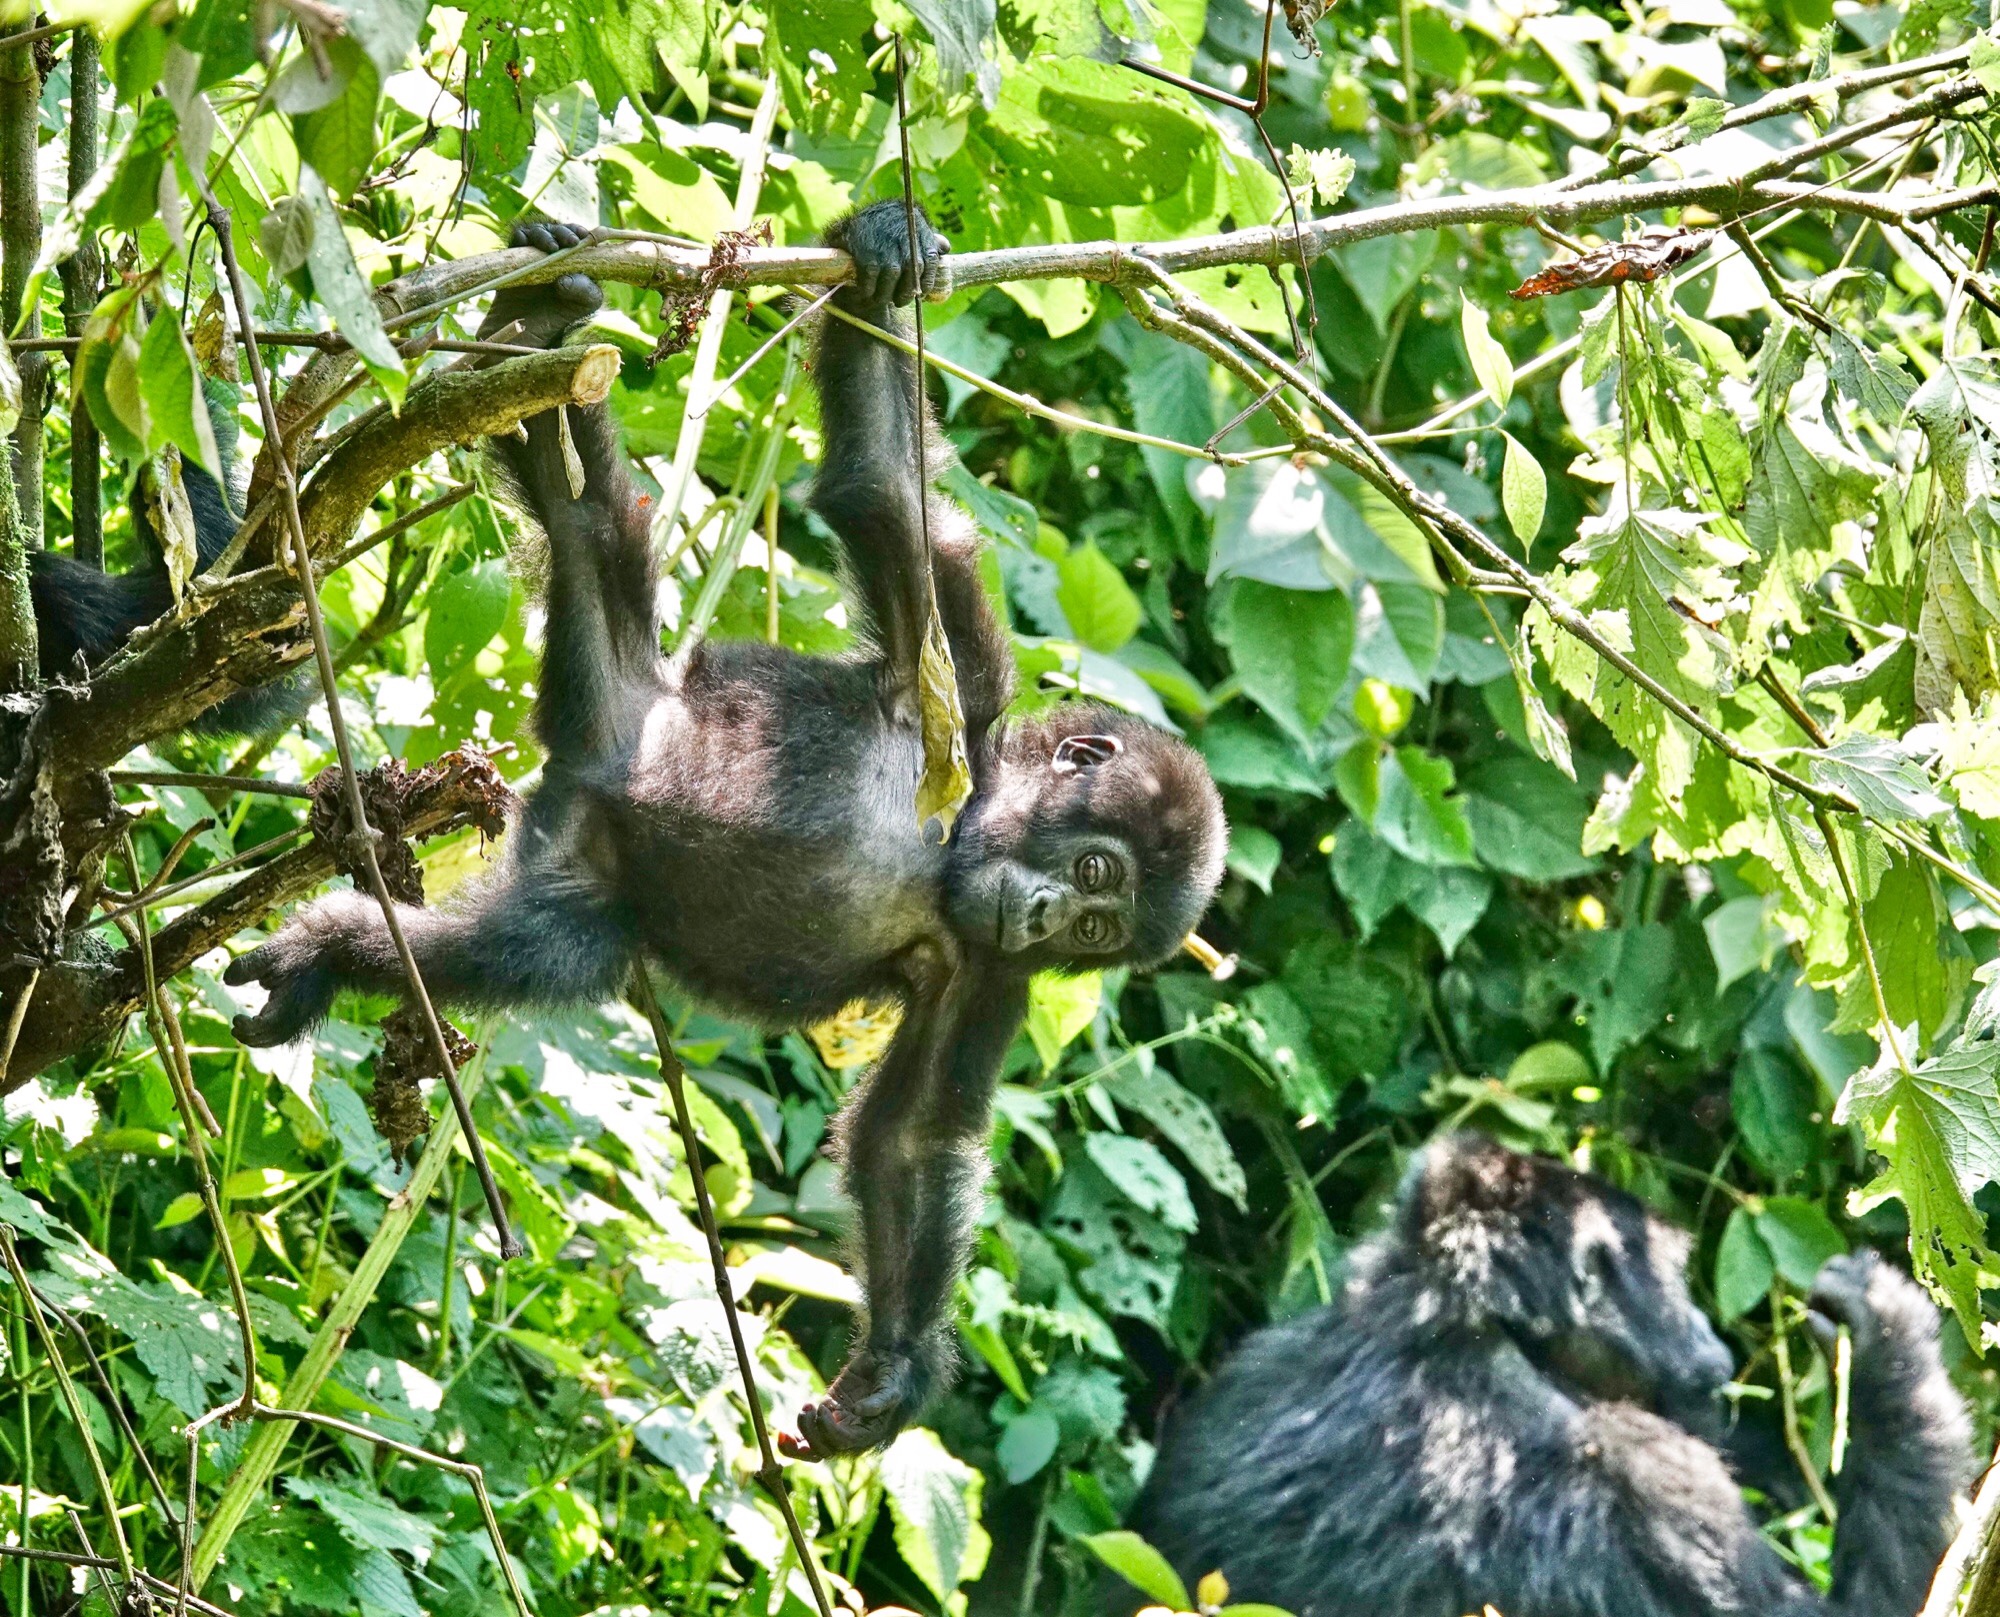
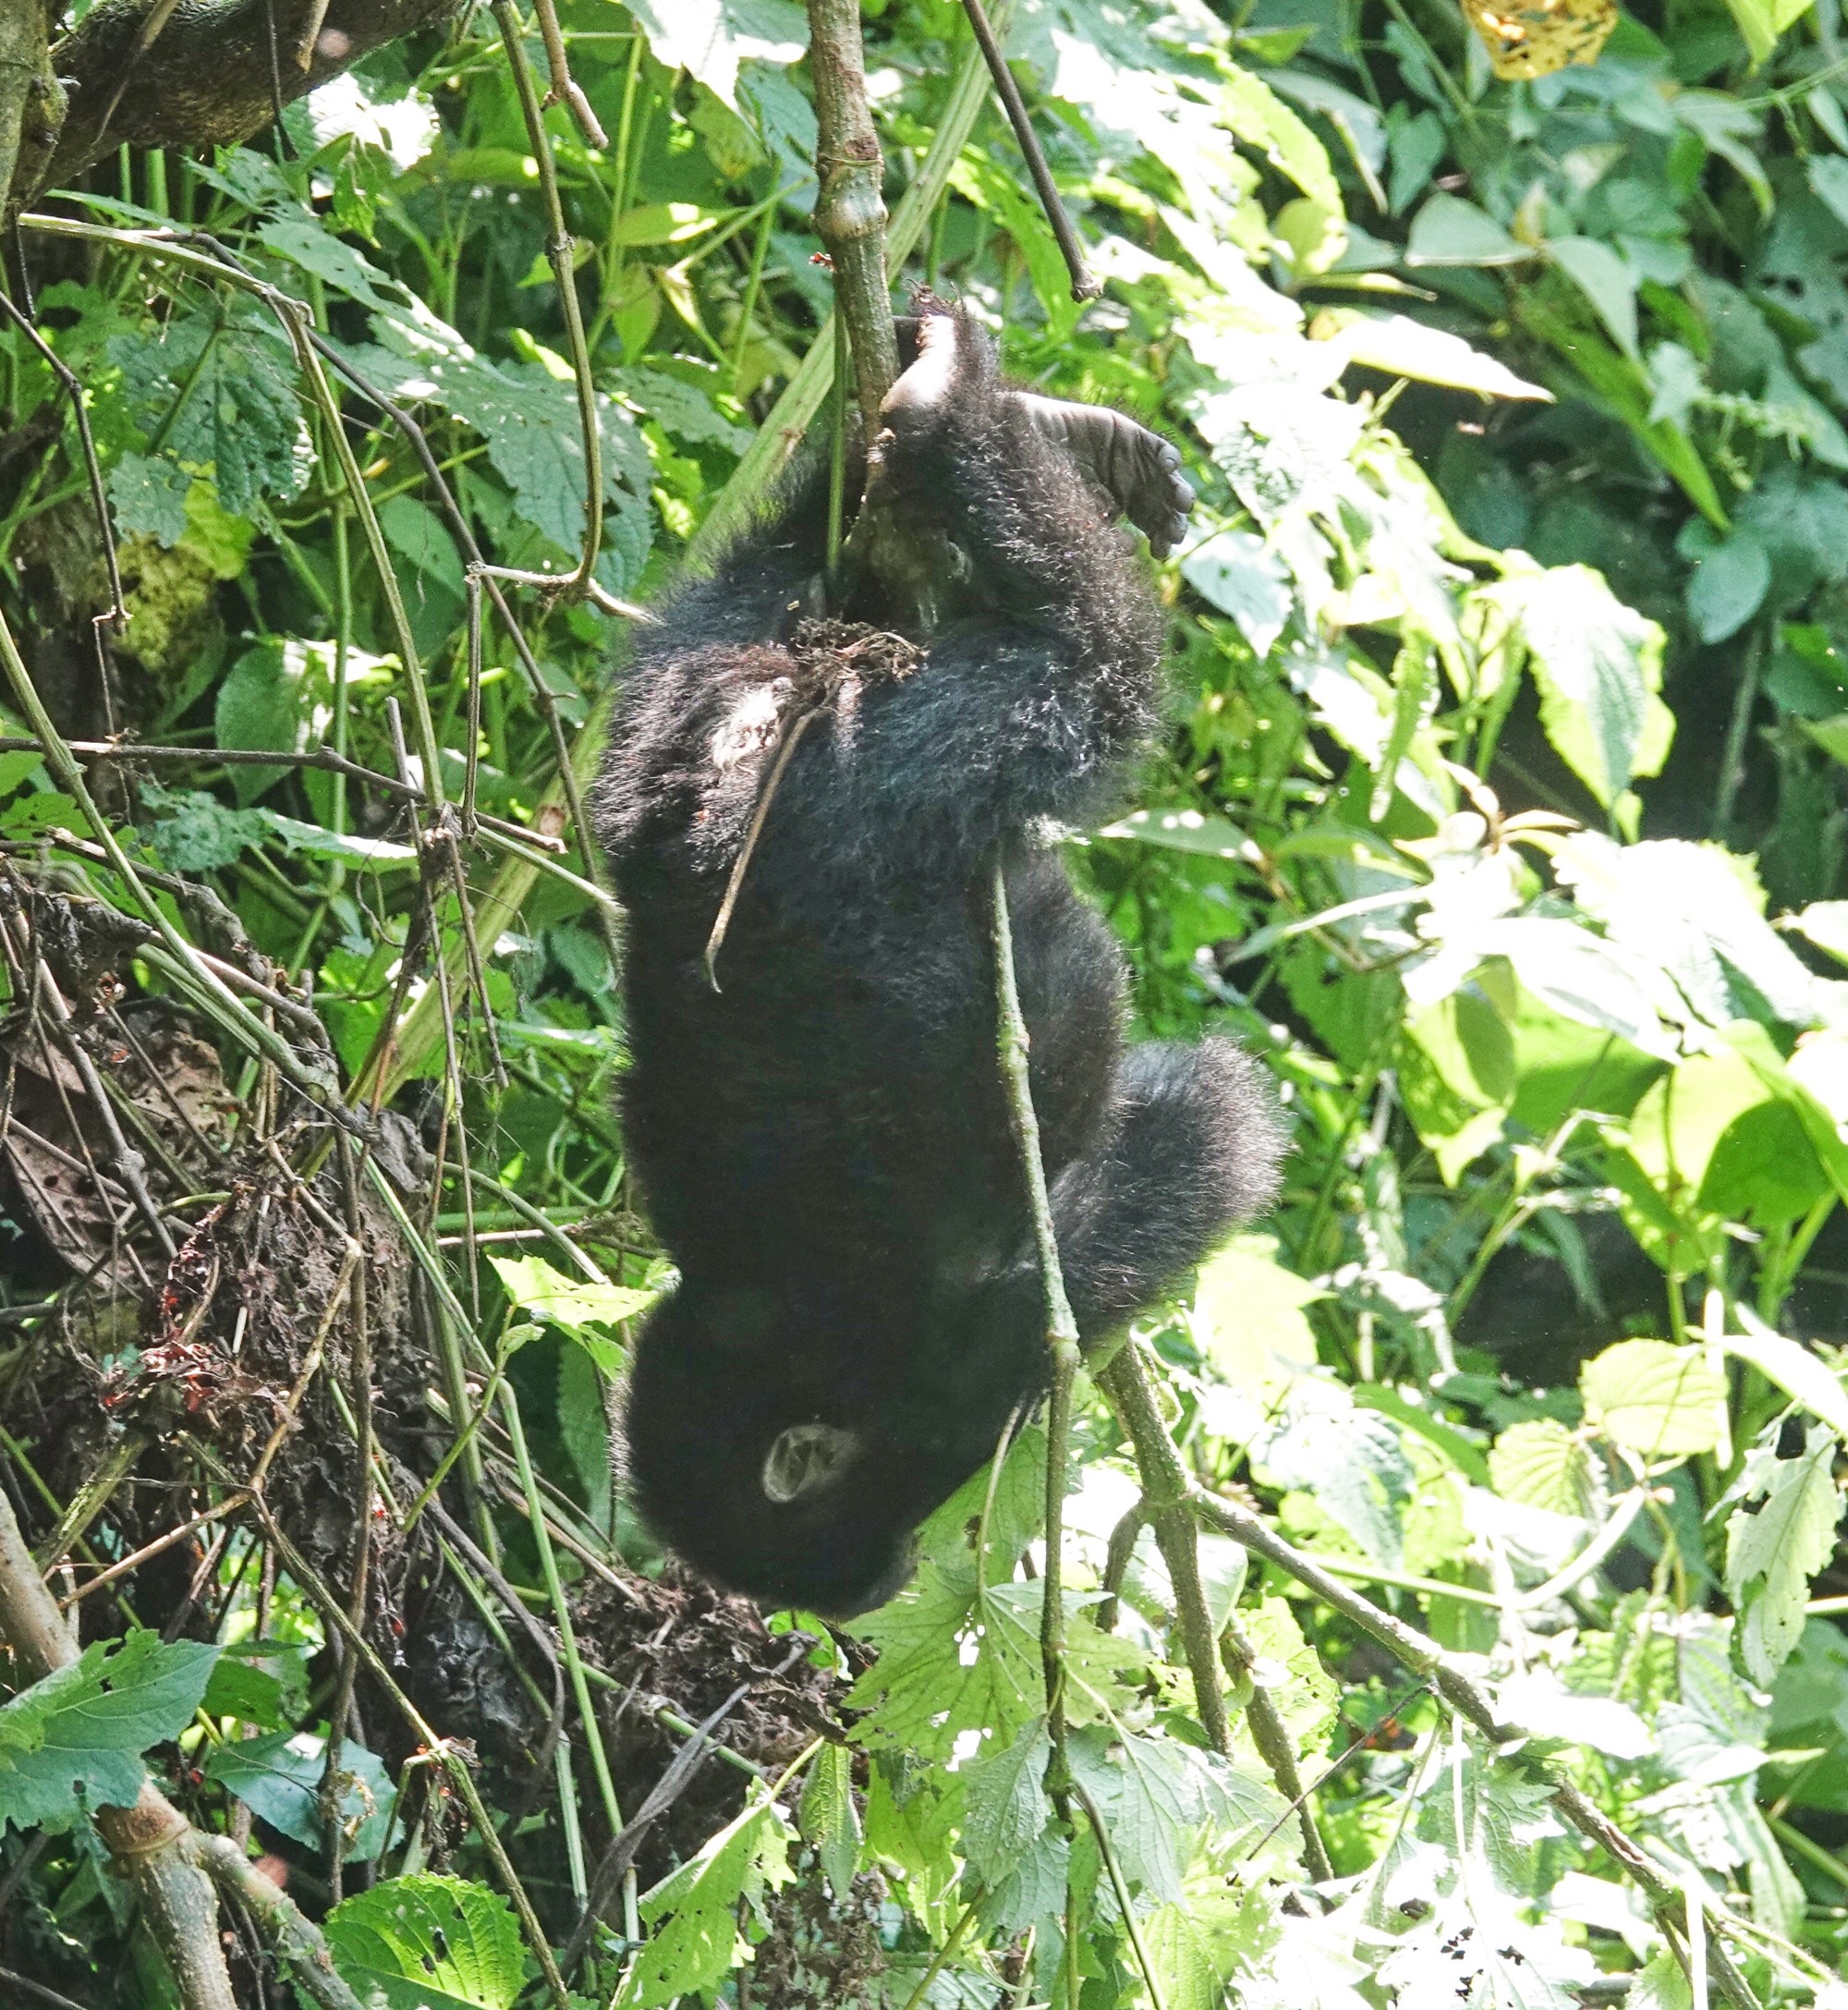
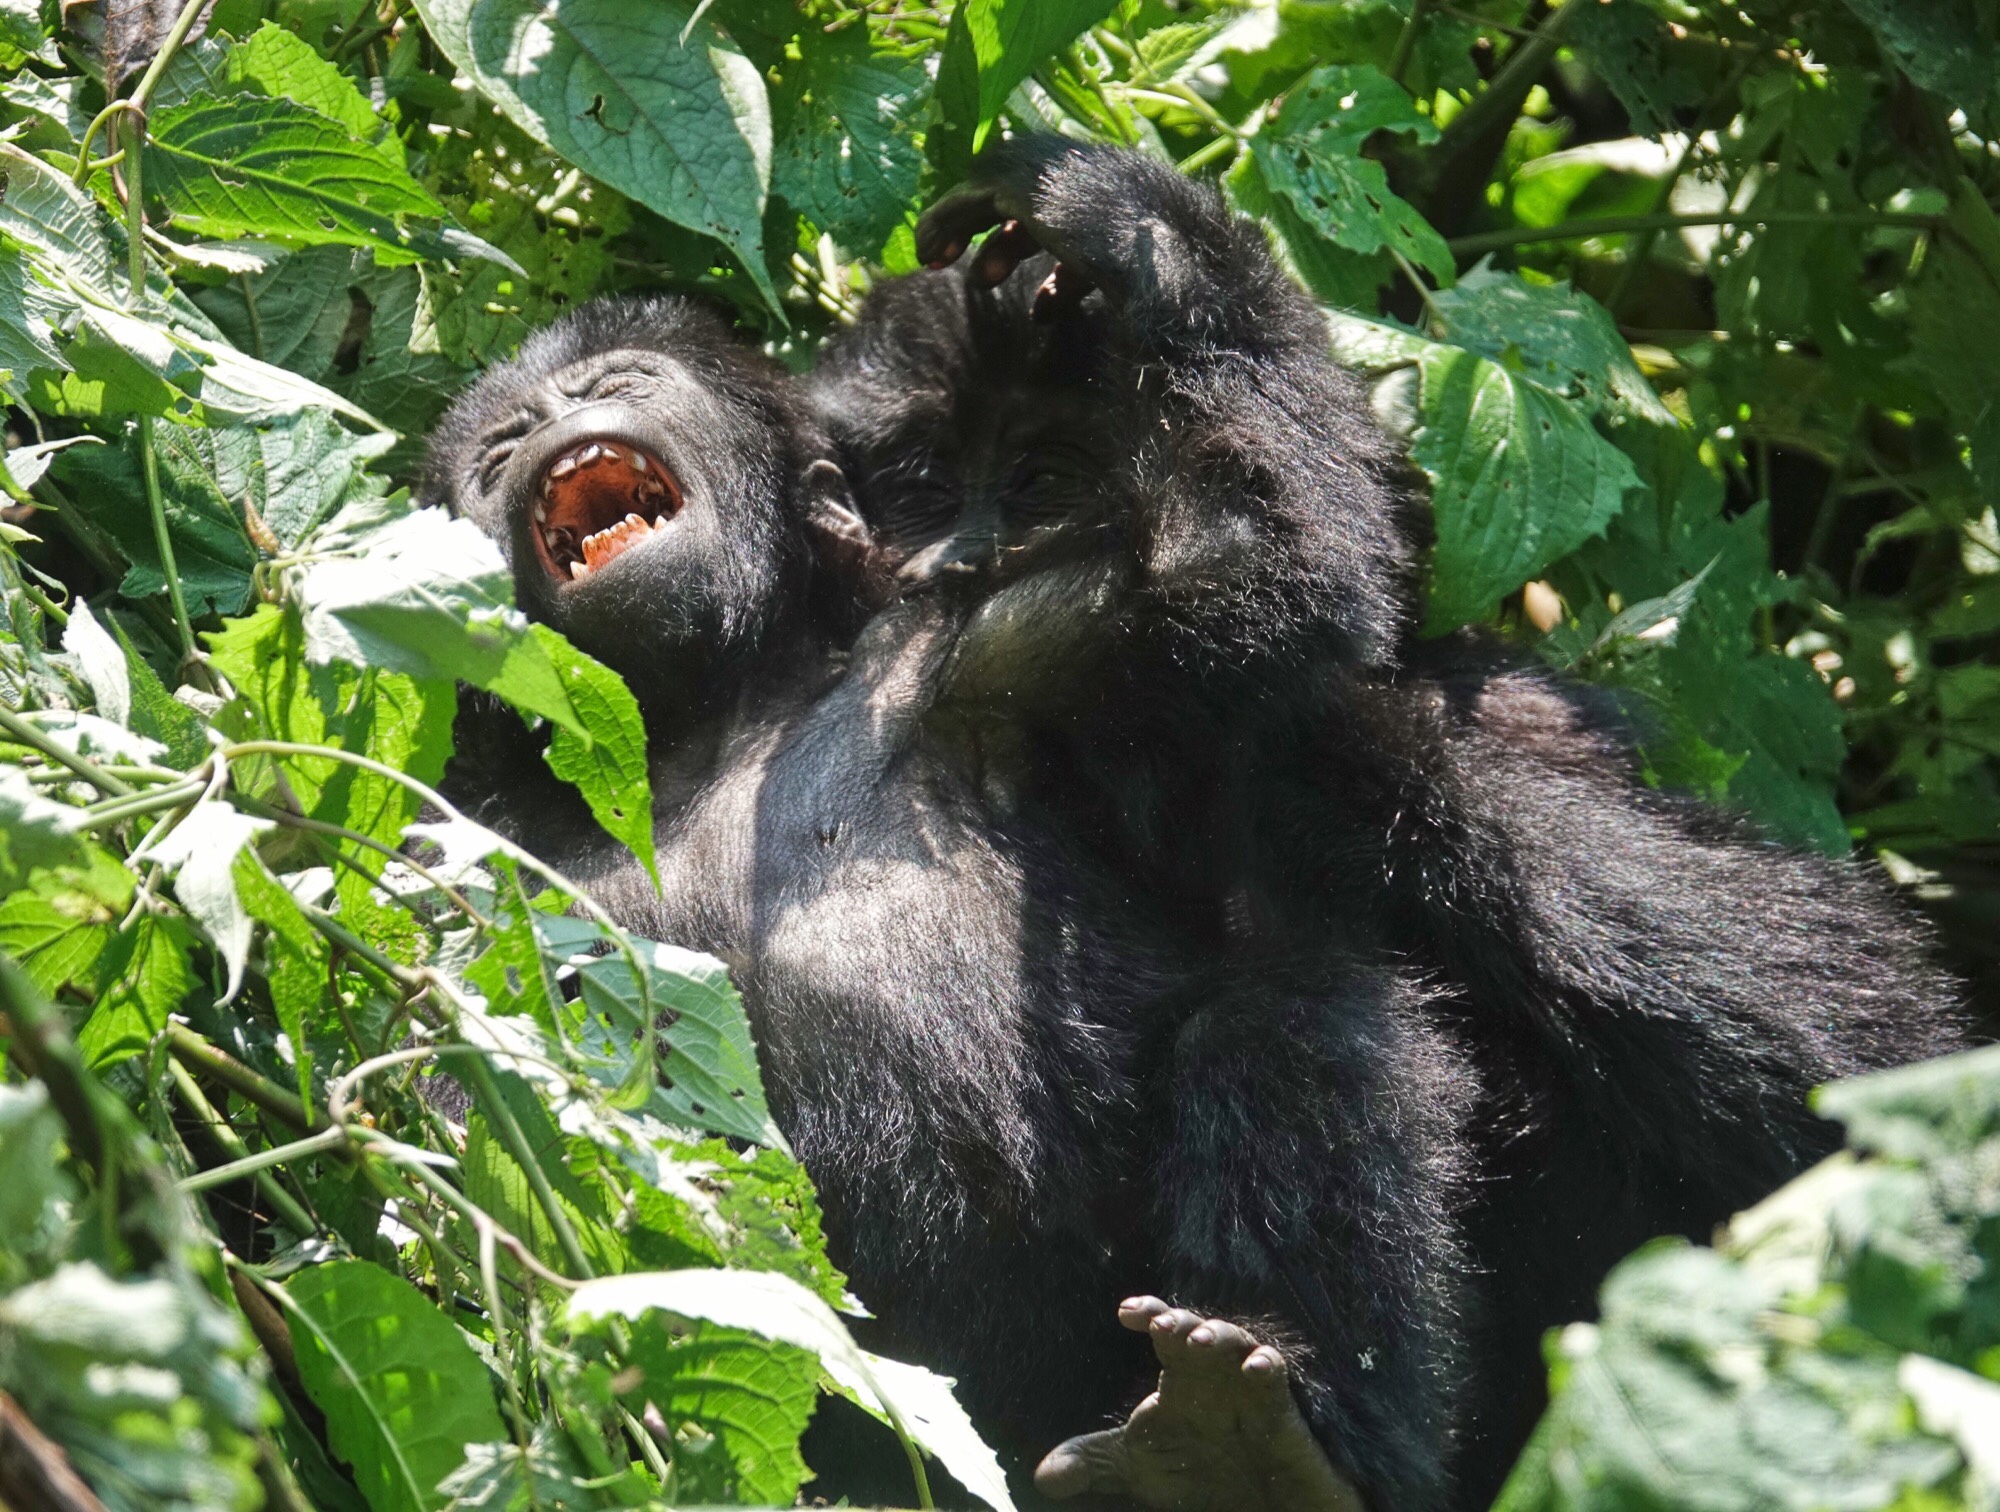
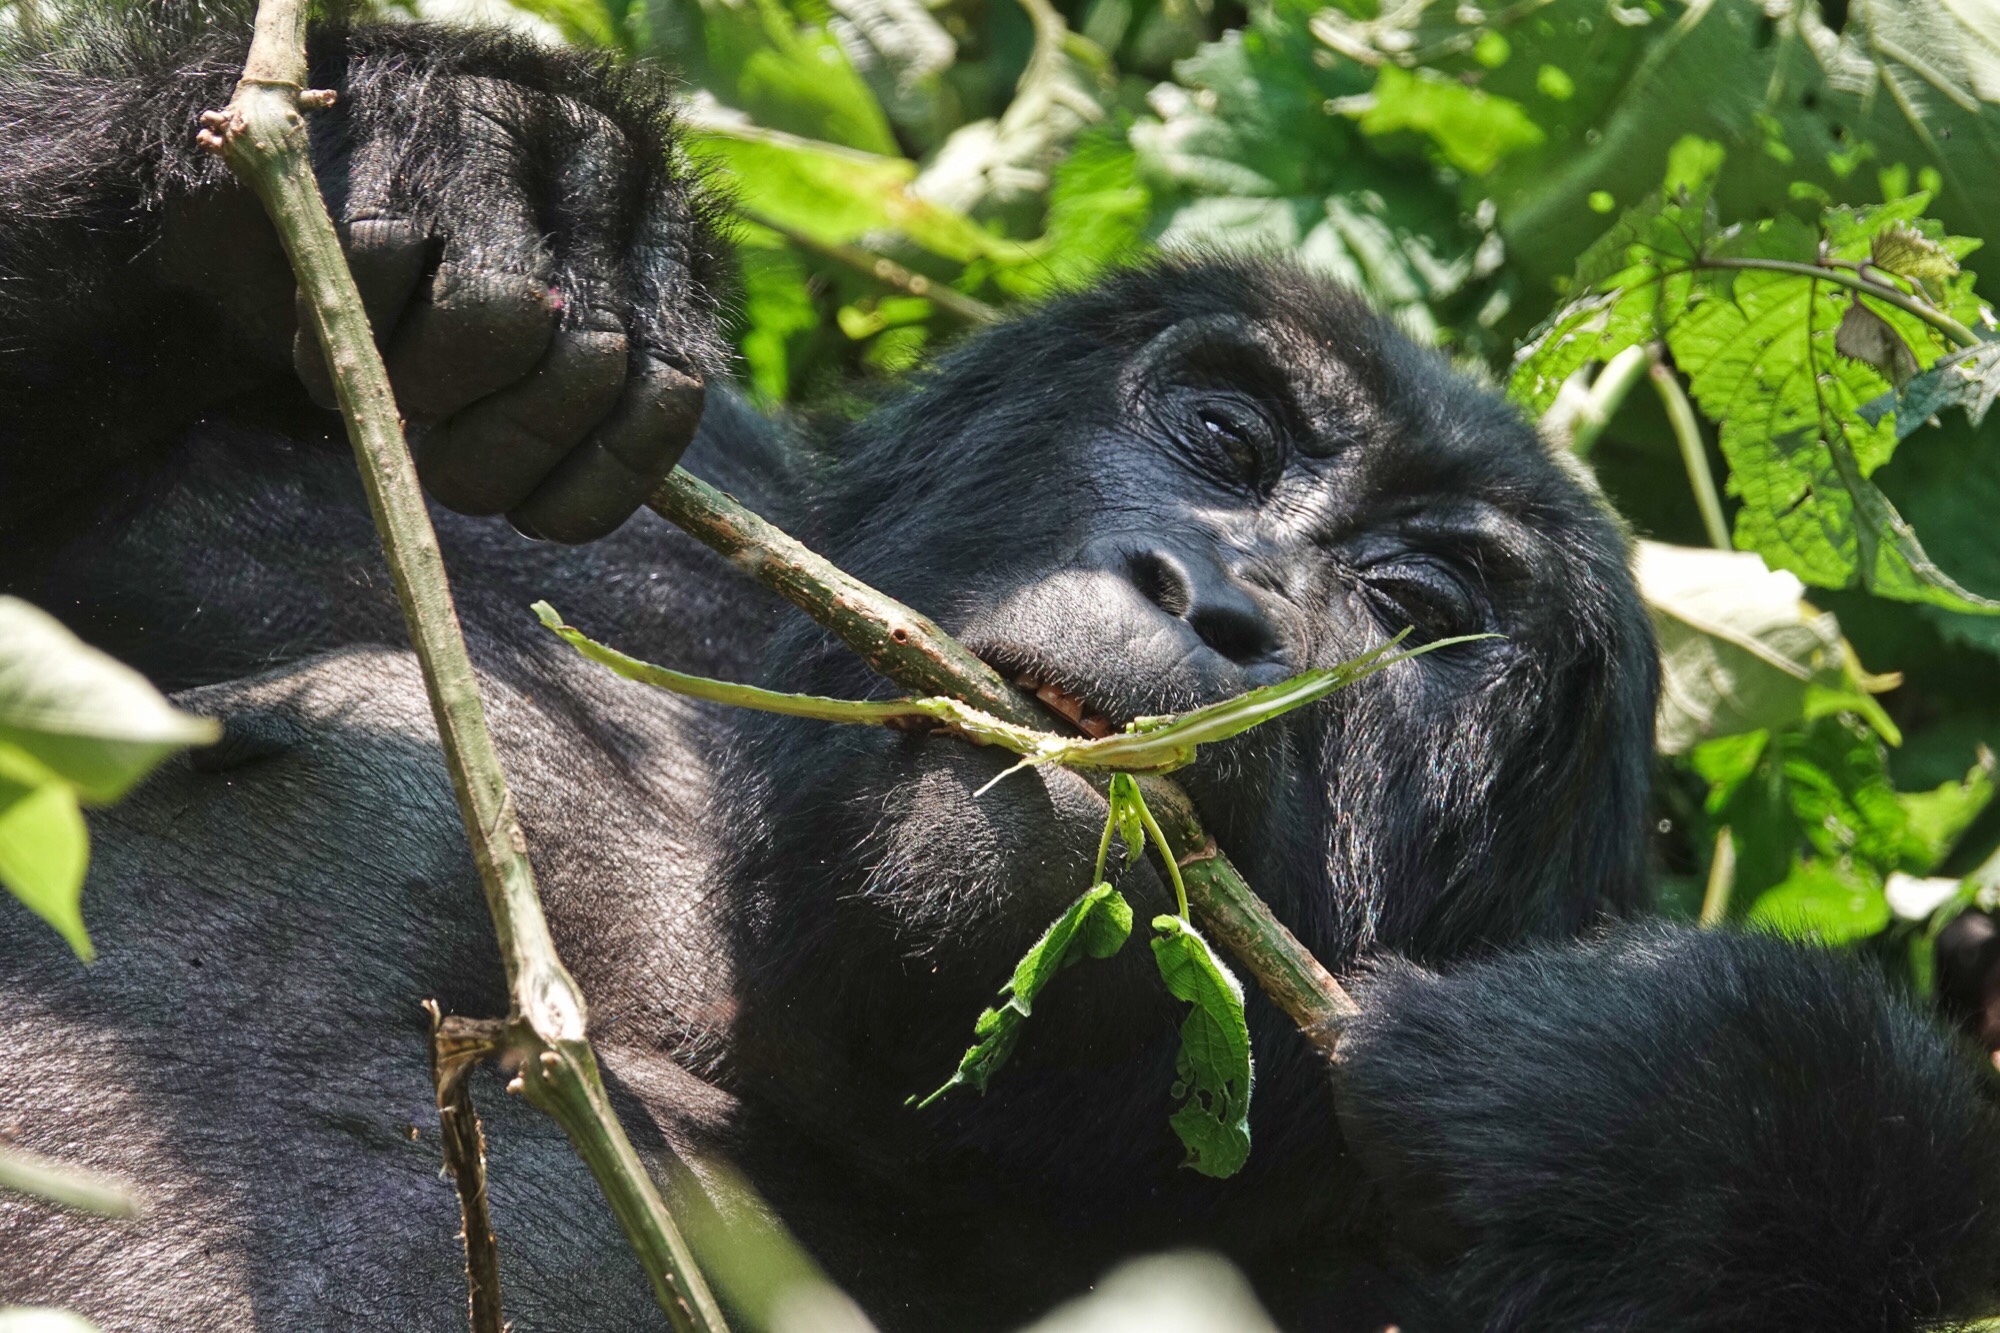
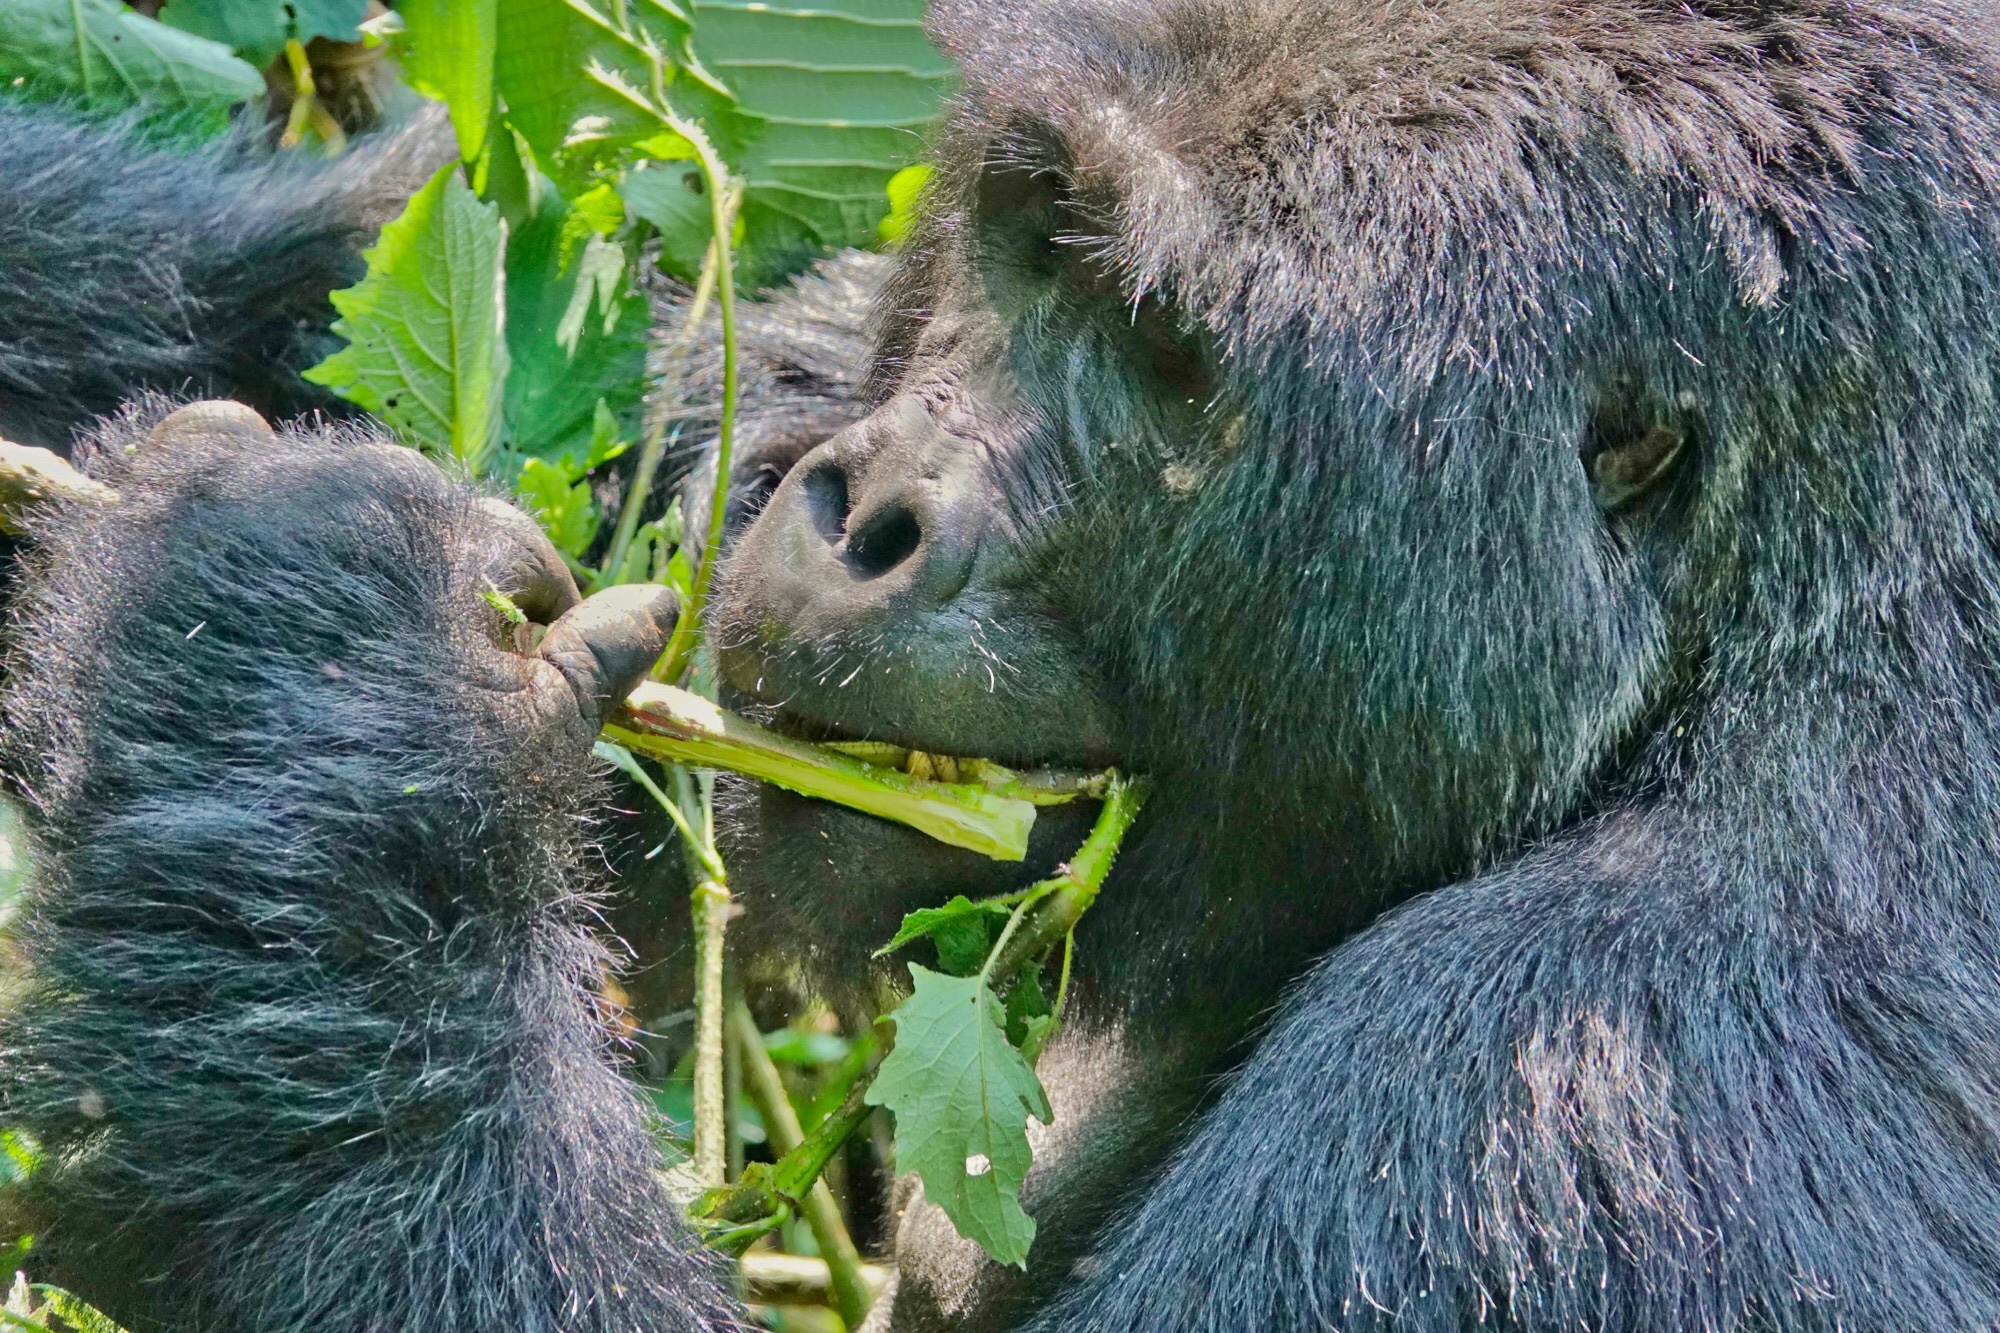
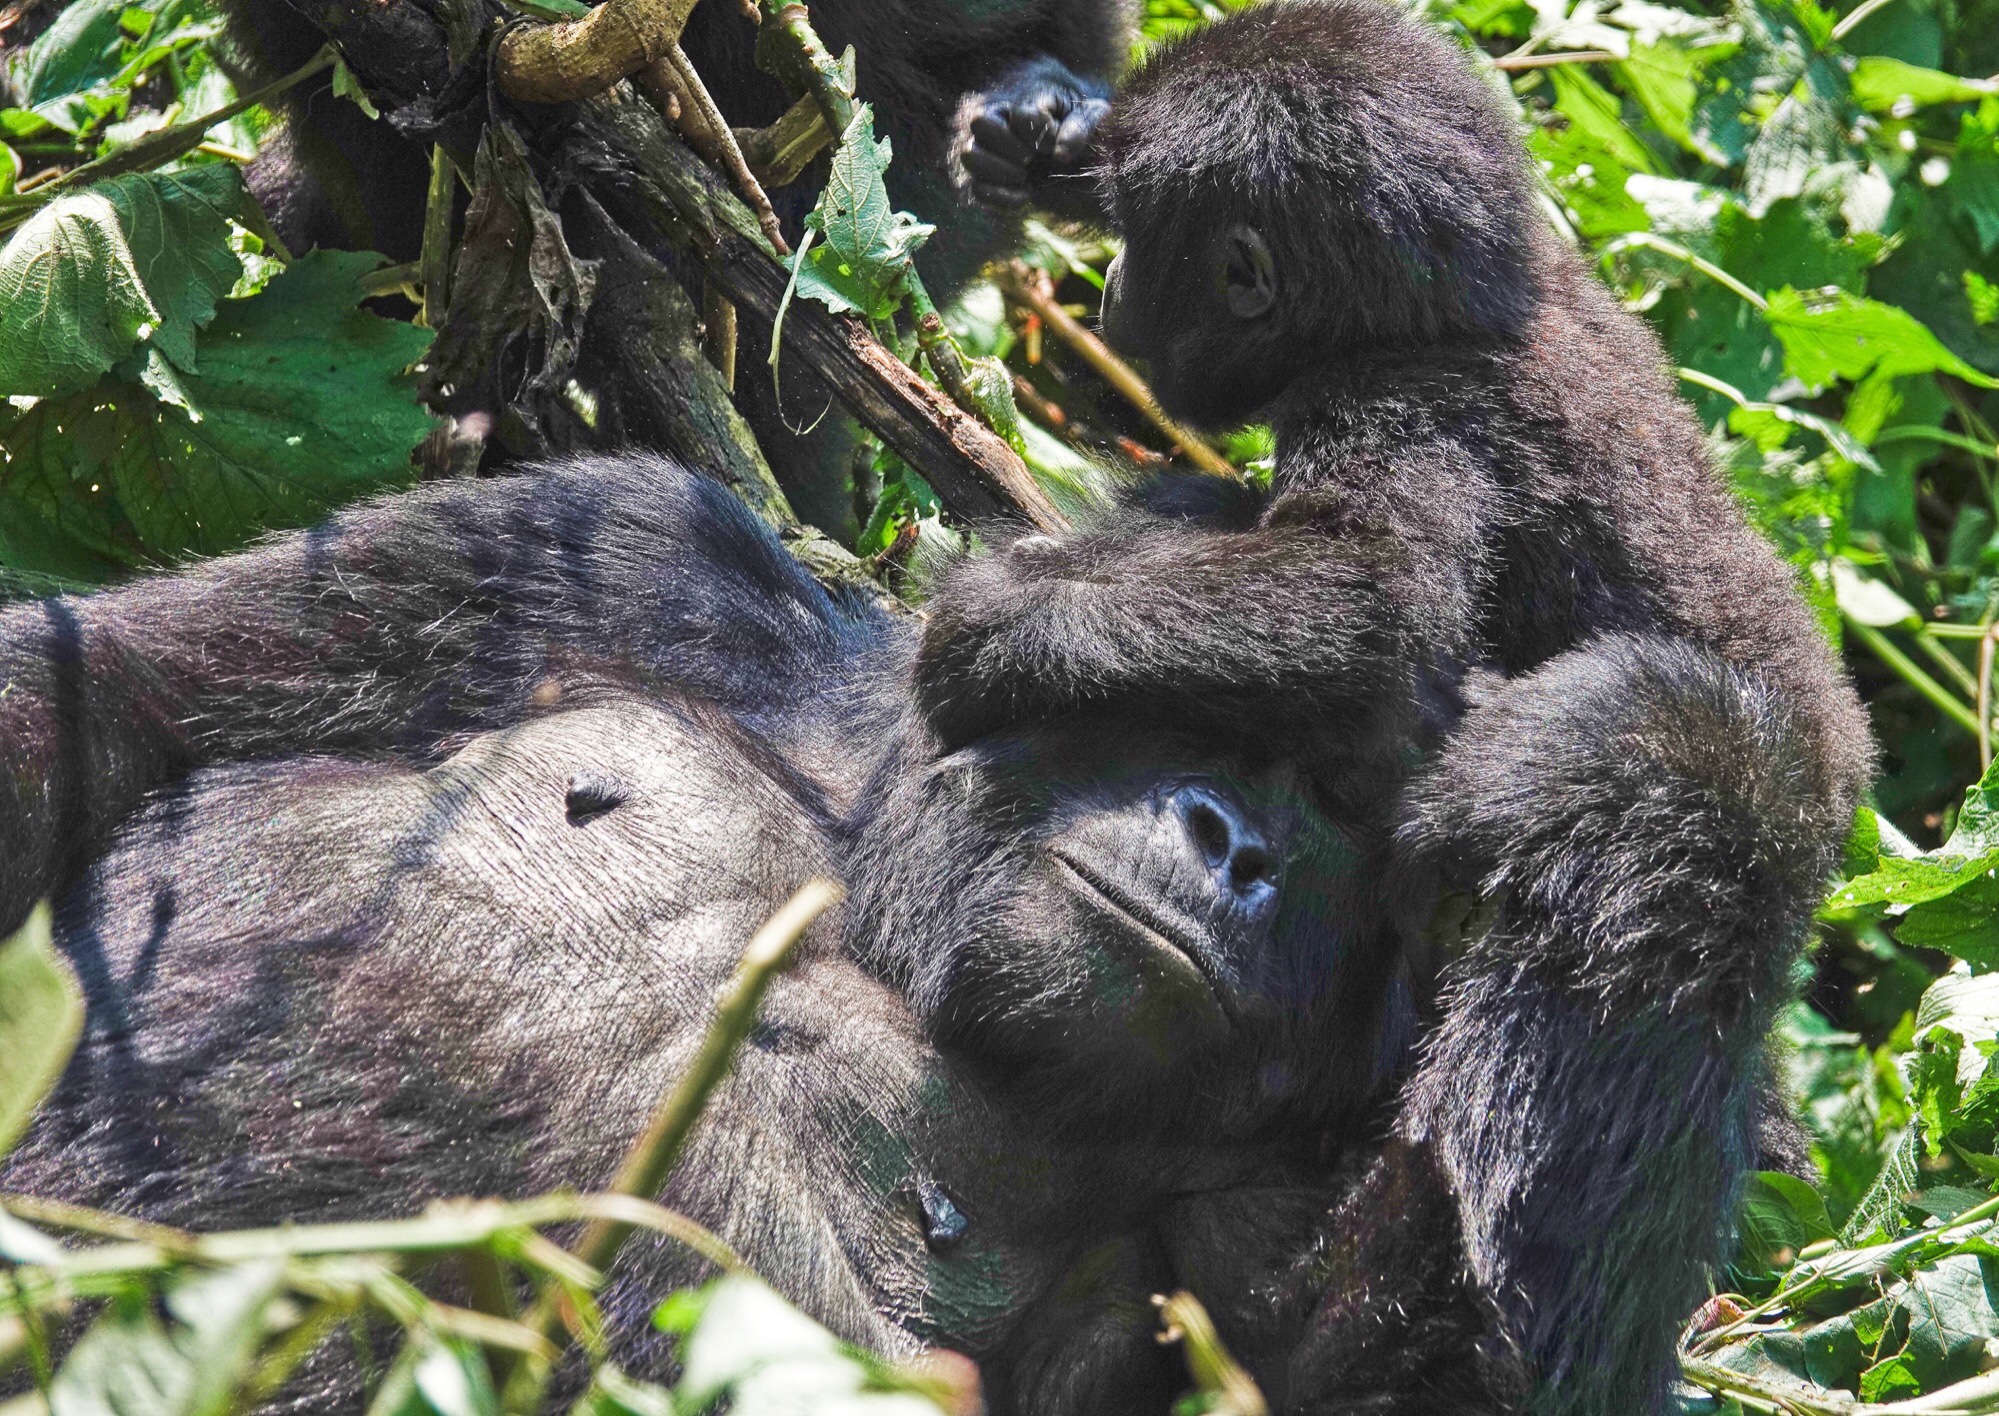
Though young males and females may stay with the family up to 15 years before going off to form their own families, the family we visited was just dad and mom and 4 youngsters, aged maybe 6 years to 2 months. A young family. When we arrived dad was busy with a late breakfast of vines. It was clear from the size of the clearing he had made in the tangle of vines that the whole family had been feeding. Mom was resting, the oldest offspring was feeding alone at the outer edge of the clearing, and the younger siblings were busy playing, mostly with each other. The 2 month old was the most active and was busy exploring his climbing ability by swinging from the branches over the clearing. The two middle youngsters spent most of their time wrestling with each other. Though there was a lot of yelping, they were not really hurting each other. Typical family.
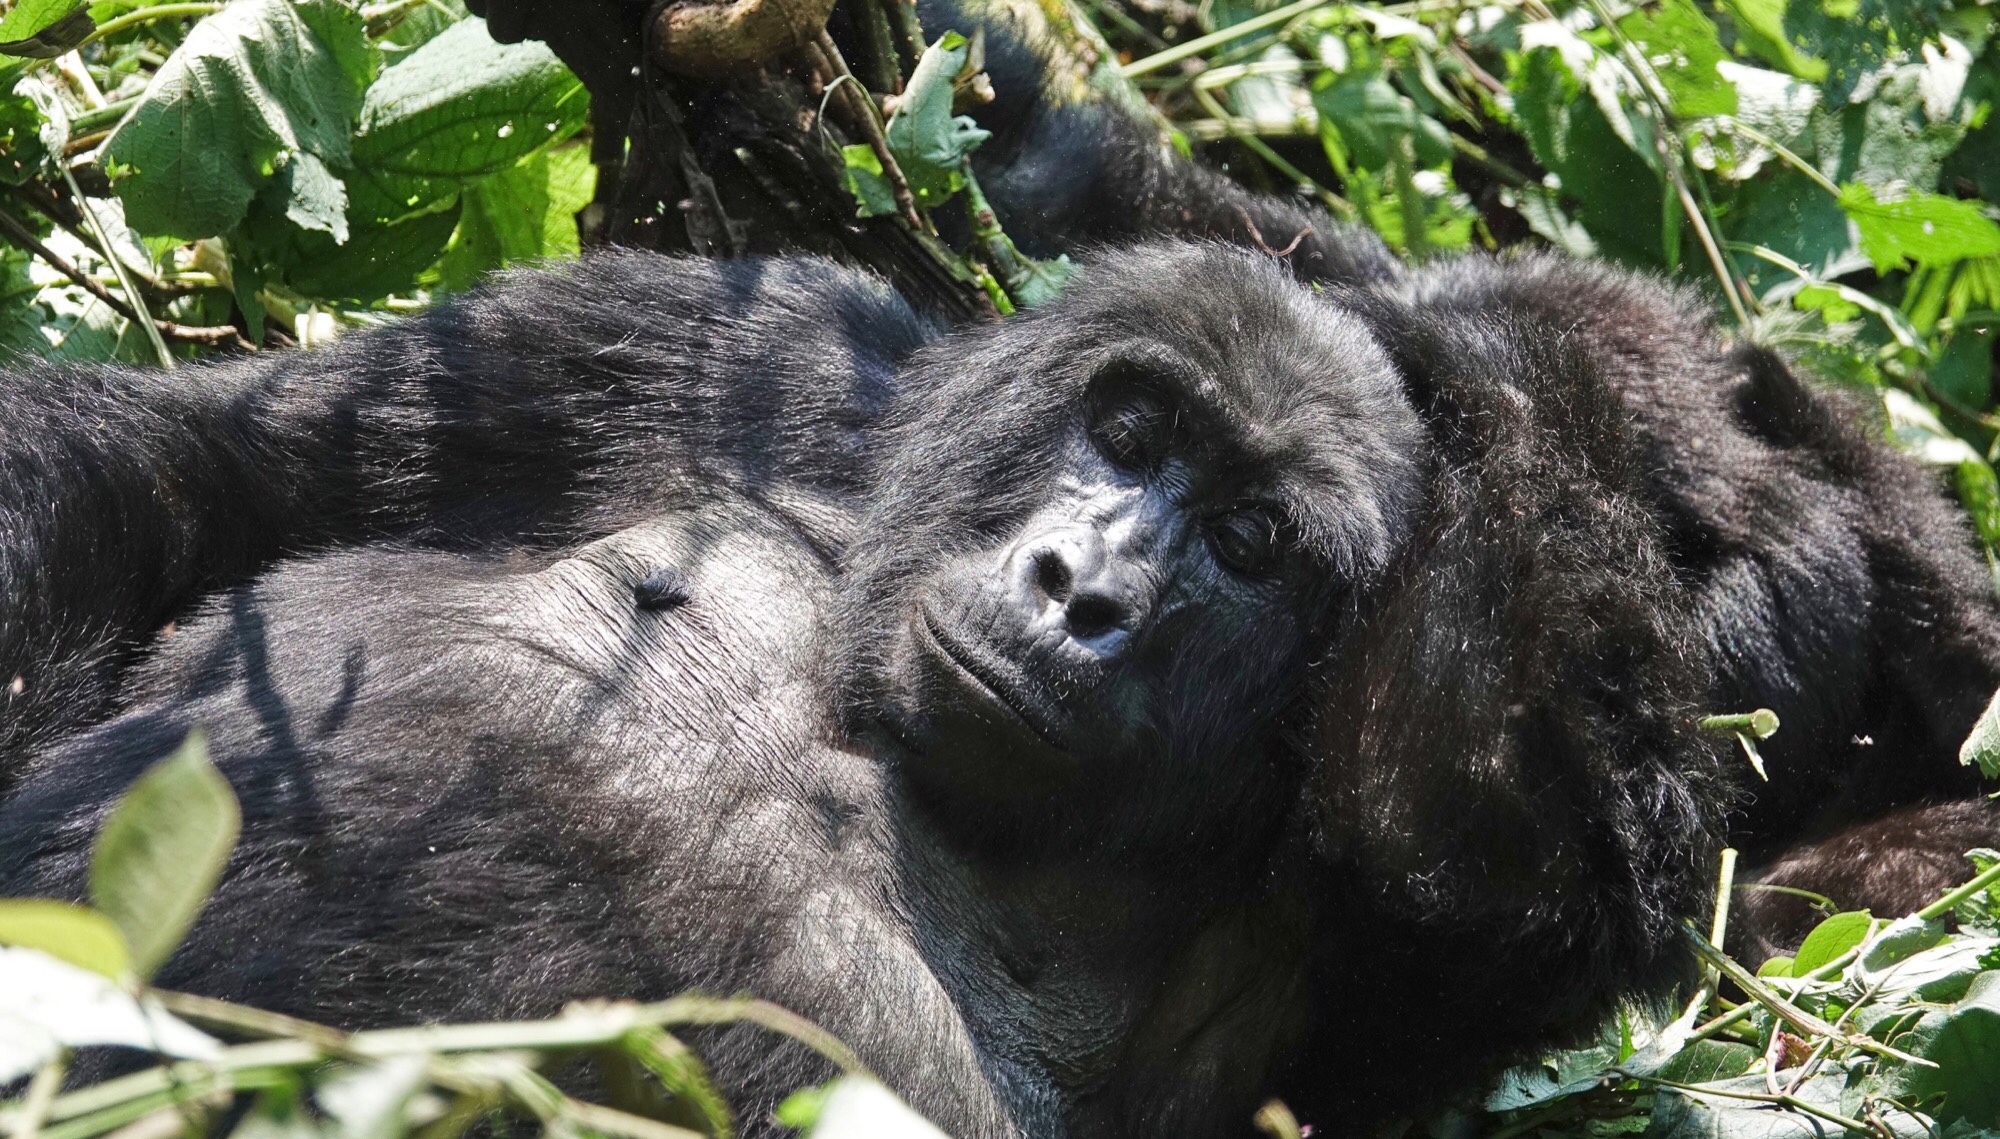
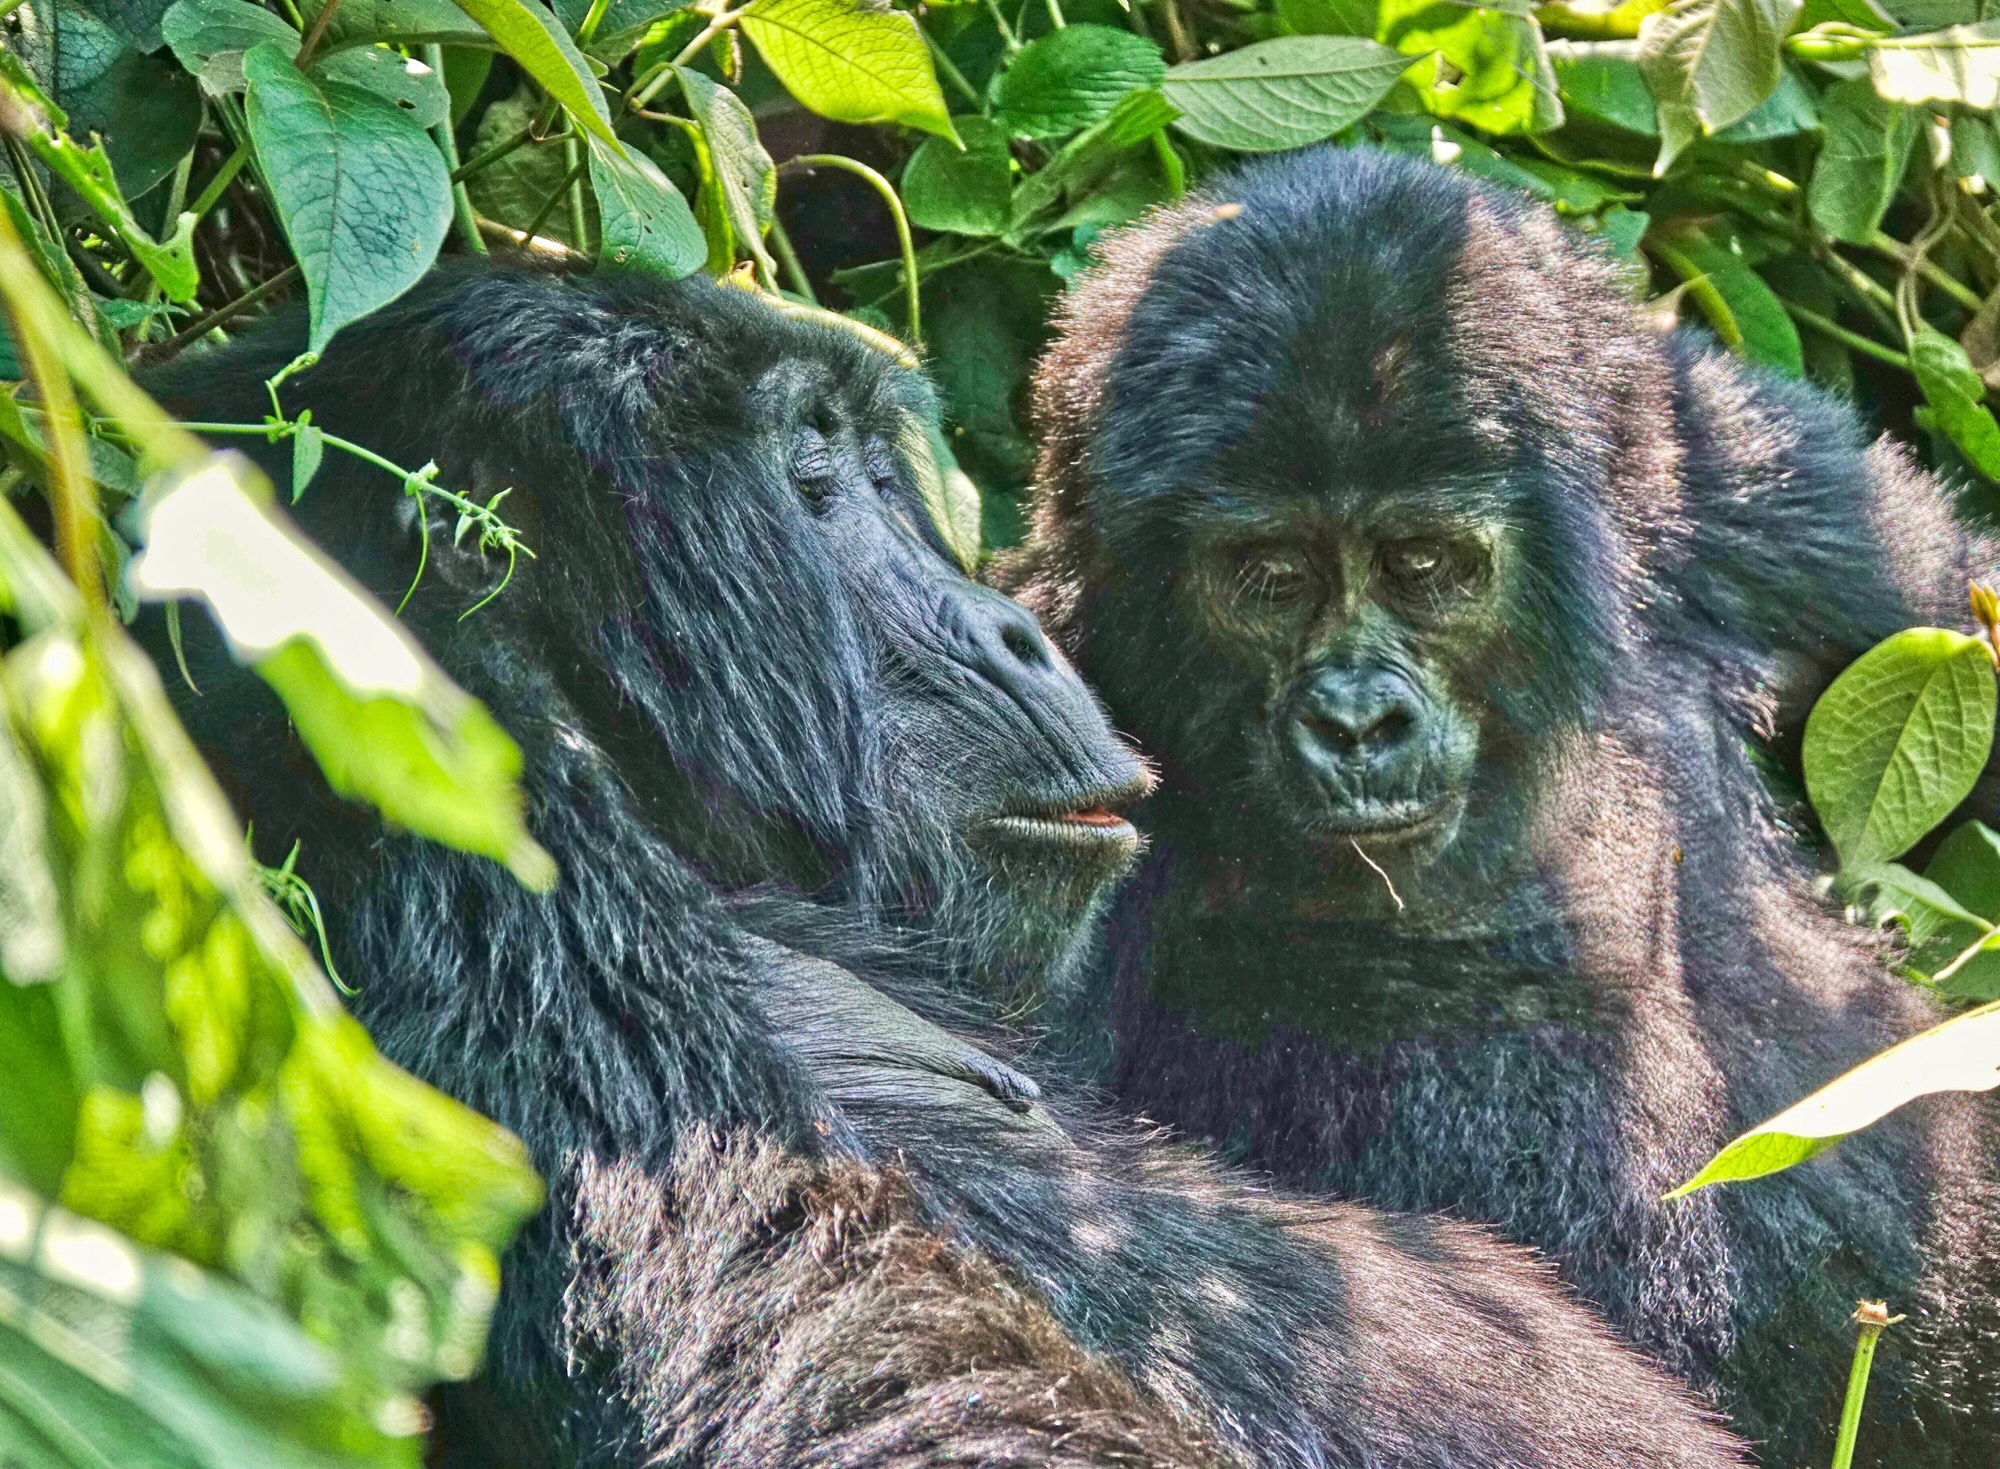
One of the rules of any Gorilla encounter is that you do not make eye contact (or eat or drink in the gorillas’ presence). And the Gorillas avoided eye contact with us as well. Though they clearly knew we were there, they did their best to ignore us, never looking directly at us during the the 30 minutes we spent with them before they decided they had had enough of us and moved off up-slope.

During the time we spent with our Mountain Gorilla family we observed a wide variety of family behavior. I don’t think anyone could help but be impressed by how like human family life the gorilla family life is…without, of course, the pressure of “keeping a roof over our heads and food on the table.” The Gorillas live much as our ancestors must have…hand to mouth and day to day. They are peaceful, gentle, loving within their families. There are only a few records of any kind of conflict with other groups and families that goes beyond a shouting match between silverbacks…and those were in areas where the gorillas were highly stressed by human encroachment, sometimes even caught in human war zones.

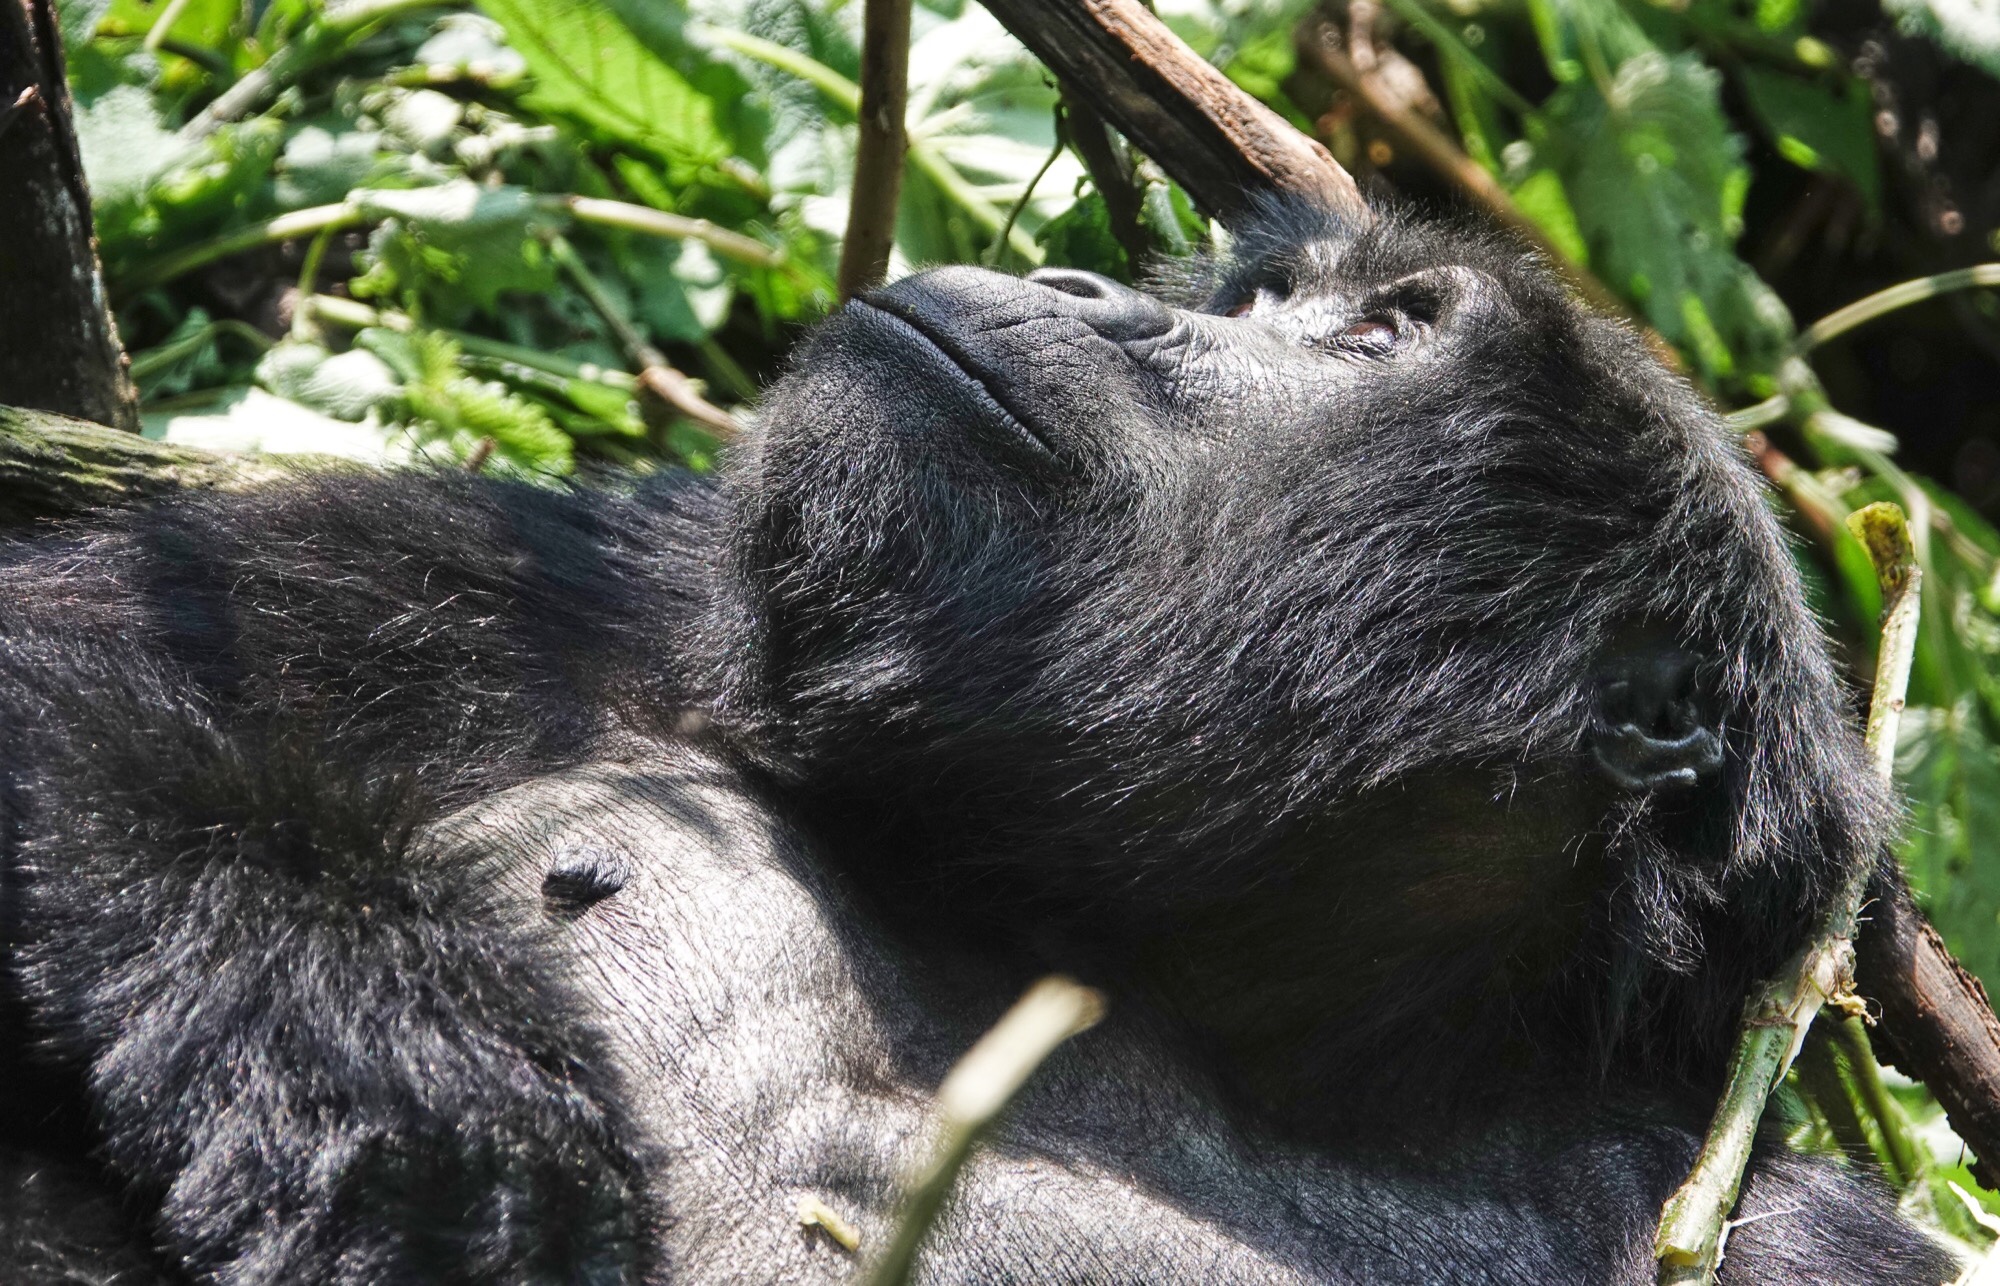

While you can debate the merits and the dangers of habituation, being able to visit the Mountain Gorillas in their forest home is an experience that can not help but change your perception of what it means to be wild, and what it means to be a human. Each group of humans gets 60 minutes a day with the assigned family, and each family is only visited once a day. Somewhat surprisingly fertility is higher and infant mortality lower among habituated Gorilla families than it is among the other Gorilla families in Bwindi who are only observed from a distance. Still, when our family decided they had had enough of us after 30 minutes, I was not tempted to follow them up-slope through the heavy brush. Of course I needed to save a bit of strength for the hike back out, which was as hard, if not harder, than the hike in, but mostly I already felt abundantly privileged to have visited that long…and if the Gorillas were done with us, I was okay to be done with them.
All the photos here were taken with the Sony Rx10iv at various focal lengths between 200-600mm. Program mode with my custom birds and wildlife modifications. Processed in Polarr and Apple Photos, and TouchRetouch. (Something the guide books and other websites don’t tell you: Mountain Gorillas often nest on their own excrement (for warmth in the cold mountain nights) so they are generally surrounded by flies. The out-of-focus flies appear in images as little highlights, spots, blobs, and squiggles. I thought at first my lens must have been very dirty until I realized what was going on. I used TouchRetouch’s AI driven blemish removal tool to take most of them out of my images.)
Finally, you can not just show up for a Gorilla Trek. You need a permit, and permits must be reserved for the day of your visit in advance…far in advance if you need them on a specific day. I arranged my Gorilla Trek (and my whole Uganda safari) through Epic Uganda Vacations (https://www.bookgorillatracking.com/index).
And I am planning on returning to Uganda next September for another Birds and Wildlife Safari, featuring a Gorilla Trek. If you are interested in joining me, you can email me at lightshedder@gmail.com.
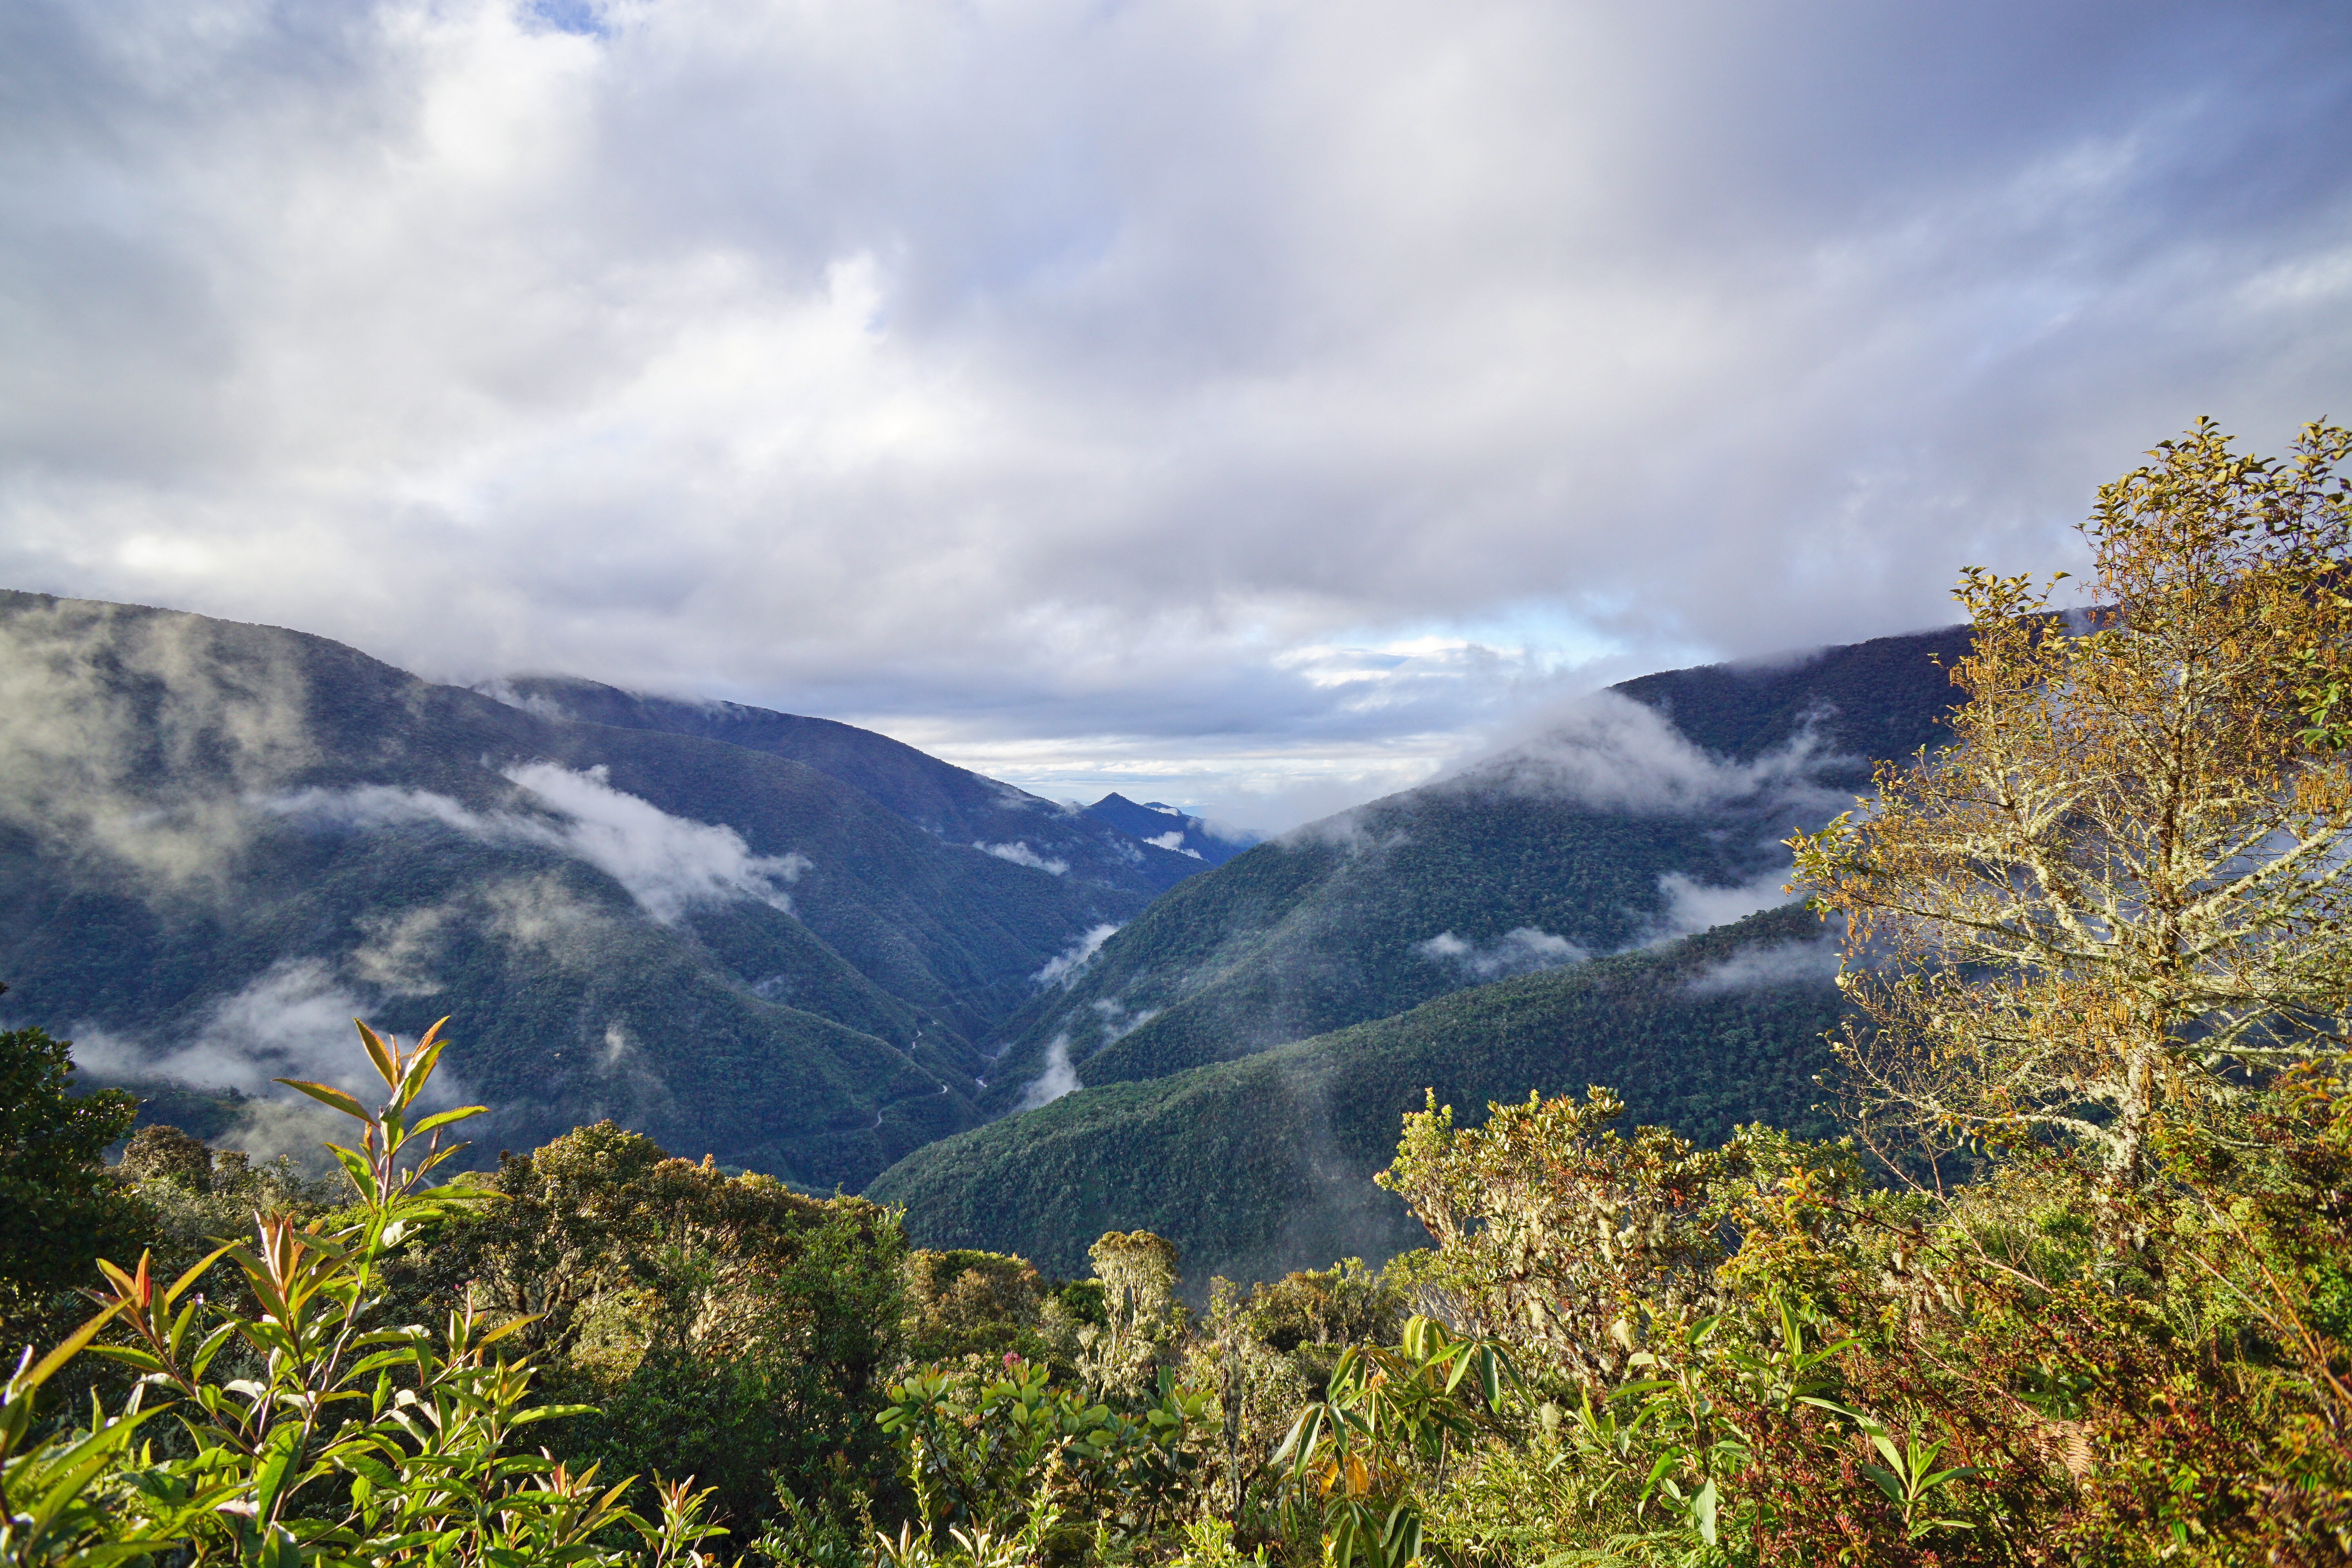
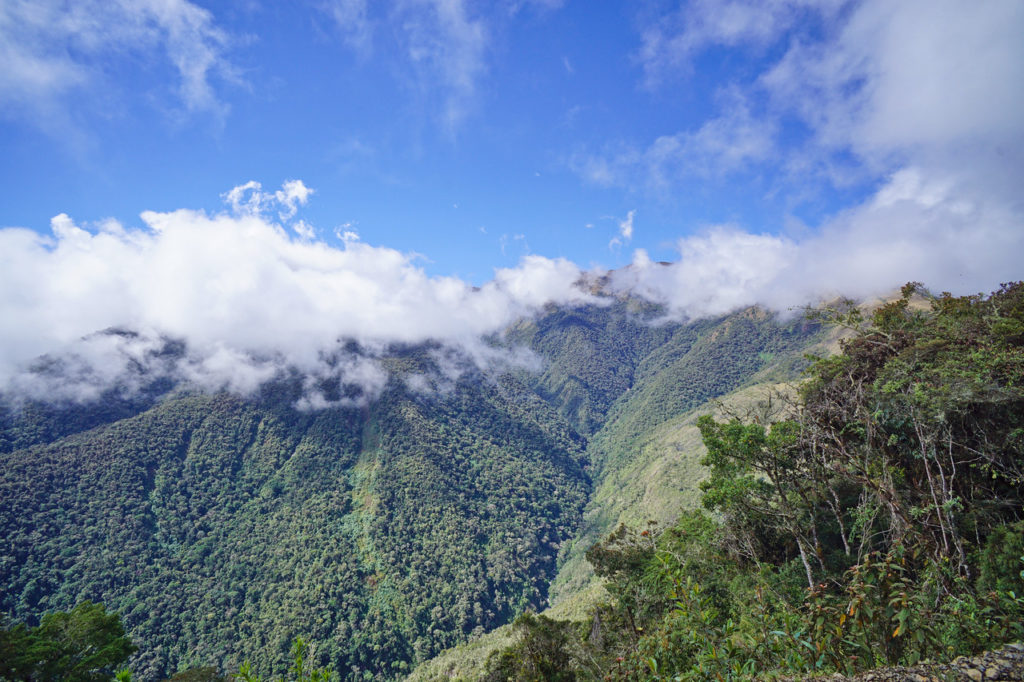
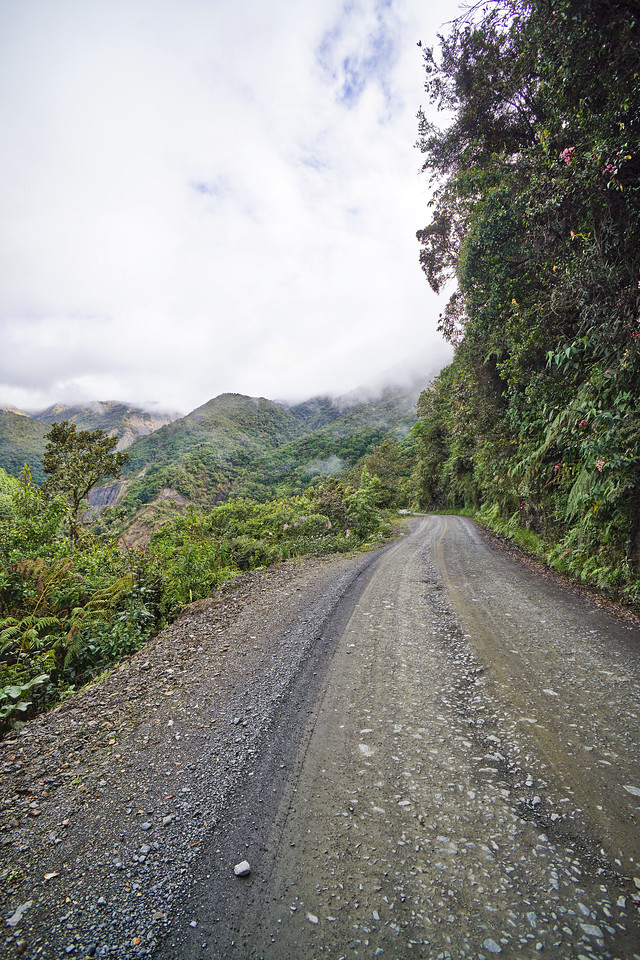
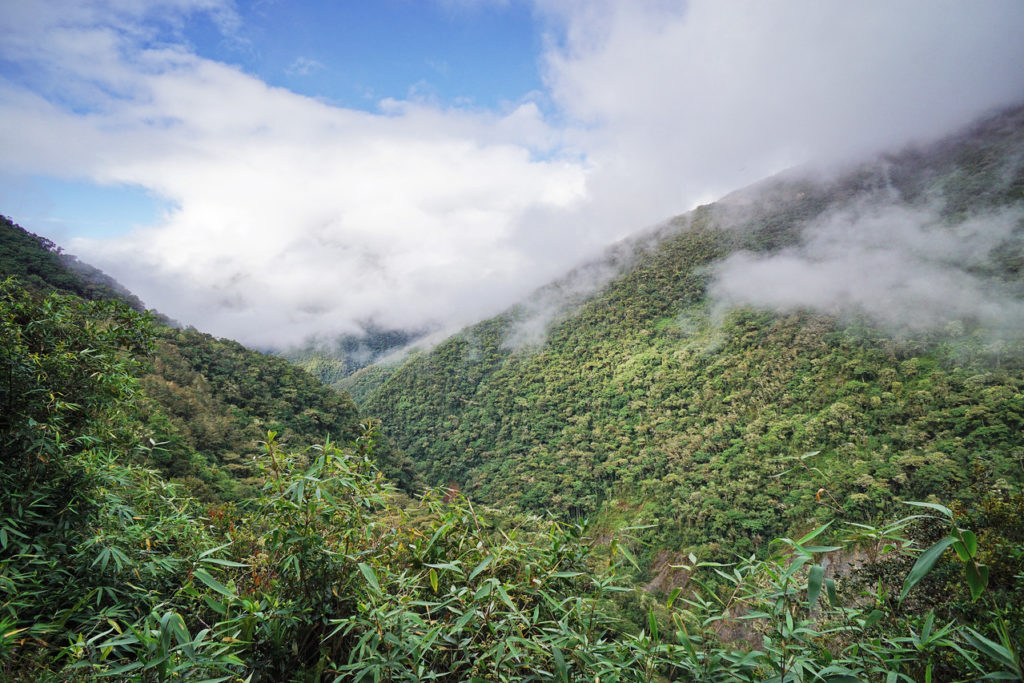
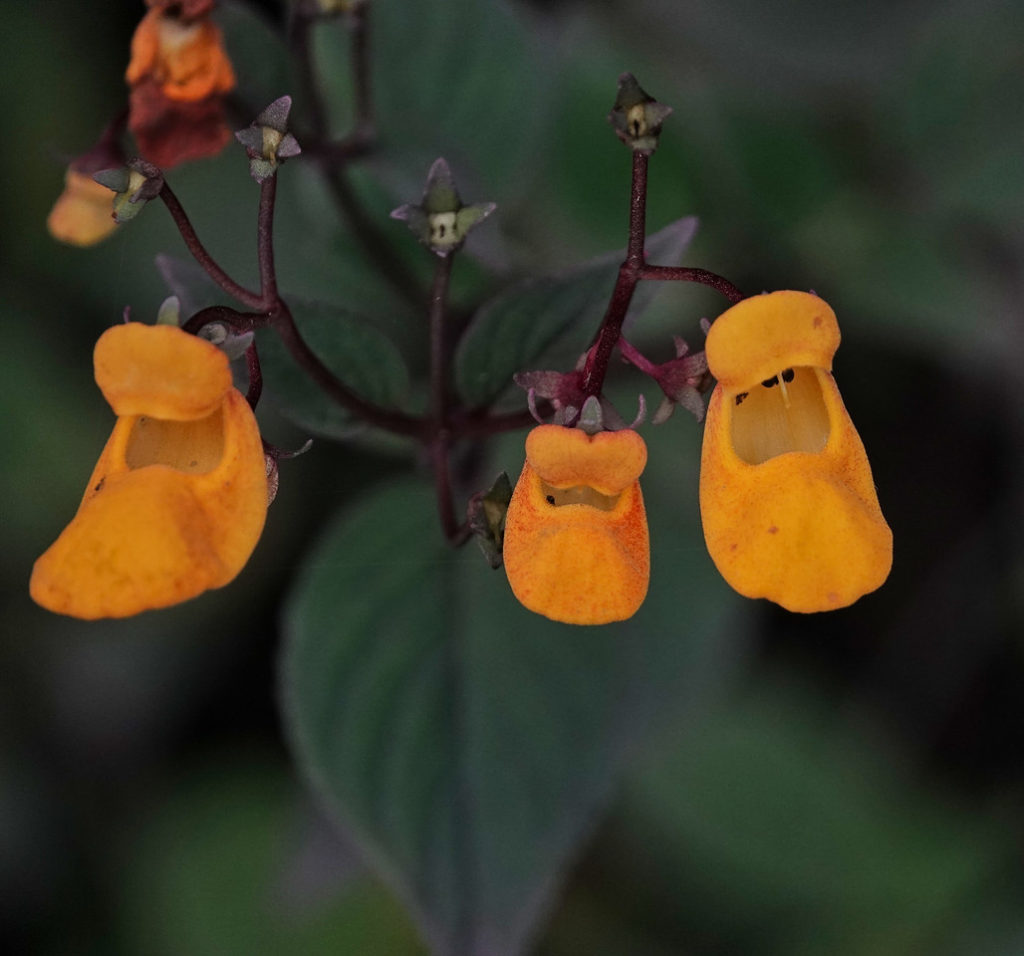
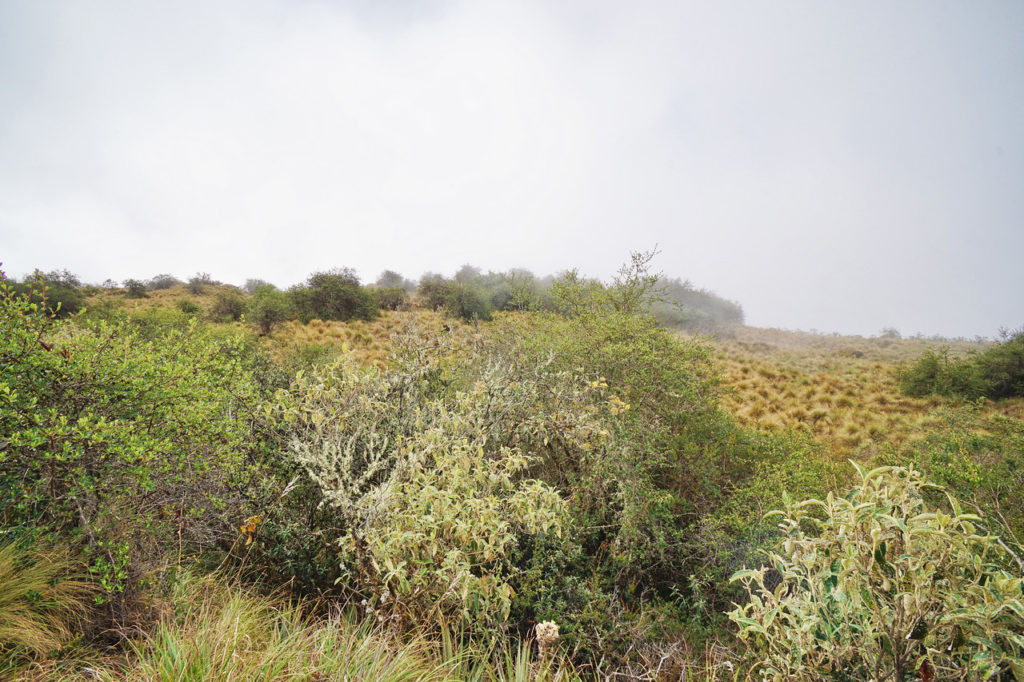
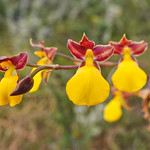
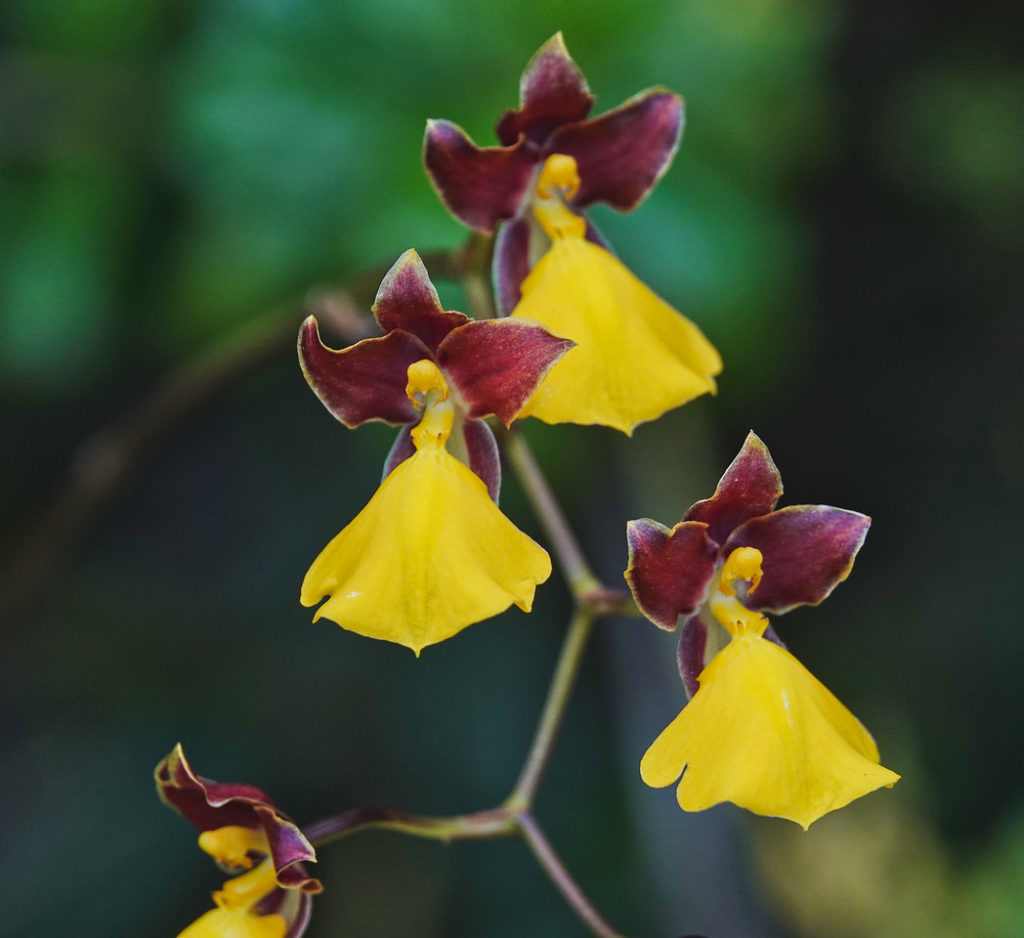
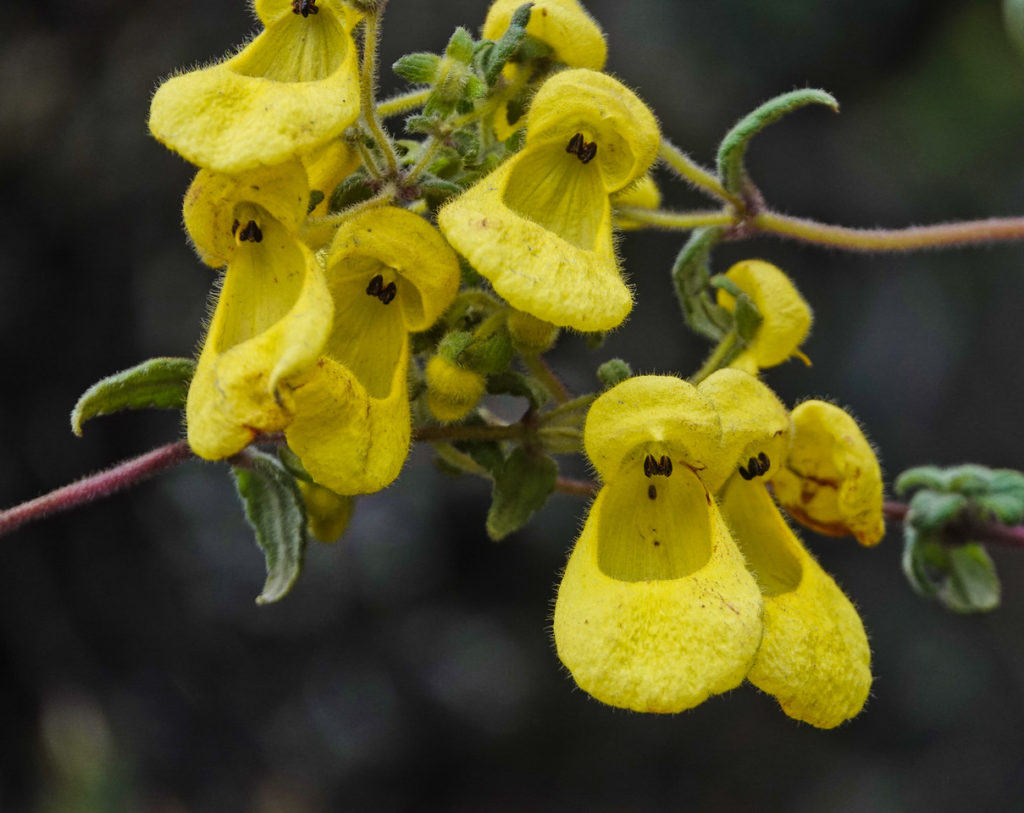
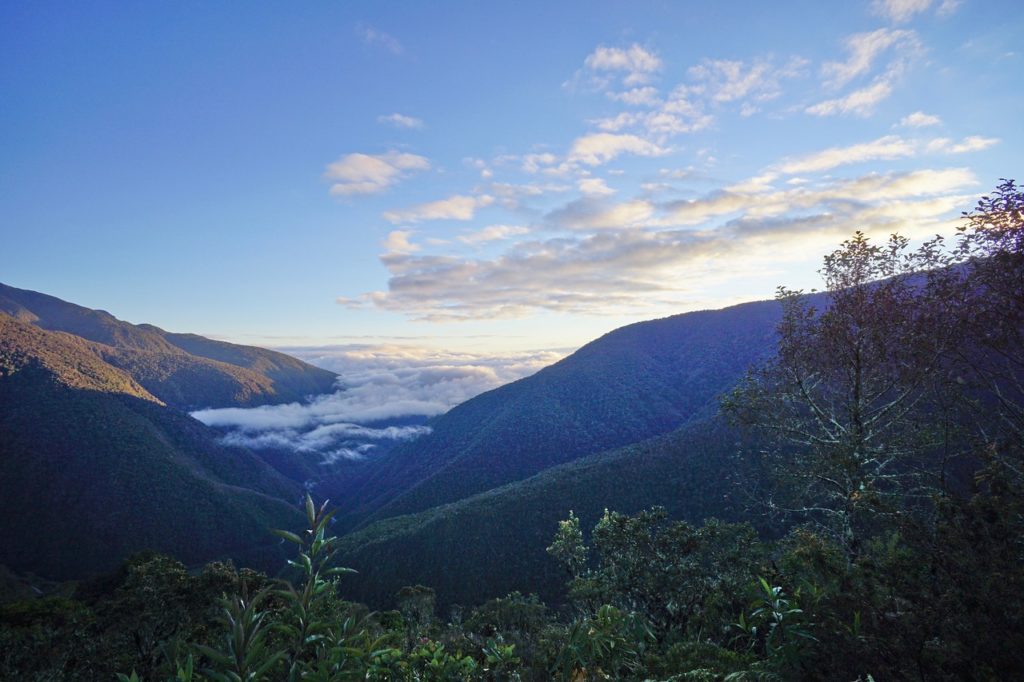
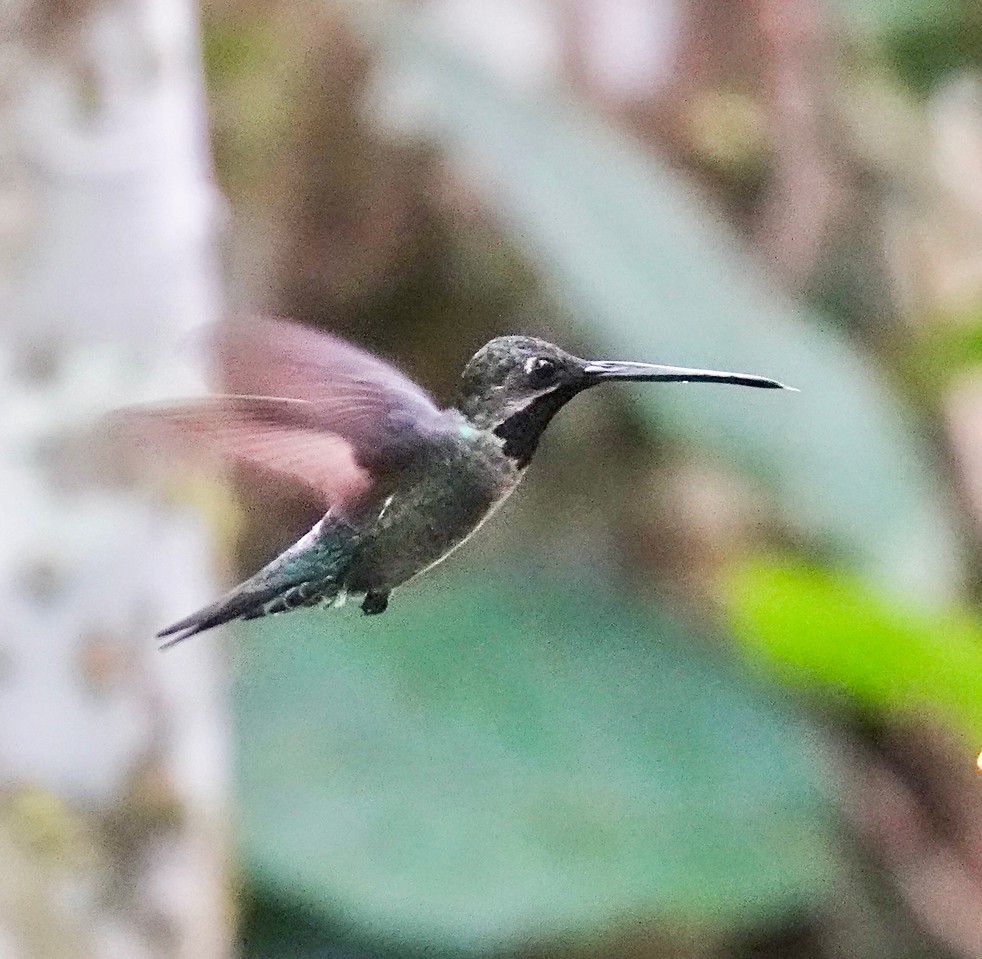
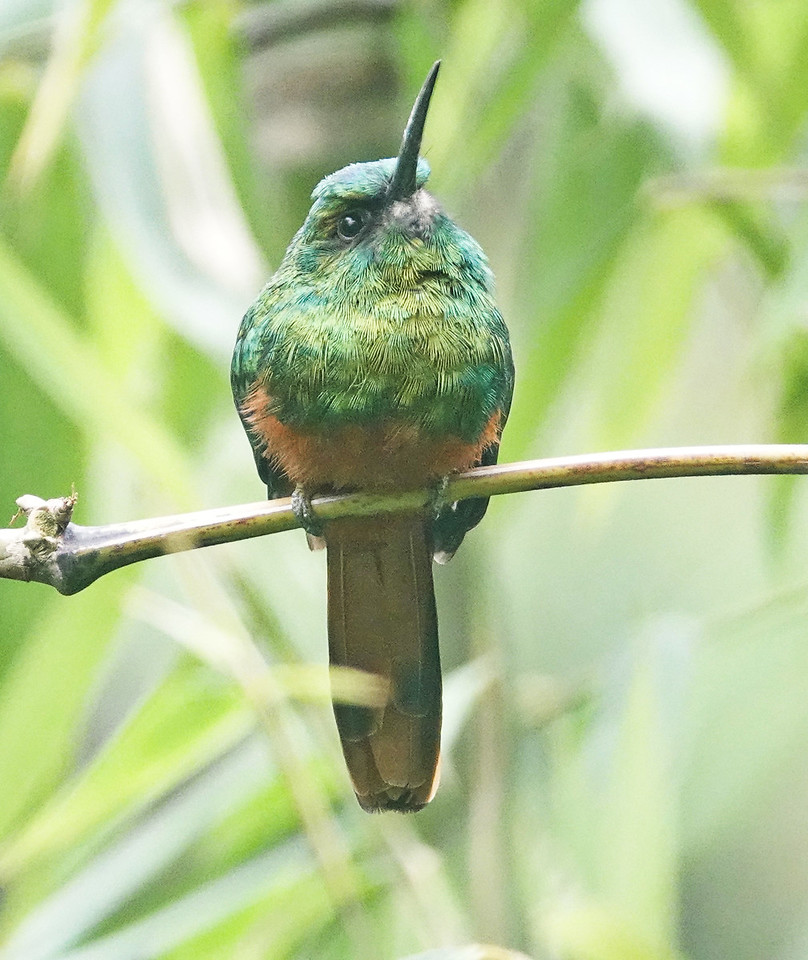
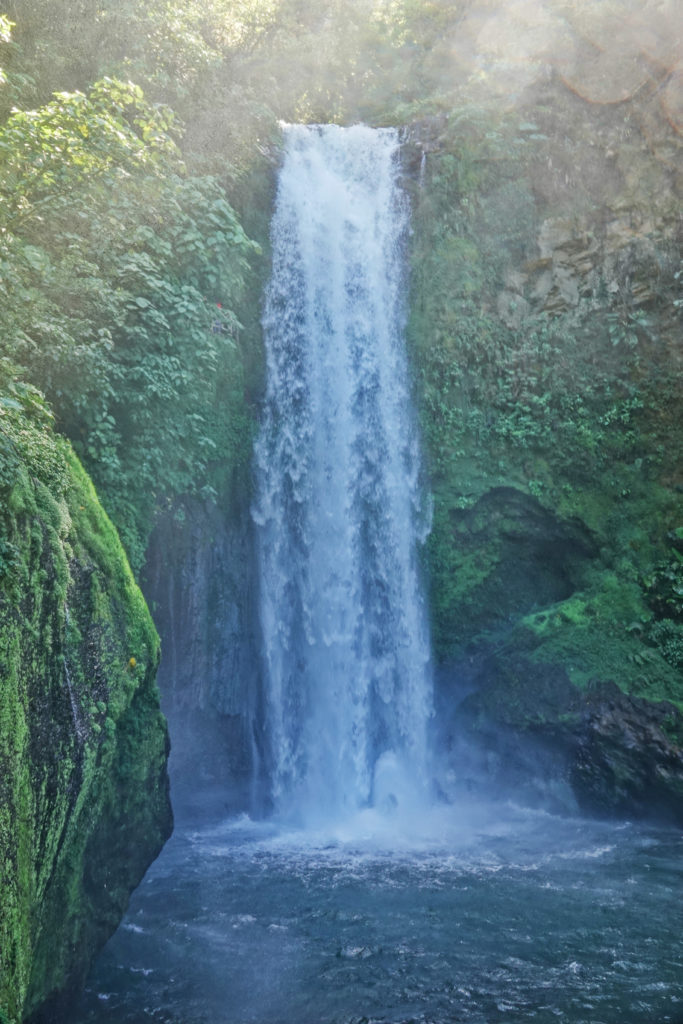
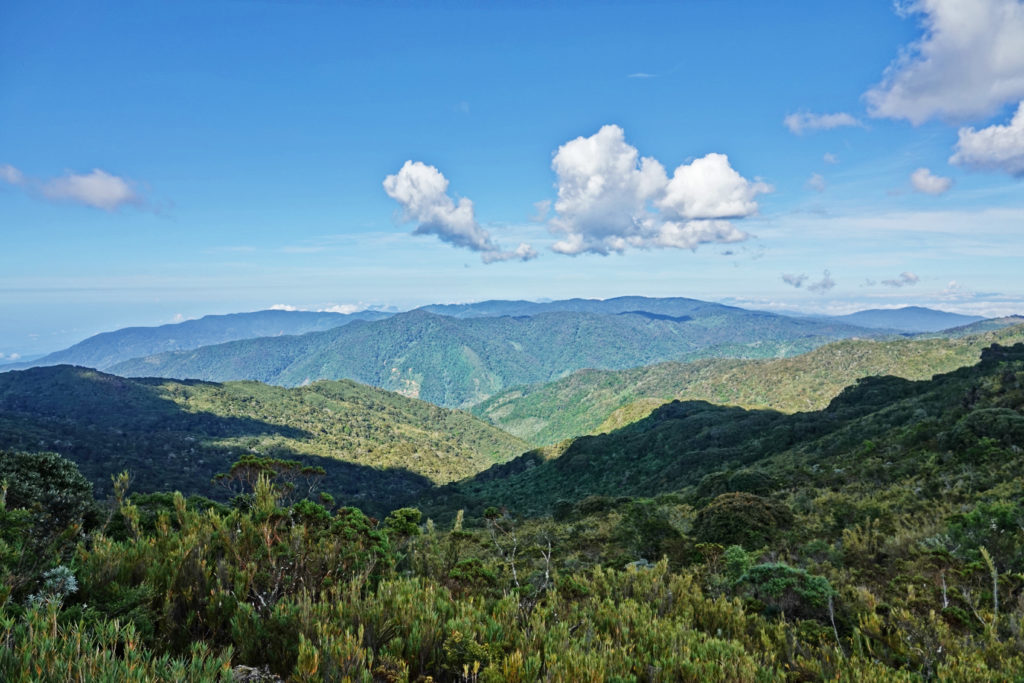
Amazon Journeys invited me to join them for a 7 day “Birding the Manu Road“ adventure on the eastern slopes of the Andes in Peru. The Manu Road is famous among birders worldwide. It runs along the edge of the largest National Park in Peru, Manu National Park, starting at a high pass, over 11,000 feet, in the Puna (dry highland grass and shrub land) and descending through a series of elfin forest slopes and cloud forest valleys to the lowland foothill rain forest along the Manu river…some 50 miles and 10,000 feet lower. It is rough. It can be muddy. It often has spectacular wash outs with raw landslides, sheer drops, and rudimentary repairs. There are two tight blind tunnels, hacked around corners through outcroppings. There are waterfalls, big and little. There are deep cloud filled valleys where you can just barely hear the rushing stream at the bottom. There are vistas where you can watch the clouds come up out of the lowlands and climb toward the high passes above. There are orchids and wildflowers of all kinds and bromeliads and the kind of butterflies that will enliven your dreams. And there are birds. Astounding, wonderful, birds. Birds you will not see many other places. Many birds you that are only easily seen along the Manu Road.

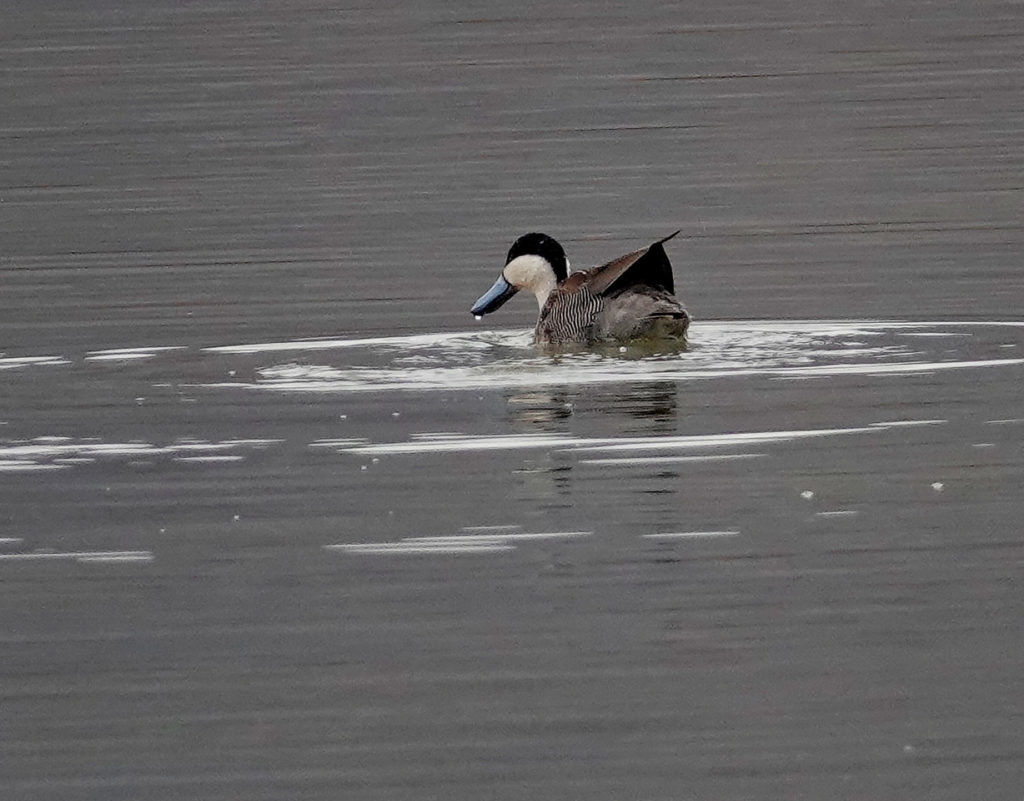
You begin your journey in Cusco, one of the highest and one of the oldest cities in the Americas. (I recommend coming in a day early to get at least a little used to the altitude…11,500 feet can be a stain on anyone’s system.) Your real adventure beings when you leave Cusco to drive across the high dry slopes of the western Andes. You wind up and down and around over passes and across slopes, never getting much lower than 10,000 feet. Of course you stop along the way for birding. My guide, Pepe Rojas, took us first to Lake Haurcapy, a marshy high elevation lake (close to 10,000 feet).
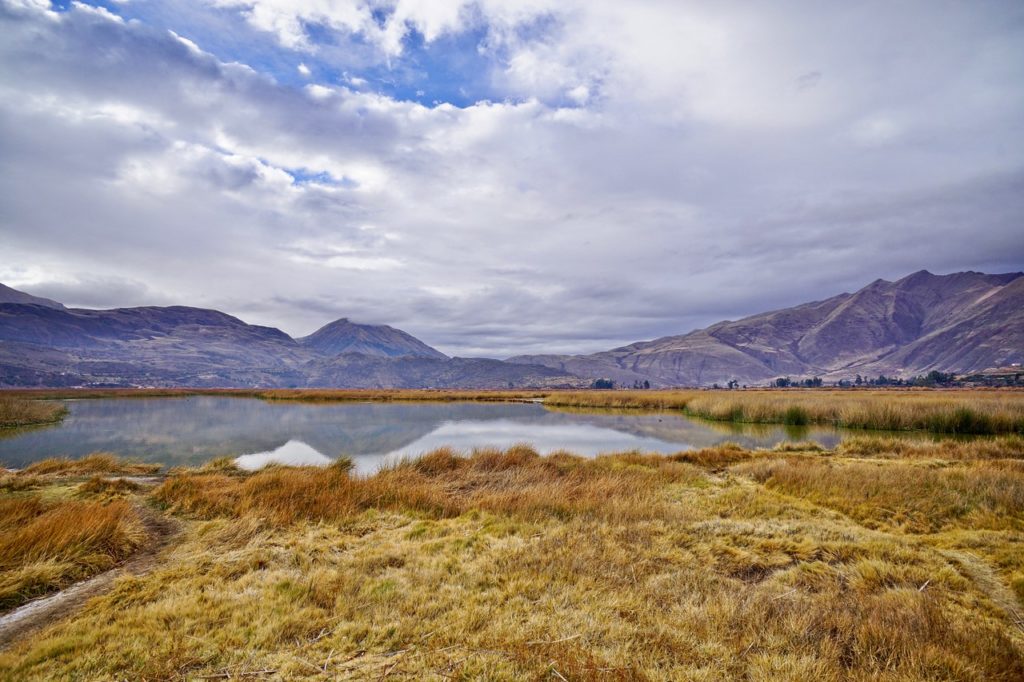
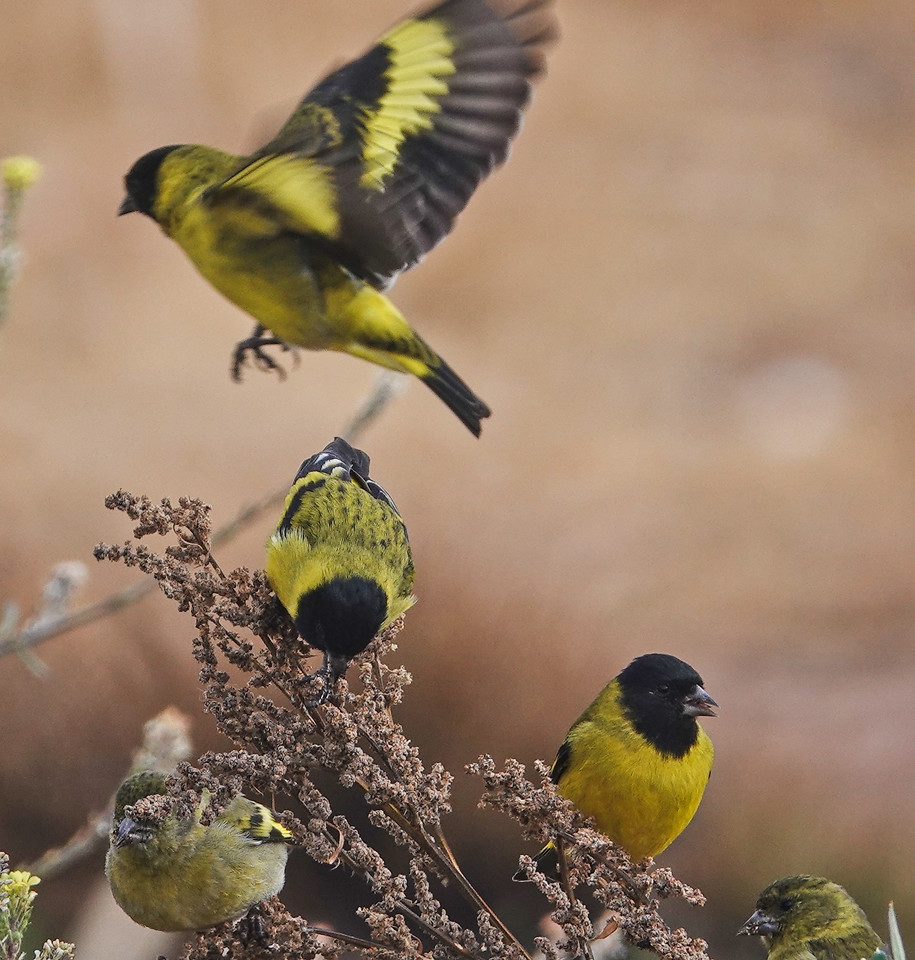
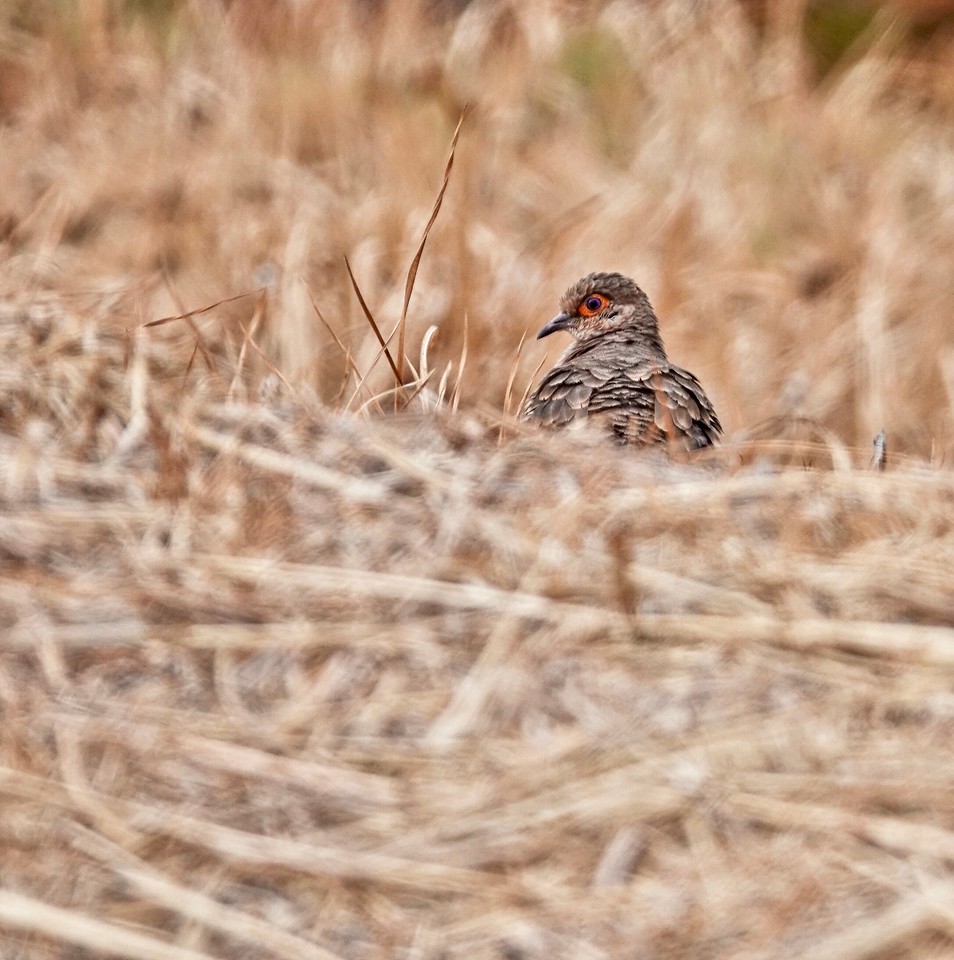
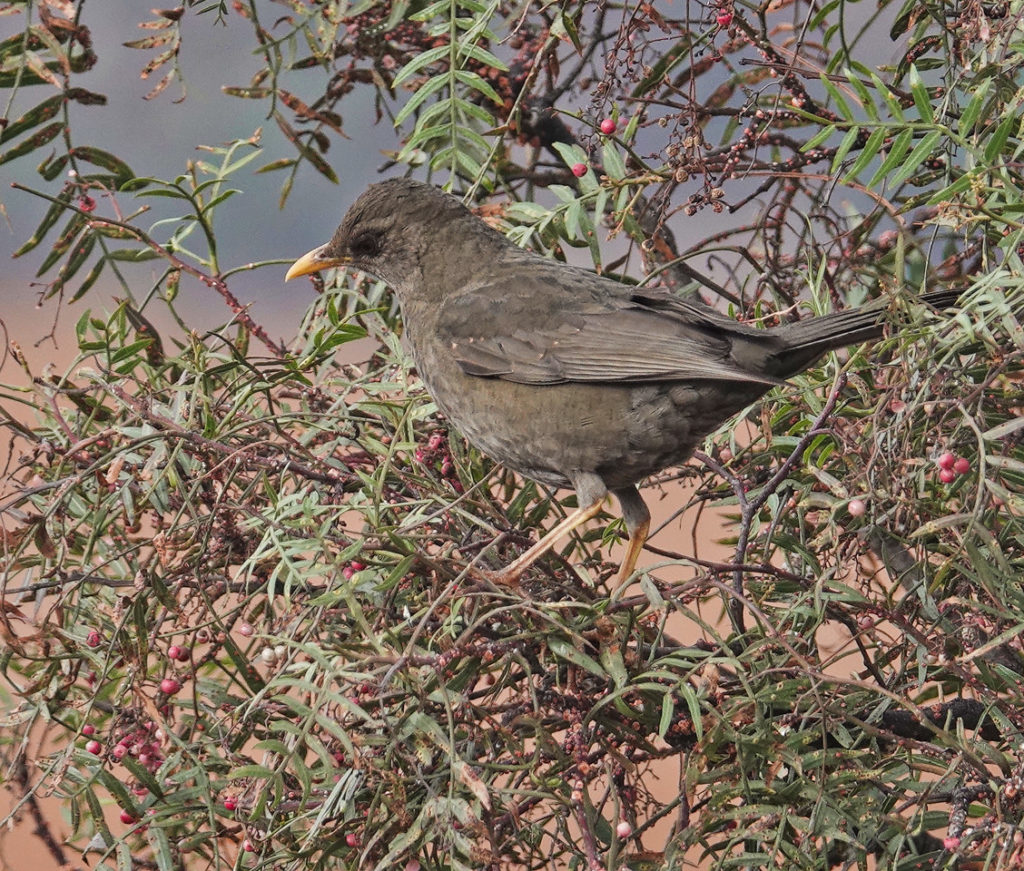
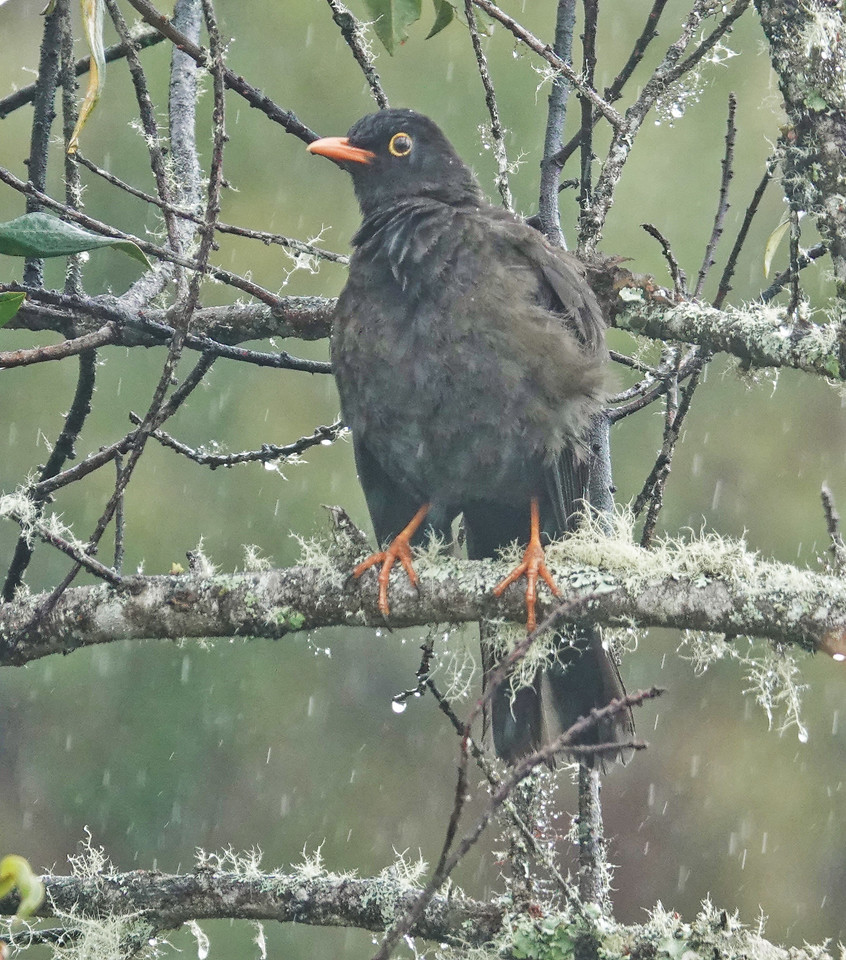
There we picked up our first typical Andean birds. Yellow-winged Blackbirds in the reeds around the lake, Puna Teal on the water, Hooded Siskin, Bare-faced Ground Dove, and Chequanco Thrush along the brushy margins.

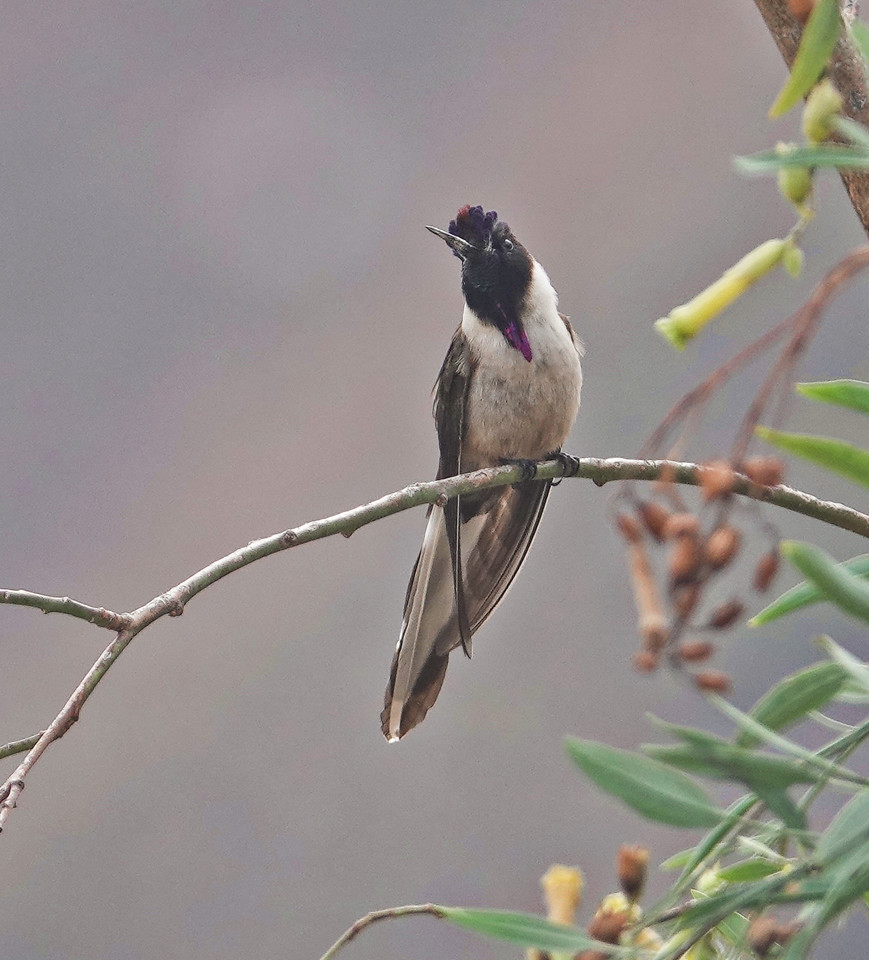
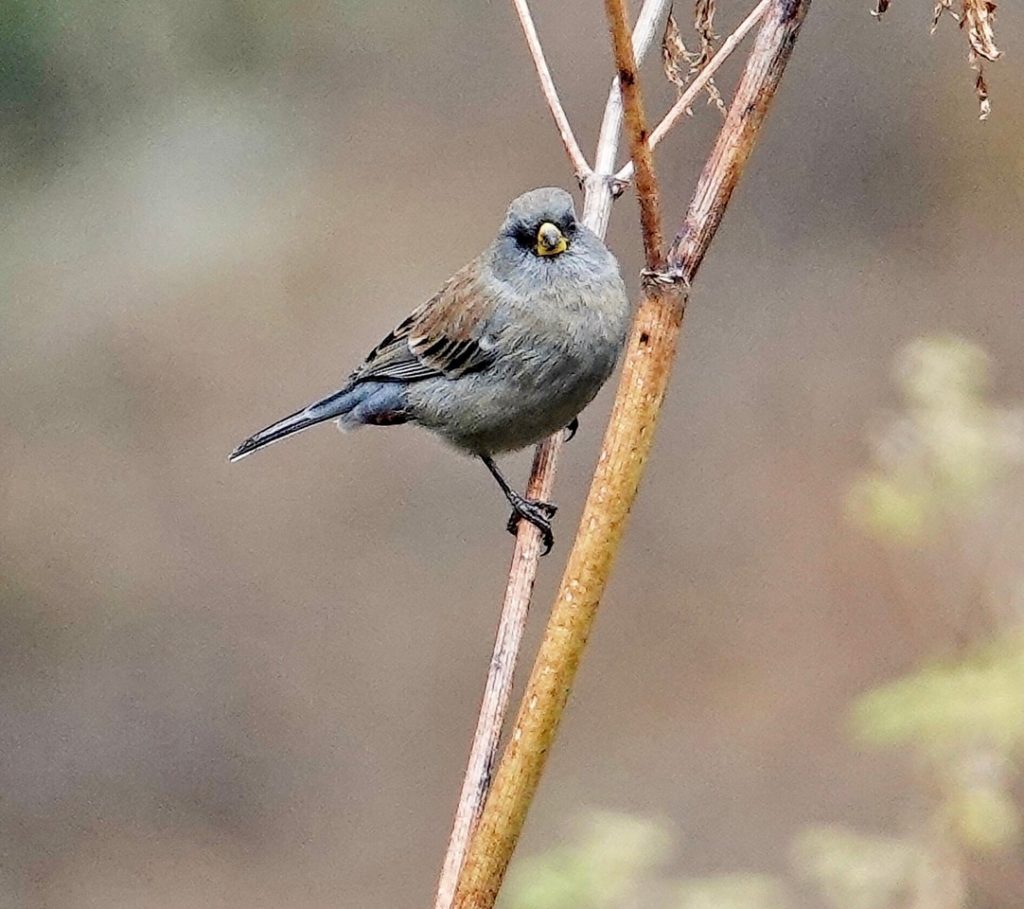
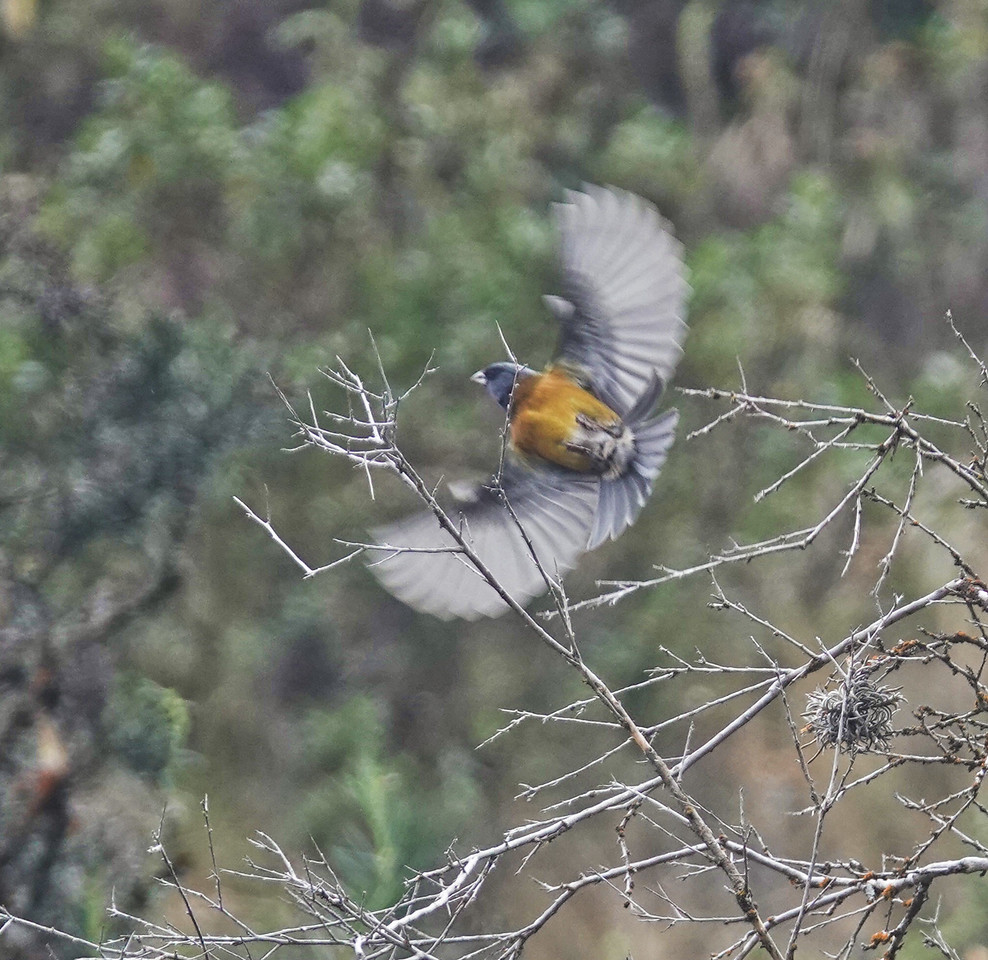
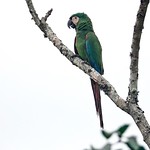
A couple of stops along the road yielded our next set of Peruvian endemics, typical, again of the dry western slopes of the Andes. The Bearded Mountaineer (endemic) is big by hummingbird standards, and Pepe spotted several as we drove along. At those stops we picked up Chestnut-breasted Mountain-Finch (another endemic), Creamy-crested Spinetail (a third endemic), Great Thrush, Band-tailed Seed-eater, and Peruvian Sierra Finch (not an endemic despite the name).


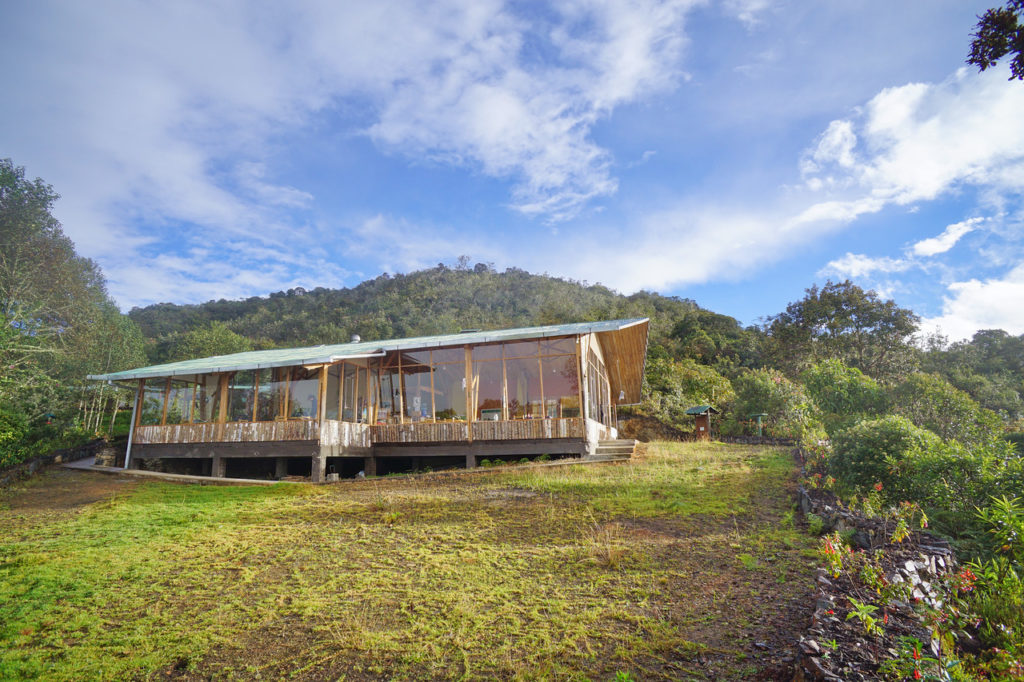
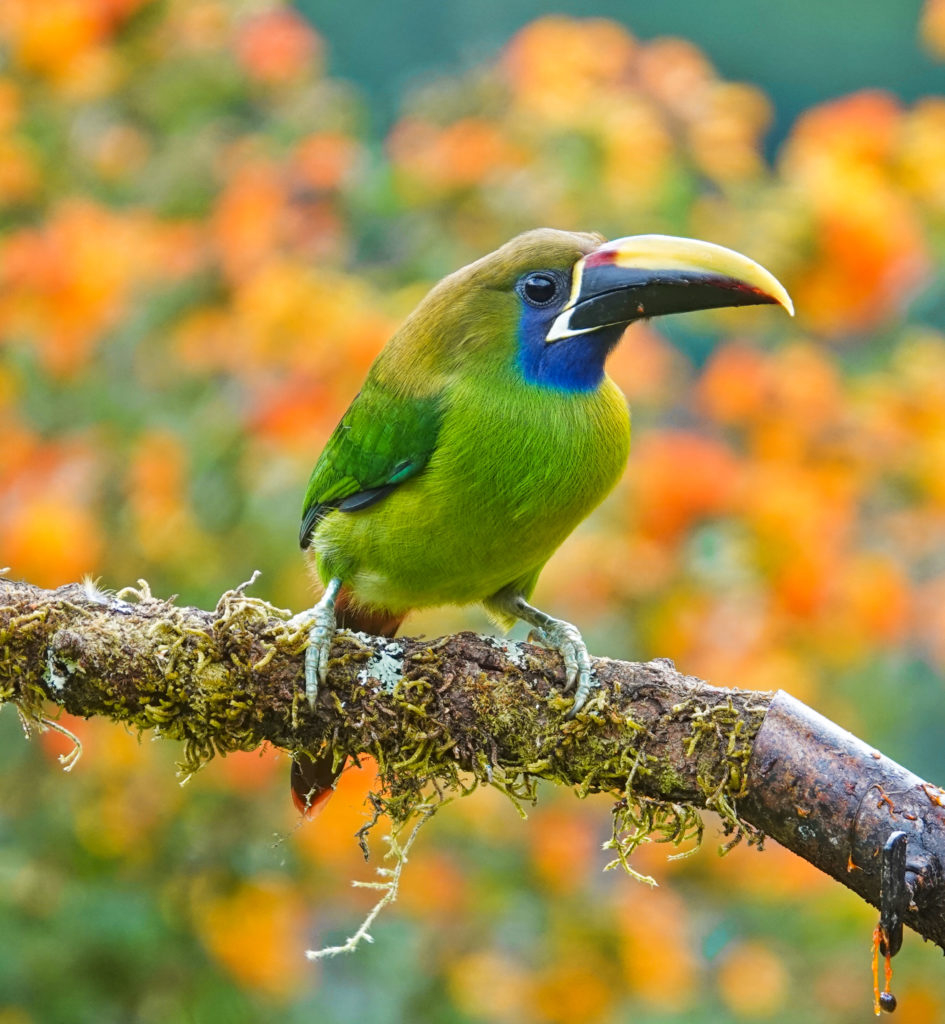
It was late afternoon before we crested the pass at the top of Manu National Park and found our way down slope to Wayqecha Biological Station and Birding Lodge, at about 9500 feet, just at the transition between elfin forest and cloud forest. Wayqecha is owned and operated by the Amazon Conservation Association and provides housing for research teams and for visiting birders. They maintain a growing network of trails, a canopy bridge, and research towers where huge curtains simulate the effects of climate change. The cabins, grounds, and facilities are first rate, and Wayqecha makes an ideal base for birding the upper reaches of the Manu Road. In addition they have well developed feeding stations that attract both common feeder birds and some more difficult to see species.
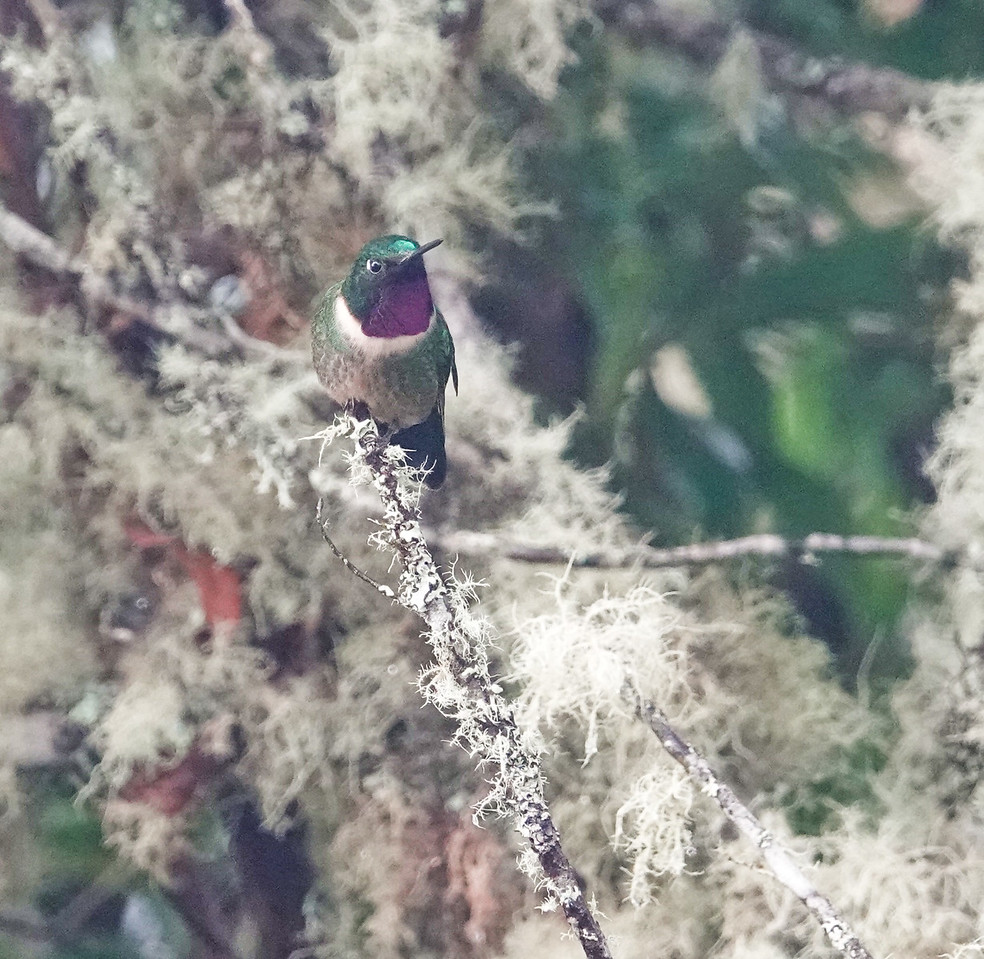
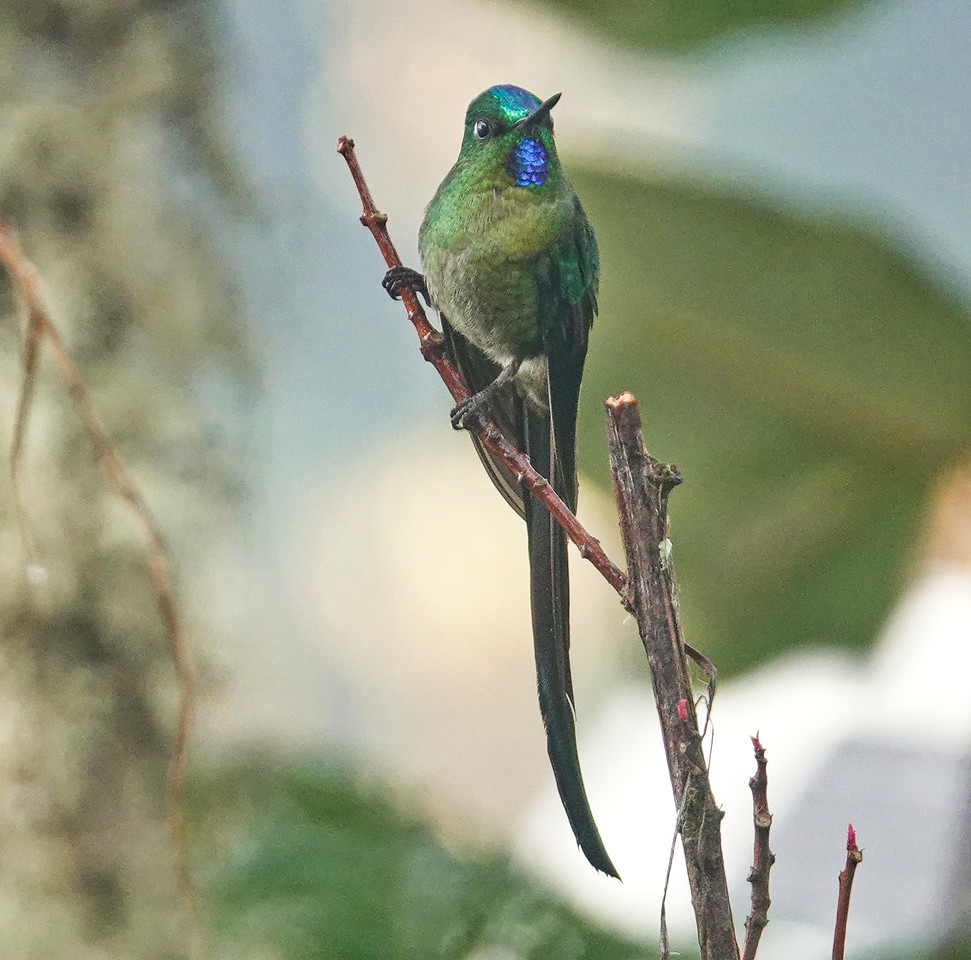
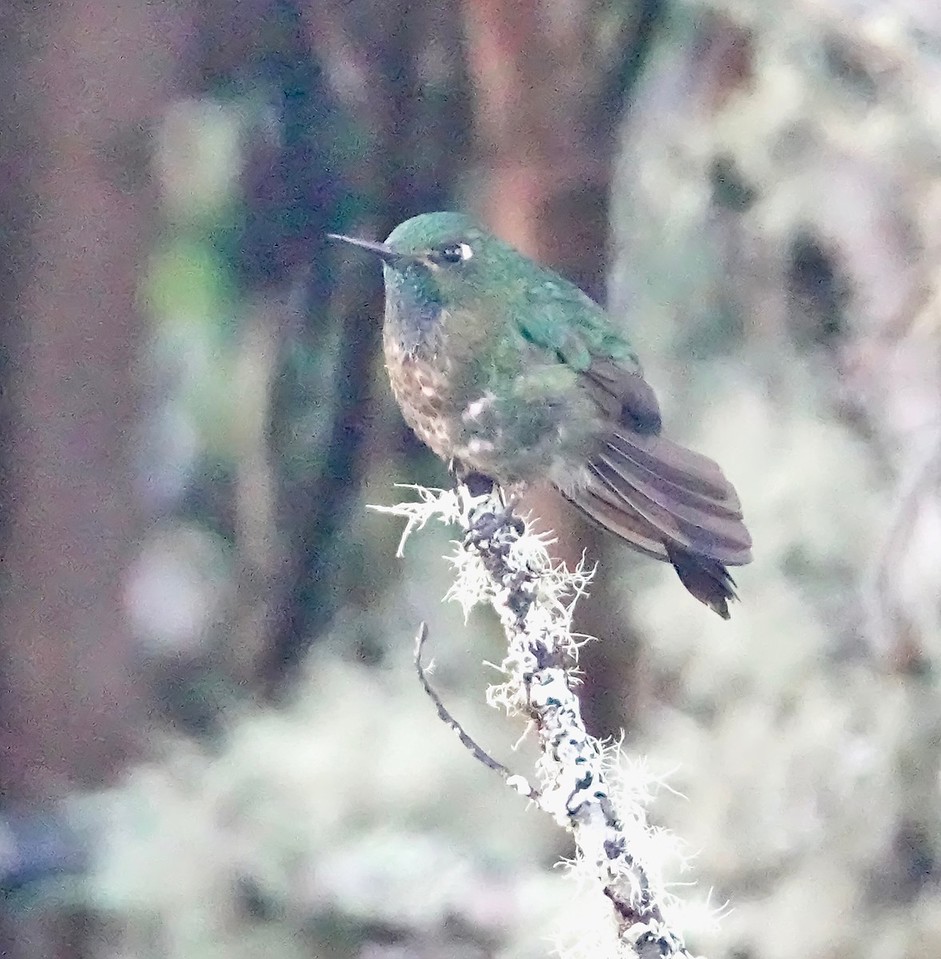

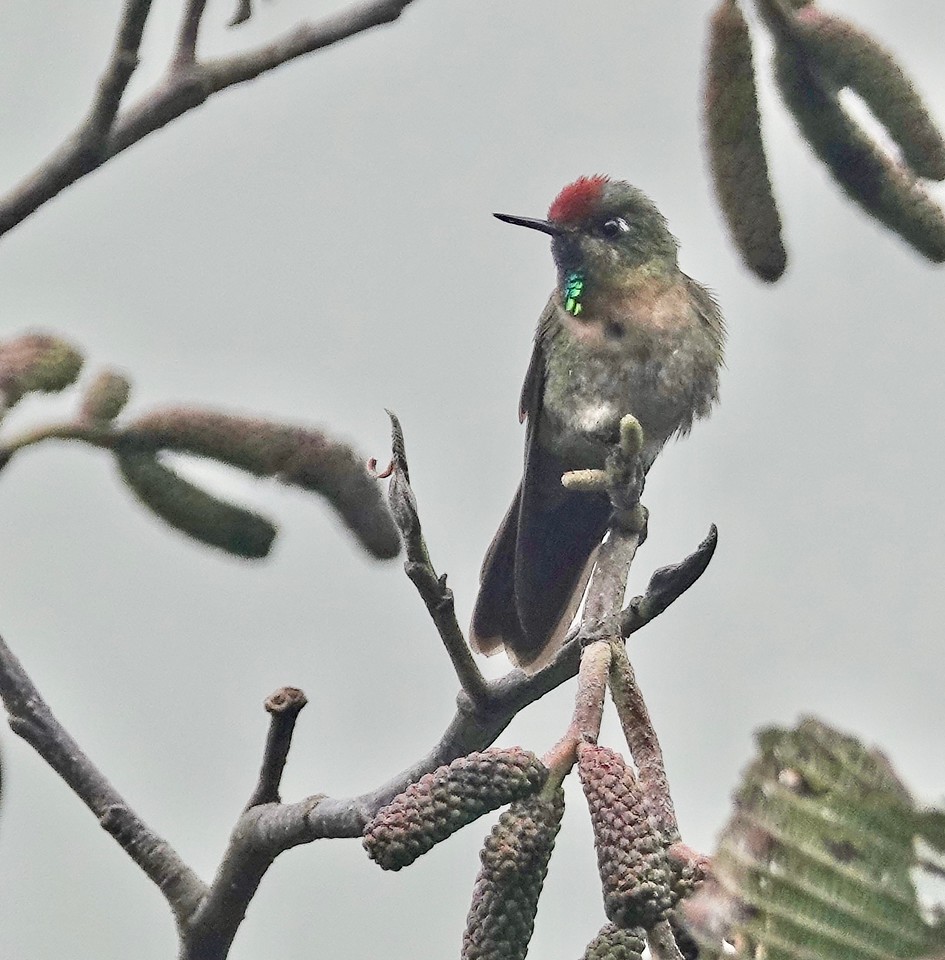
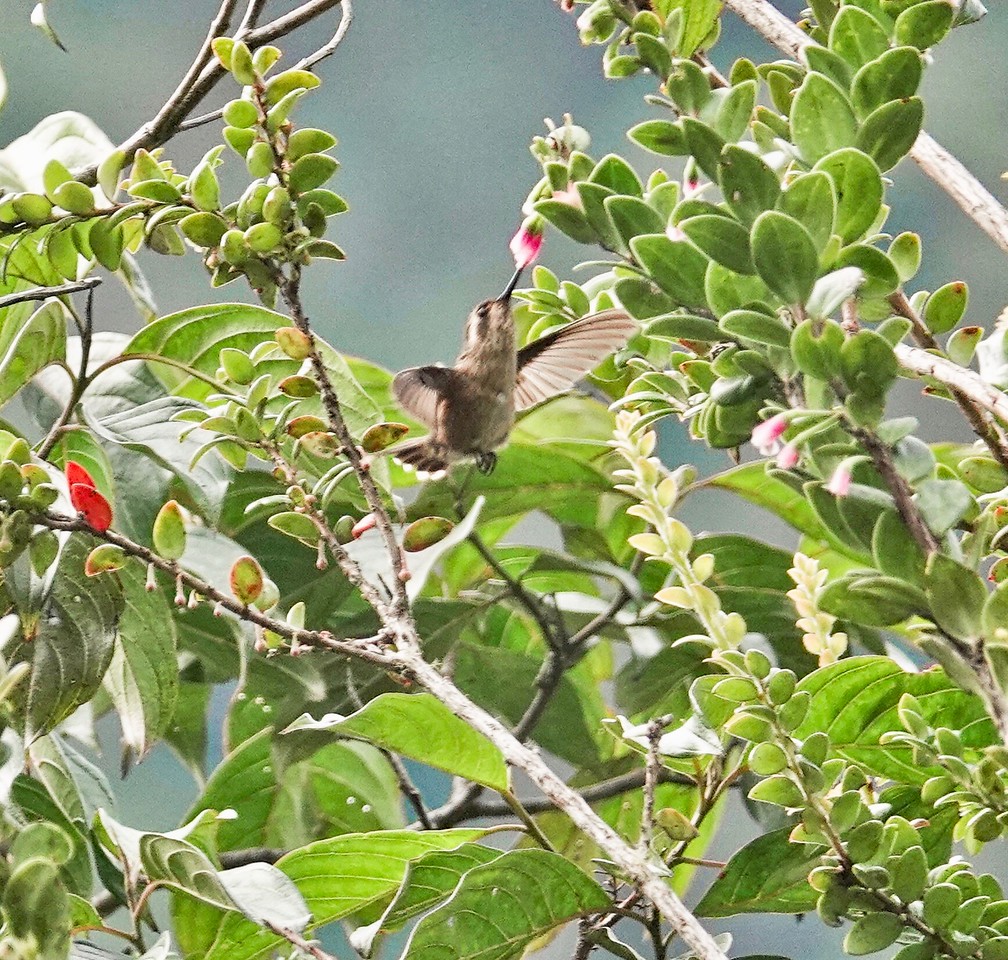
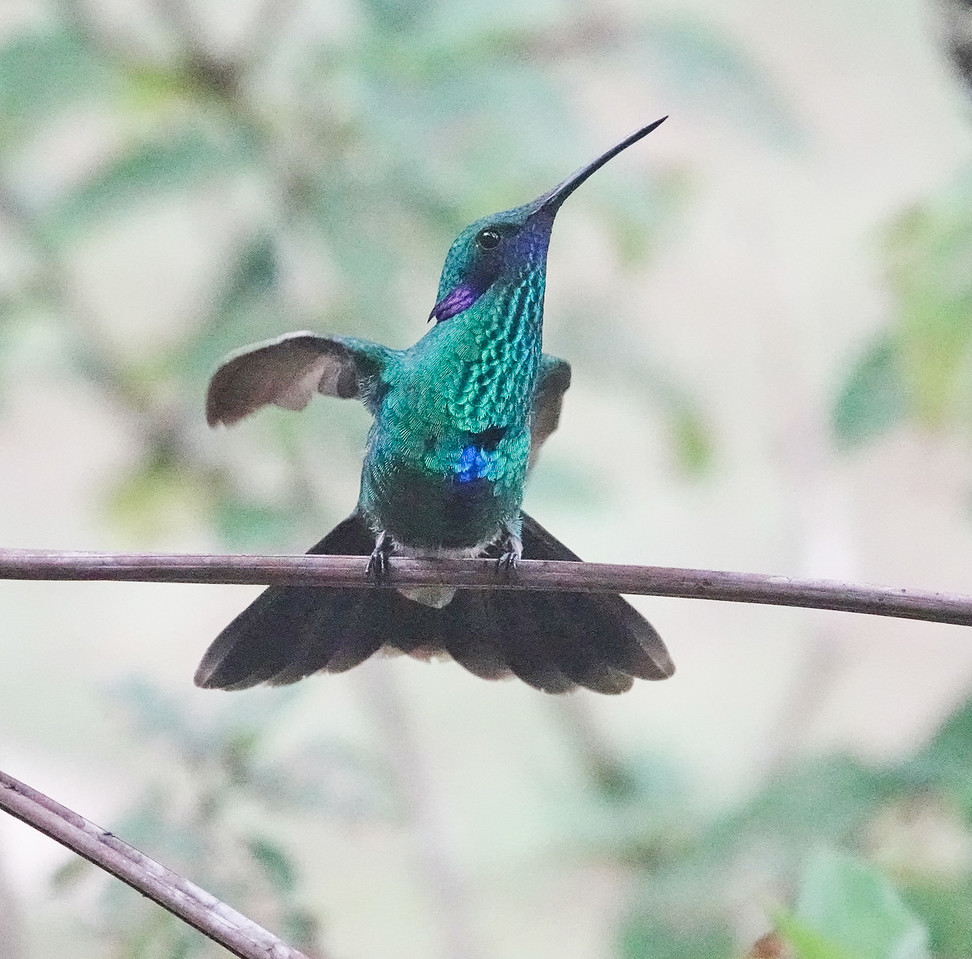
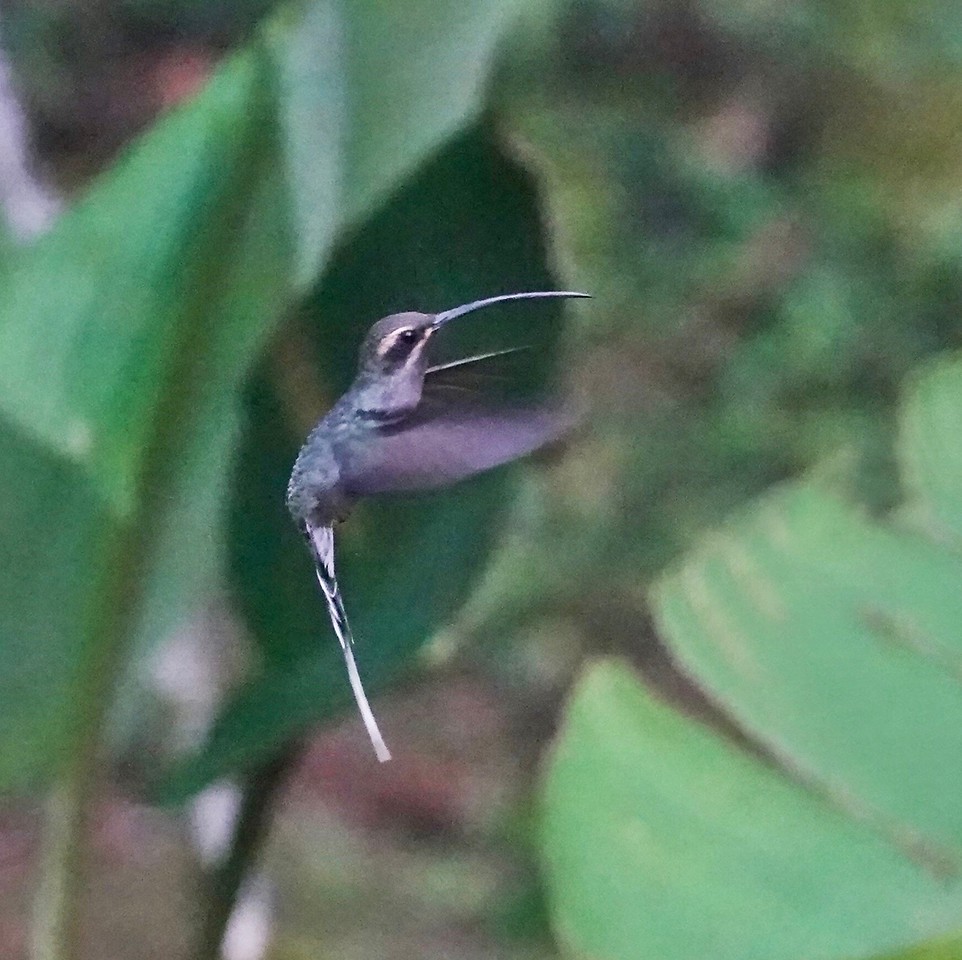
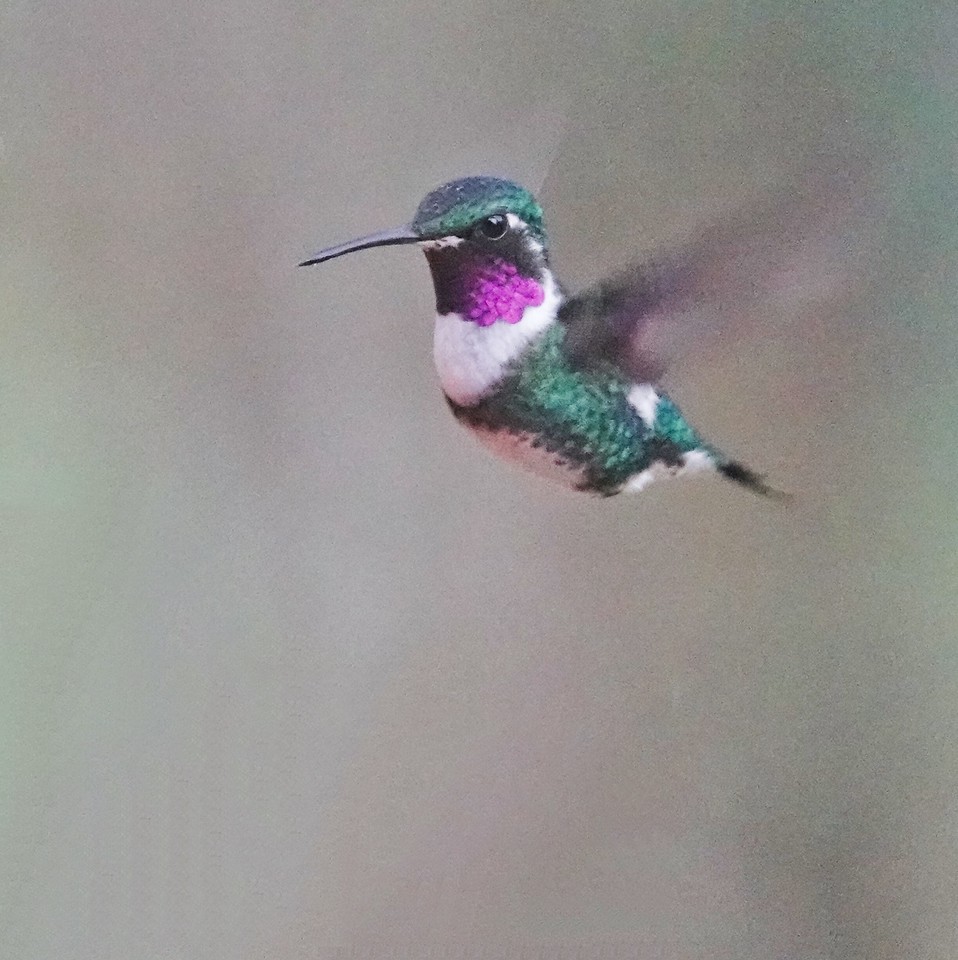
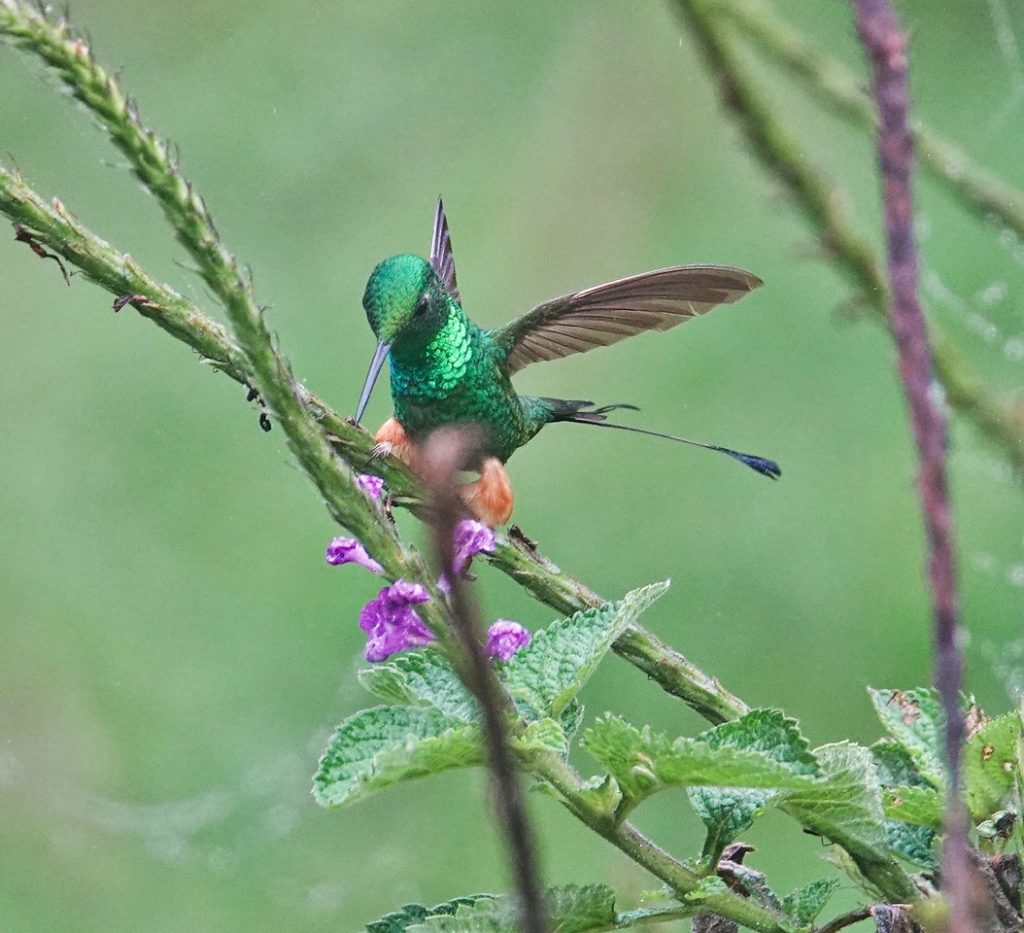
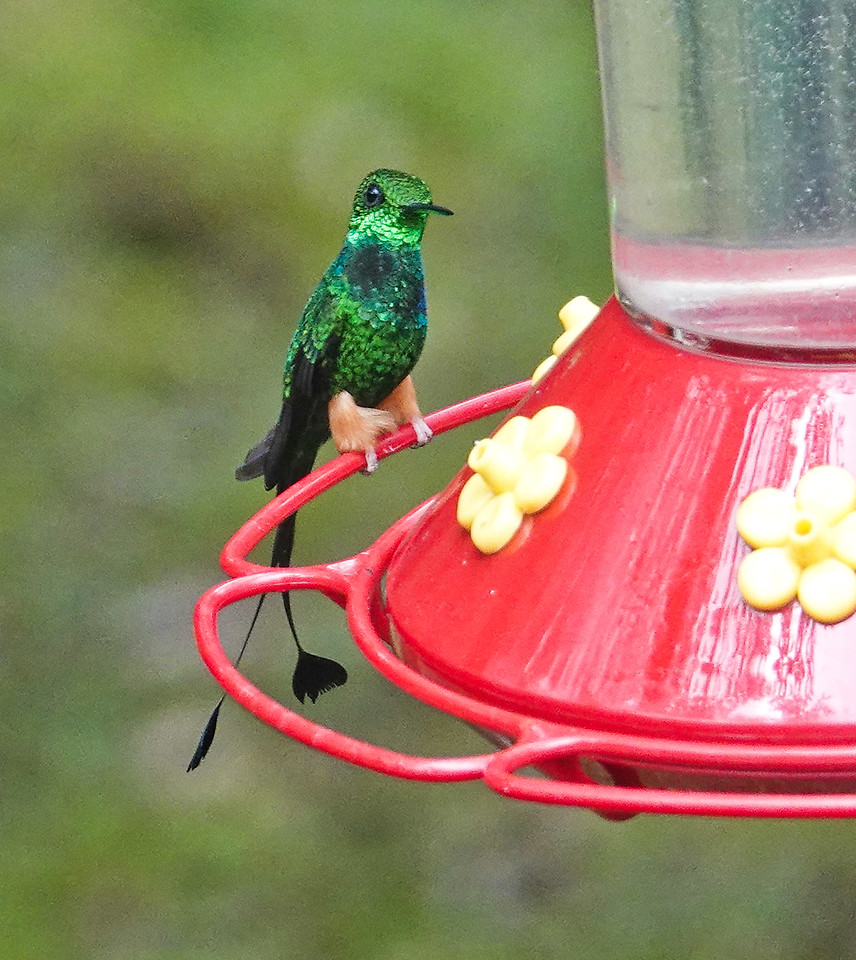
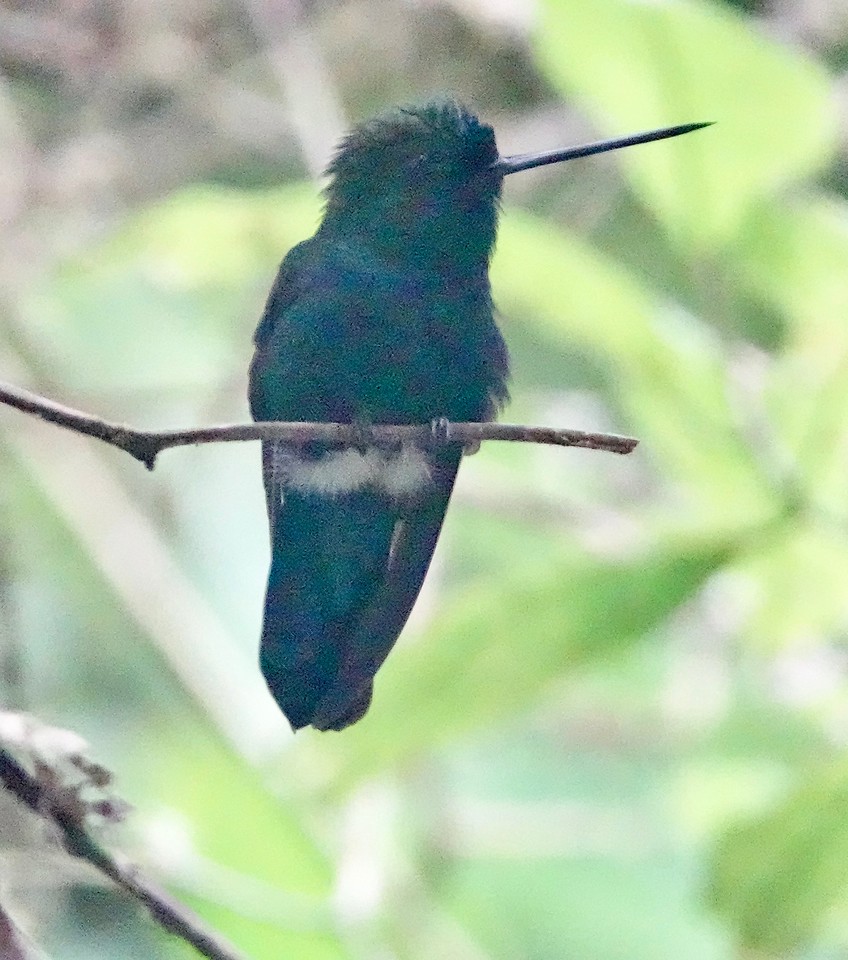
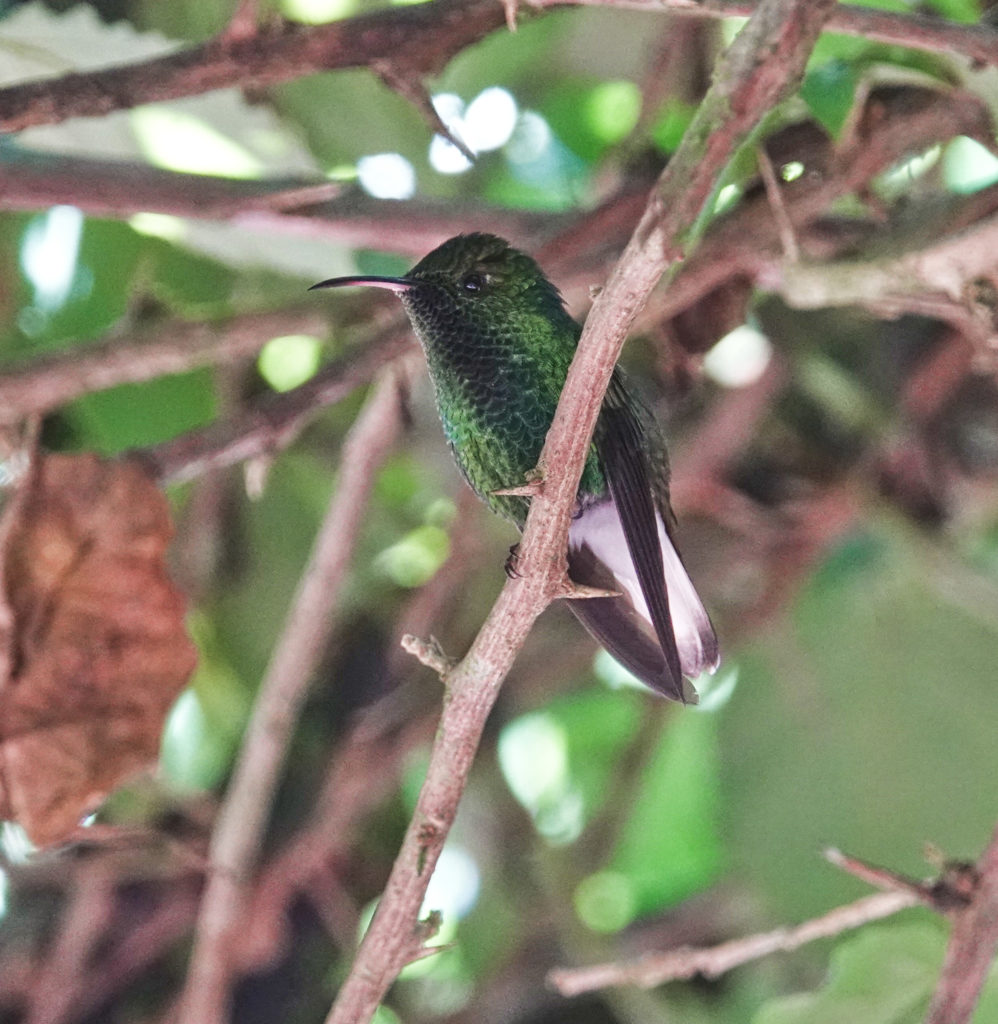
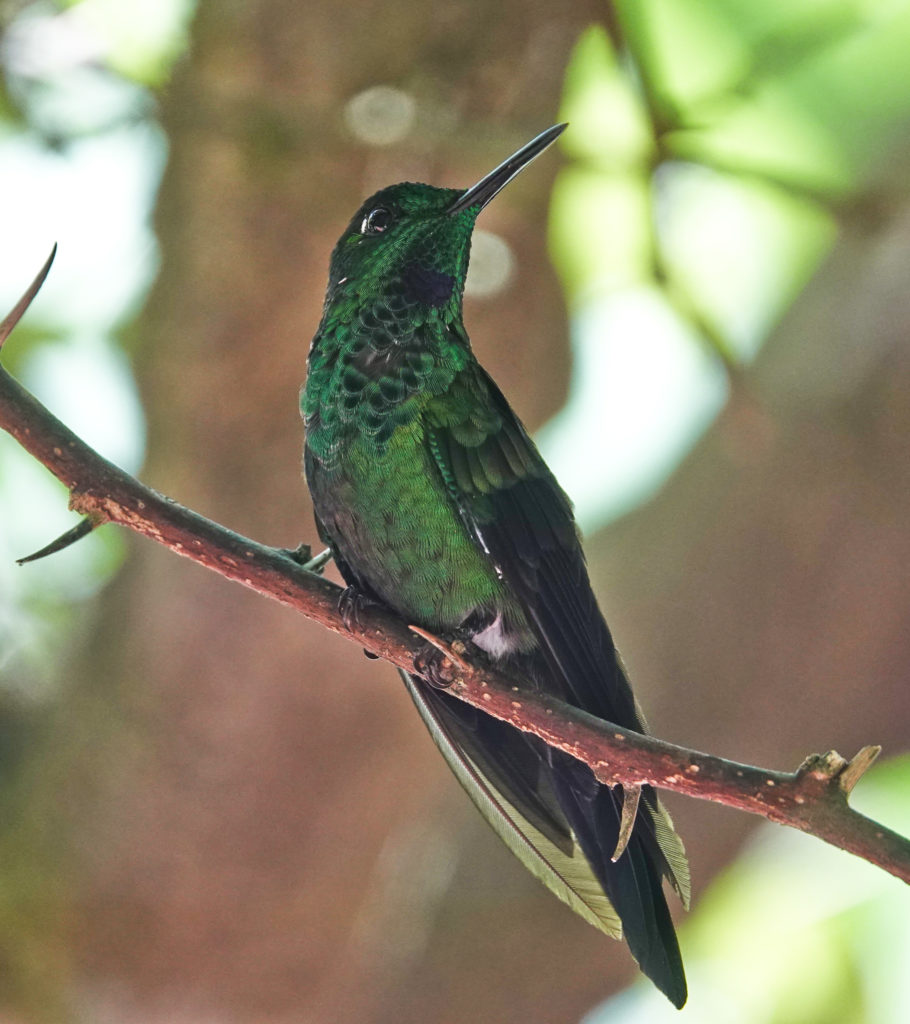
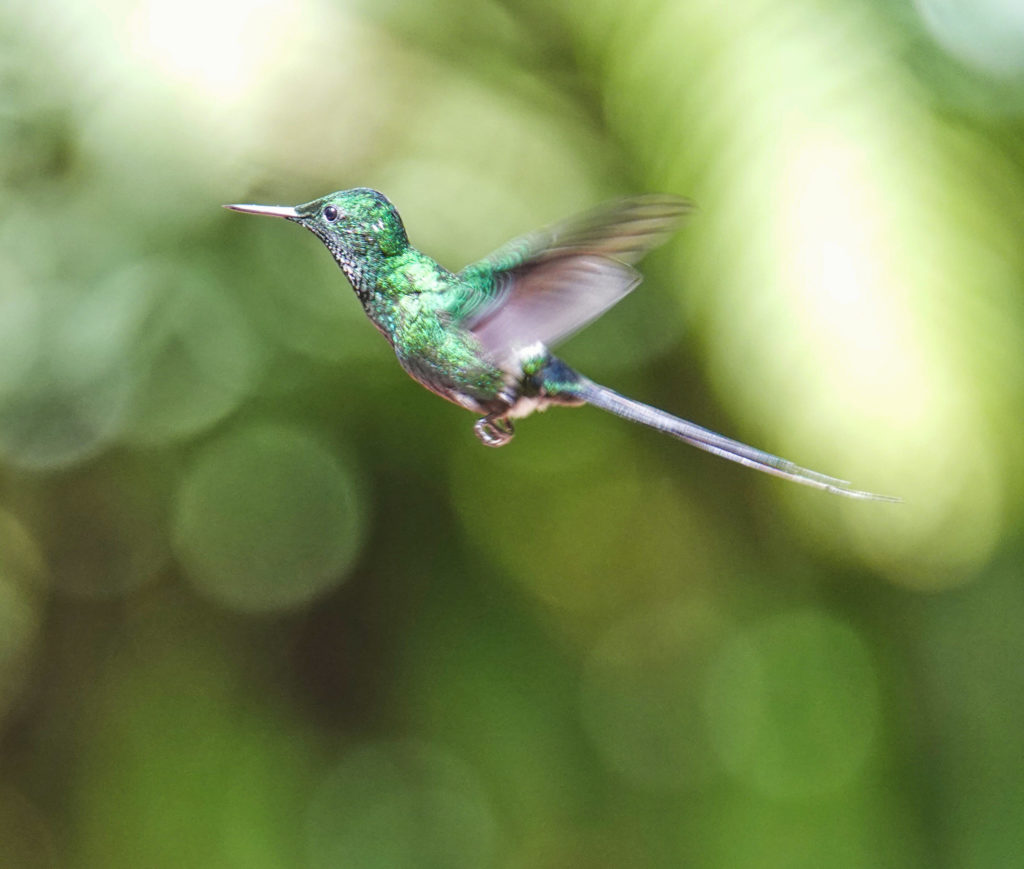
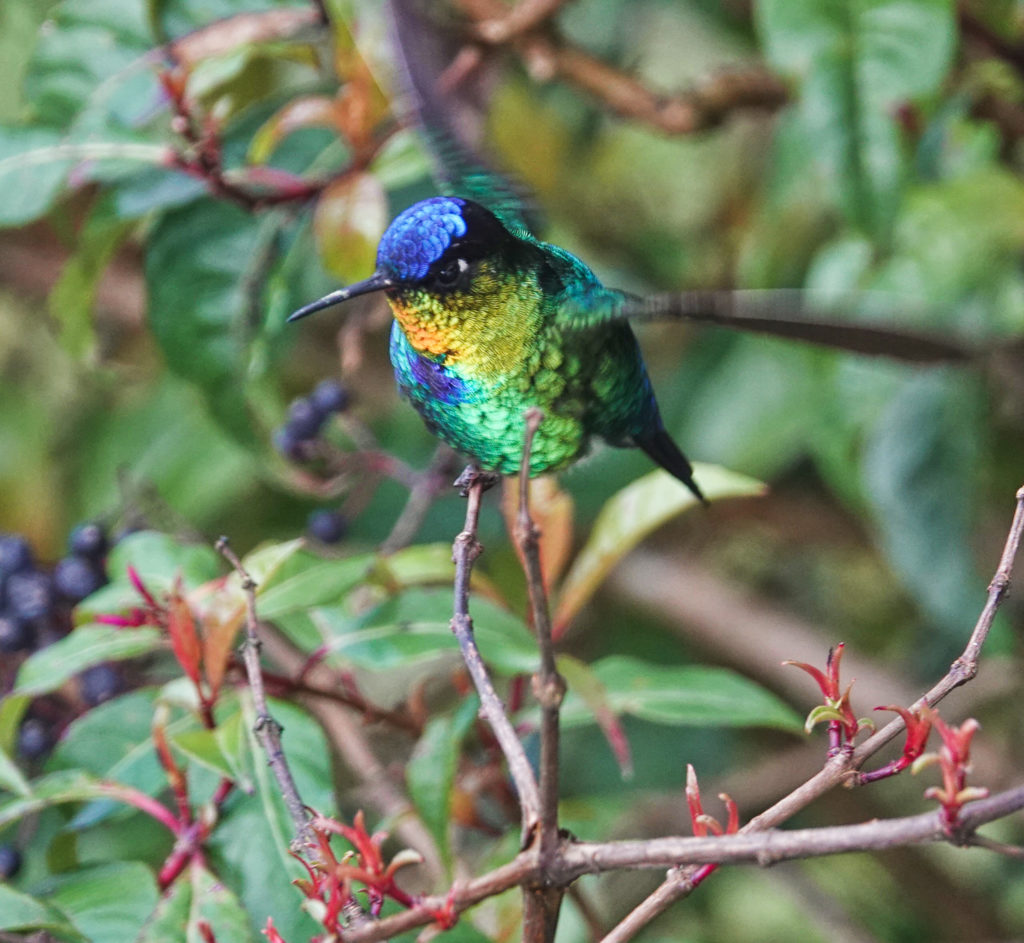
We spent most daylight hours on the Manu Road itself, so my time at the feeders was in less than ideal light, just before and after breakfast and dinner, and there were often wisps of cloud crossing the grounds, but the Metaltail and the Gould’s Inca are particularly good birds to see…and I was, of course, delighted with my first (and only for the trip) looks at Long-tailed Sylph. Sword-billed Hummingbird also comes to the feeders at Wayqecha but not while I was there.
On our first full day on the Manu Road we drove back up the the Canopy Bridge trail for a short hike in to see the bridge.
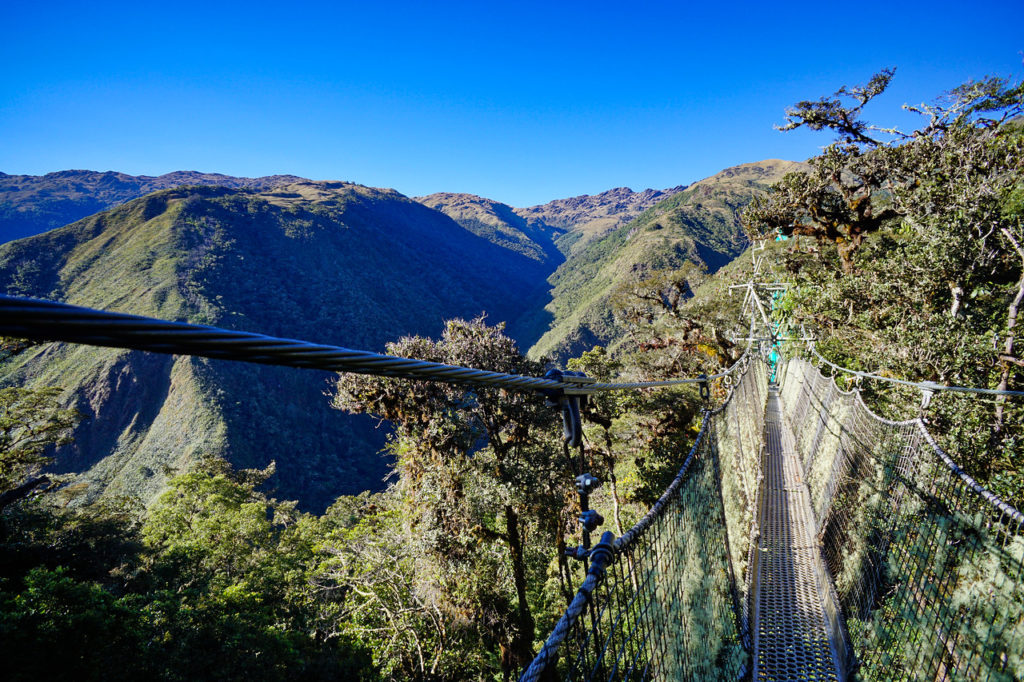
The primary purpose of the bridge is to provide access to the research towers, where, as I mentioned, they are conducting climate change research using huge curtains suspended from the towers to artificially alter the climate beneath.

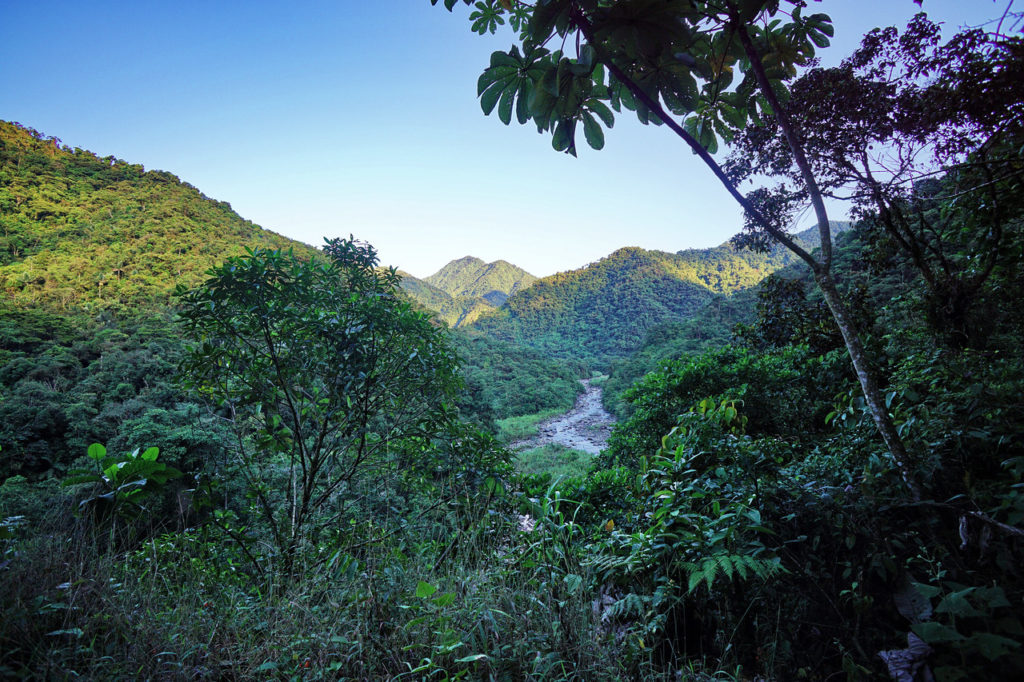
We then walked back down to the lodge. I suppose some people do walk up the Manu Road, but at my age, and at 10,000 feet, I was thankful to be walking down, and most days for the remainder of the trip, that is what we did. We would drive to likely spot along road, and then walk, sometimes miles, seeing what we could see. Sometimes, especially in the afternoon, we would spend time in the van, slowly driving down, stoping mostly for mixed flocks seen crossing the road or along side, and getting out and walking sections that have proved particularly birdy in the past. This is old fashioned road birding. Walk and ride, ride and walk. What you see is totally dependent on what happens to be near the road as you pass. If most of your tropical birding has been done in Central America or even in other parts of South America, where the birds tend be concentrated at maintained feeding stations or in particularly bird-rich areas, this is different, and a bit harder work. But it is worth it. The magic of the Manu Road is that you do see an amazing number and variety of birds. You might walk half a mile without seeing anything…but then the next half-mile might be full of the most spectacular and interesting birds. And the birds you see are difficult to impossible to see elsewhere. The upper Manu Road gives you easy access to some of the richest cloud forest in the world.
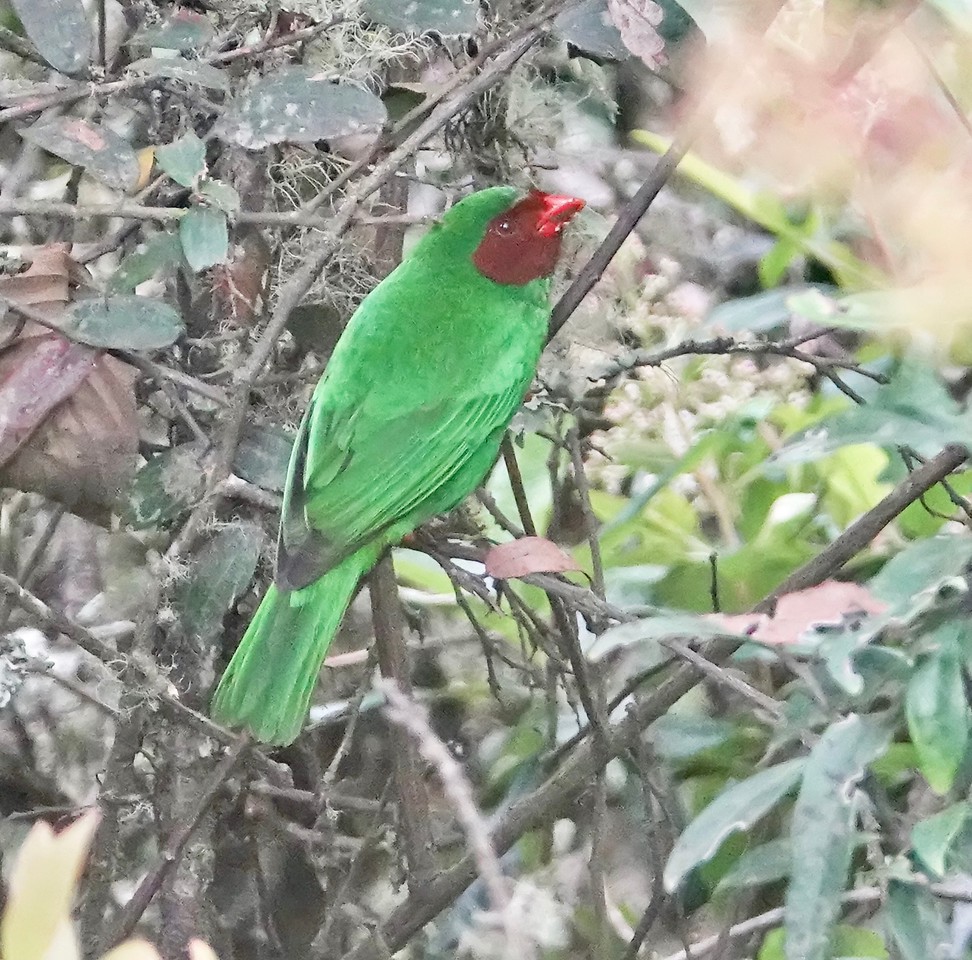
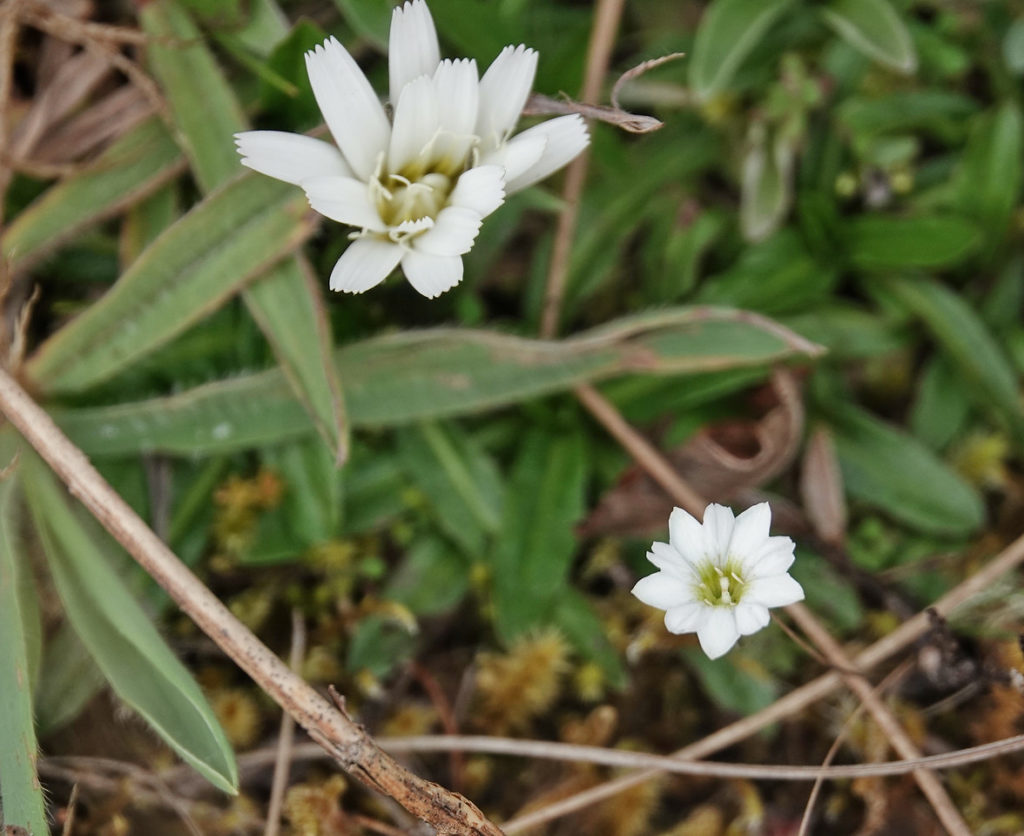
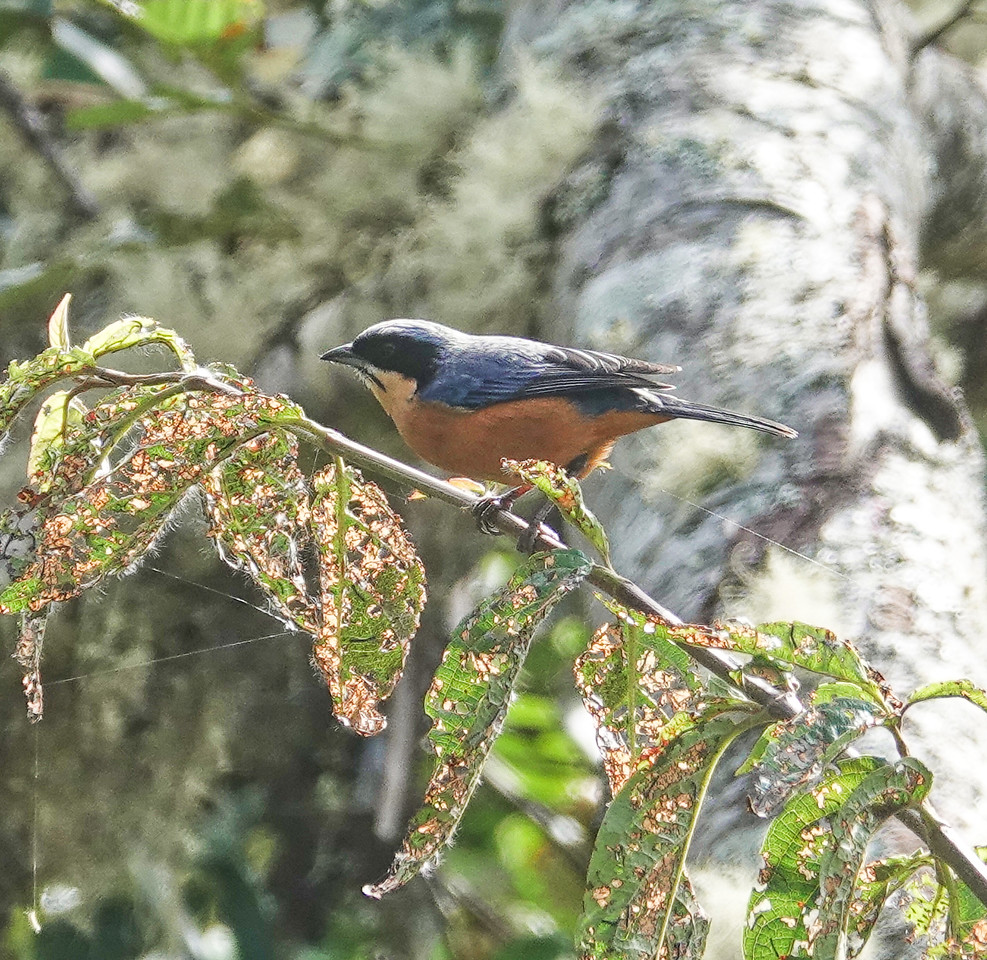
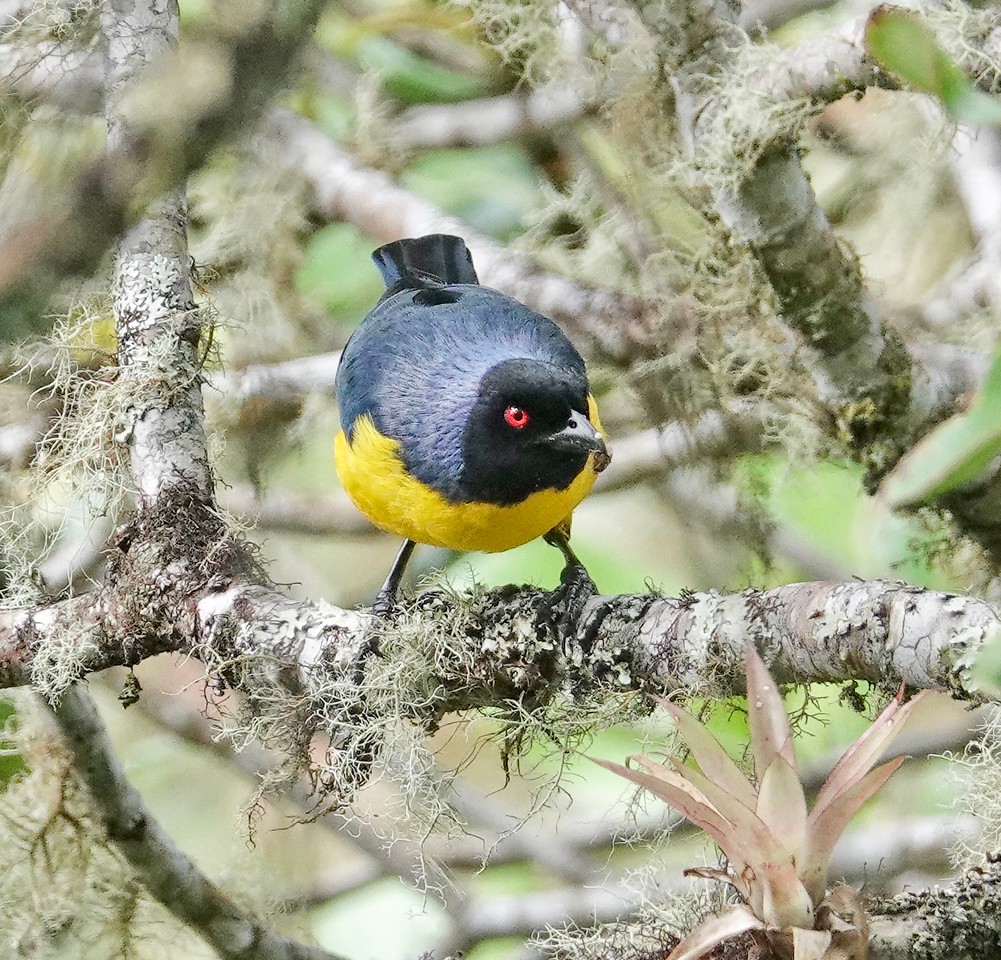
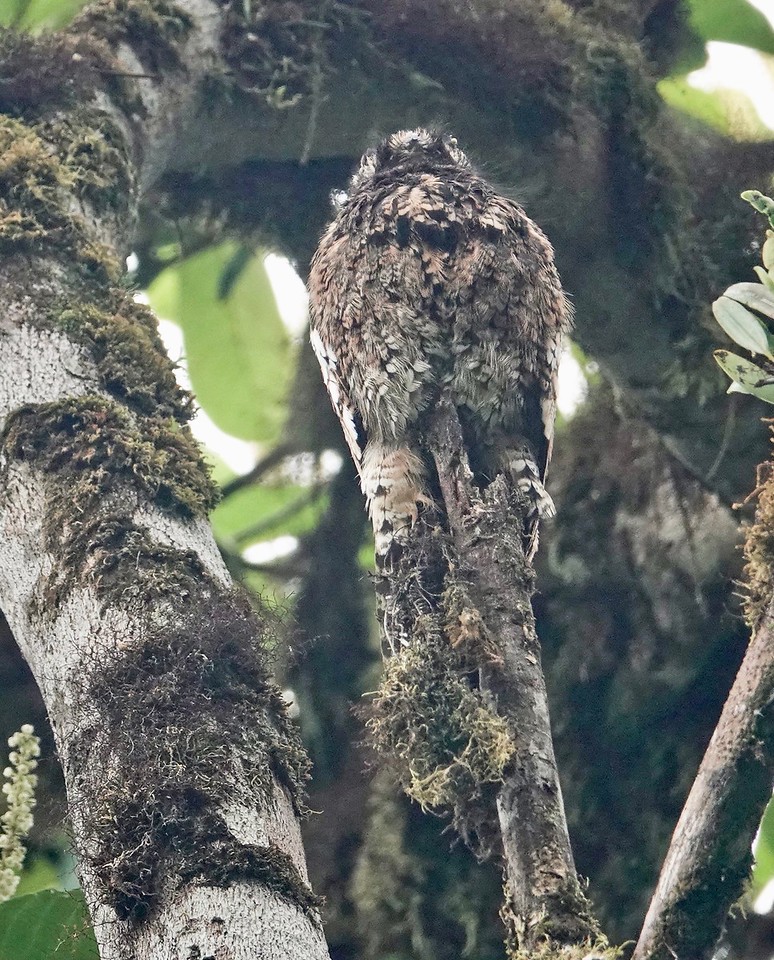
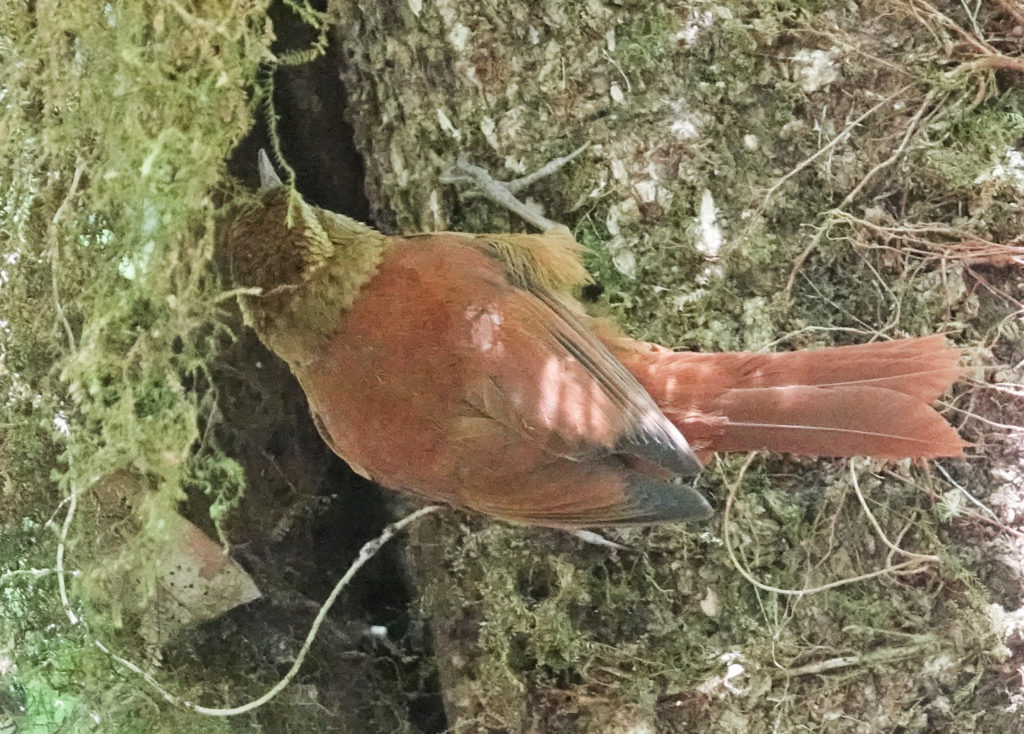
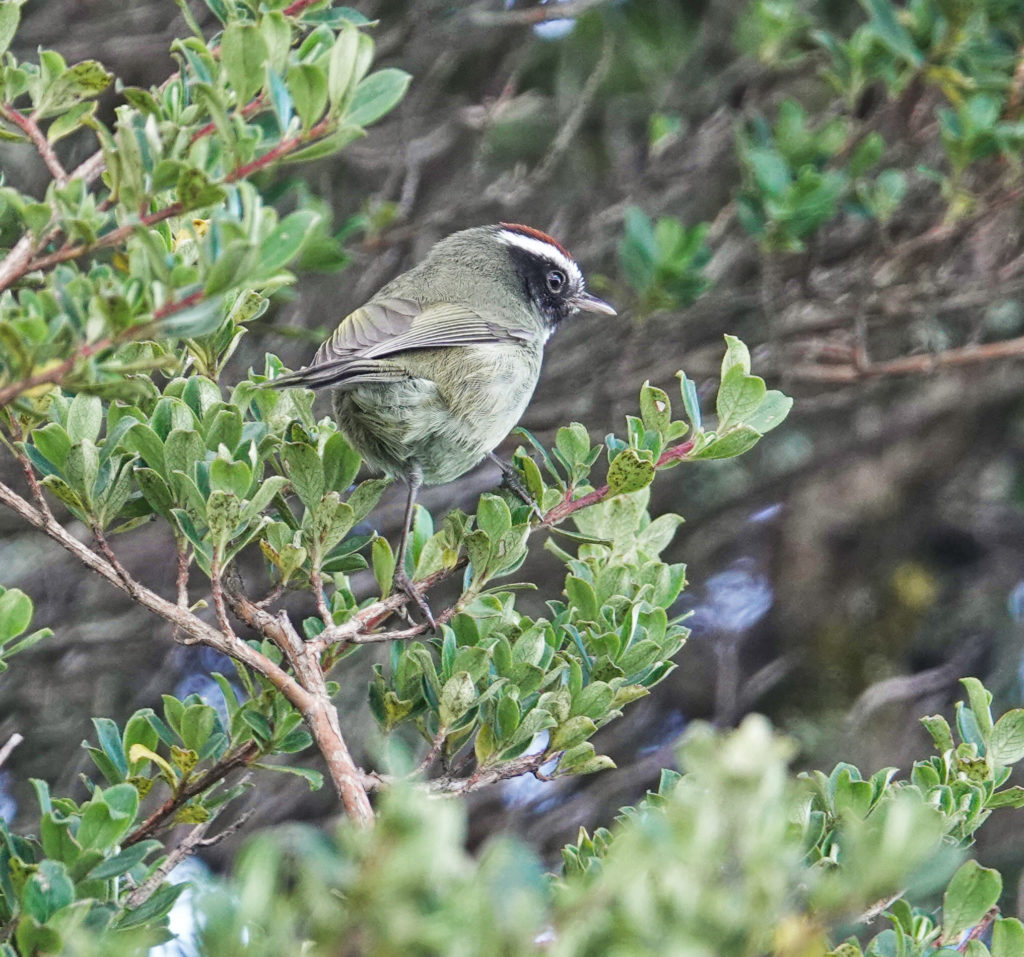
That first morning on the Manu Road gave us a good taste of what the following days would be like. We had our first sightings of the Crimson-breasted Mountain Tanager, many highland wildflowers, and vistas that only the Andean Cloud Forest can provide.


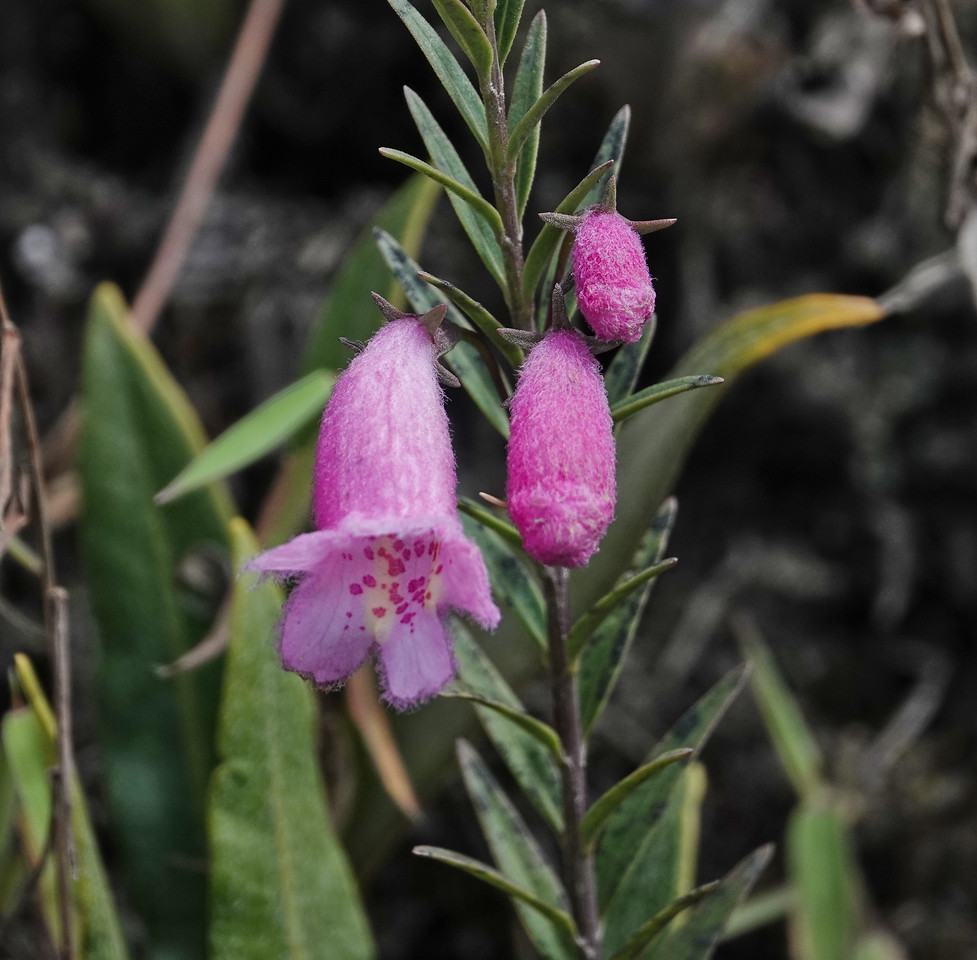
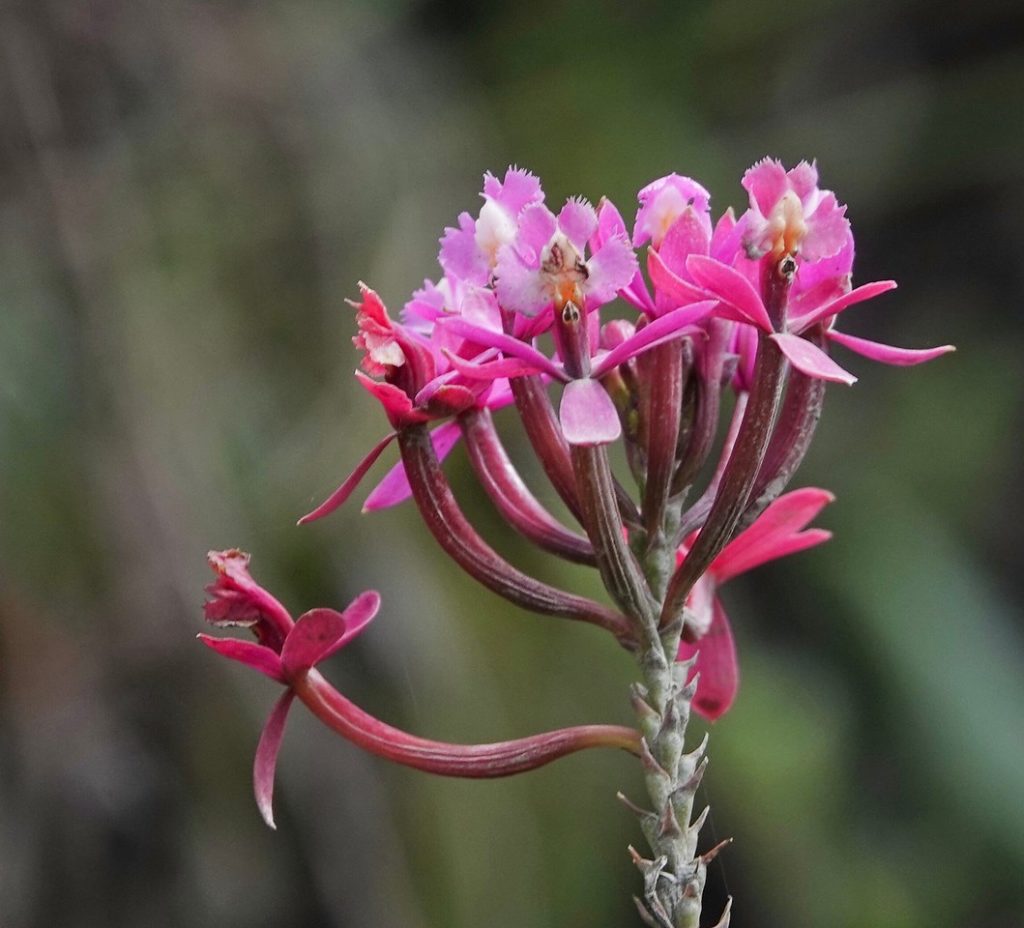
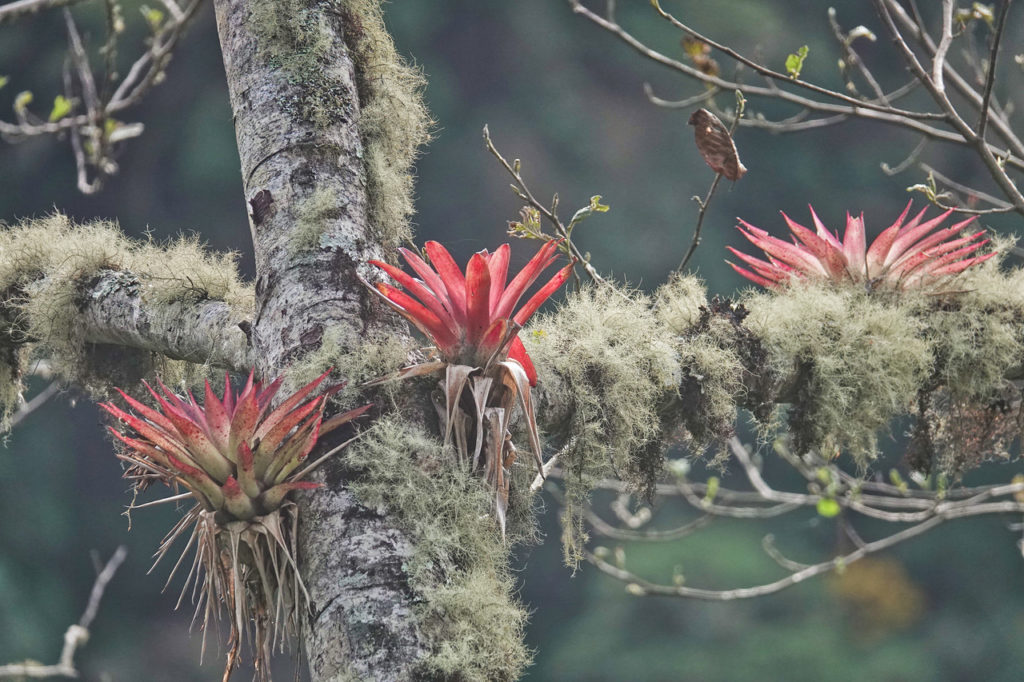
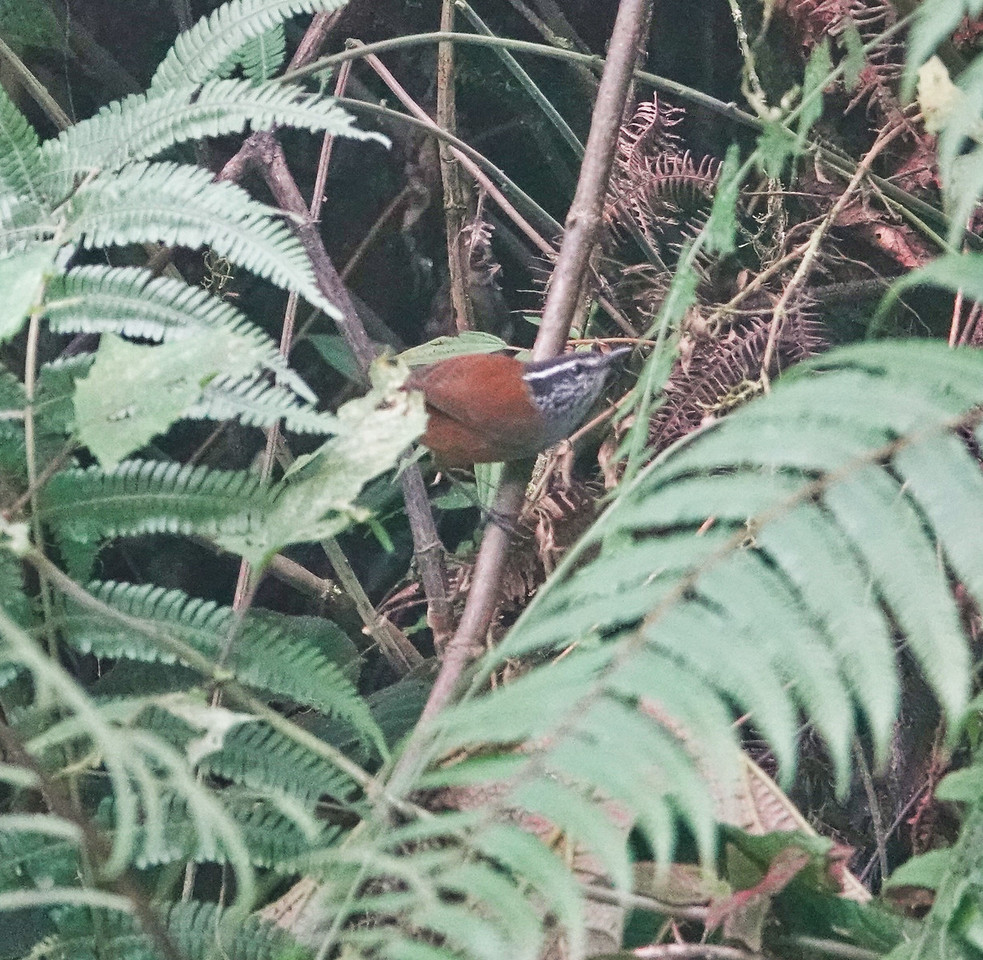
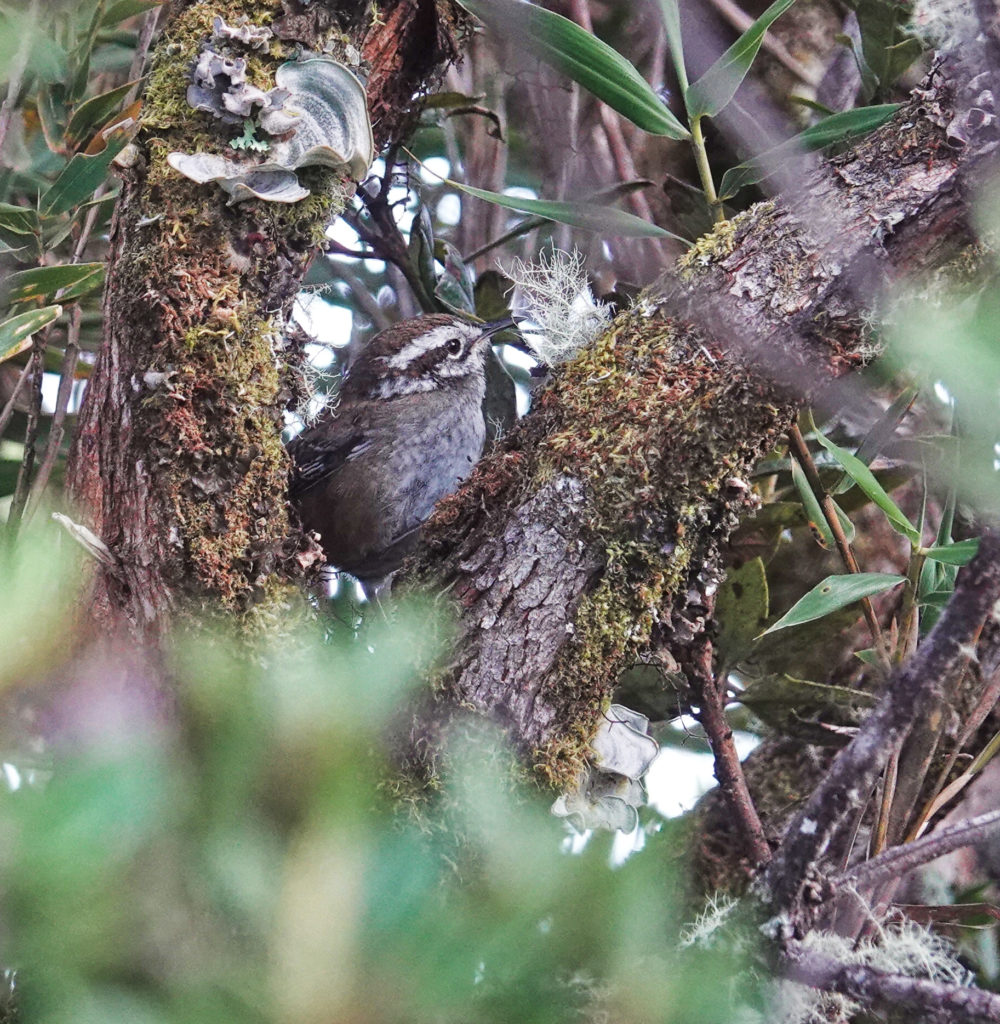
Here is a selection of birds, wildflowers and views from our afternoon walk, below Wayqecha.


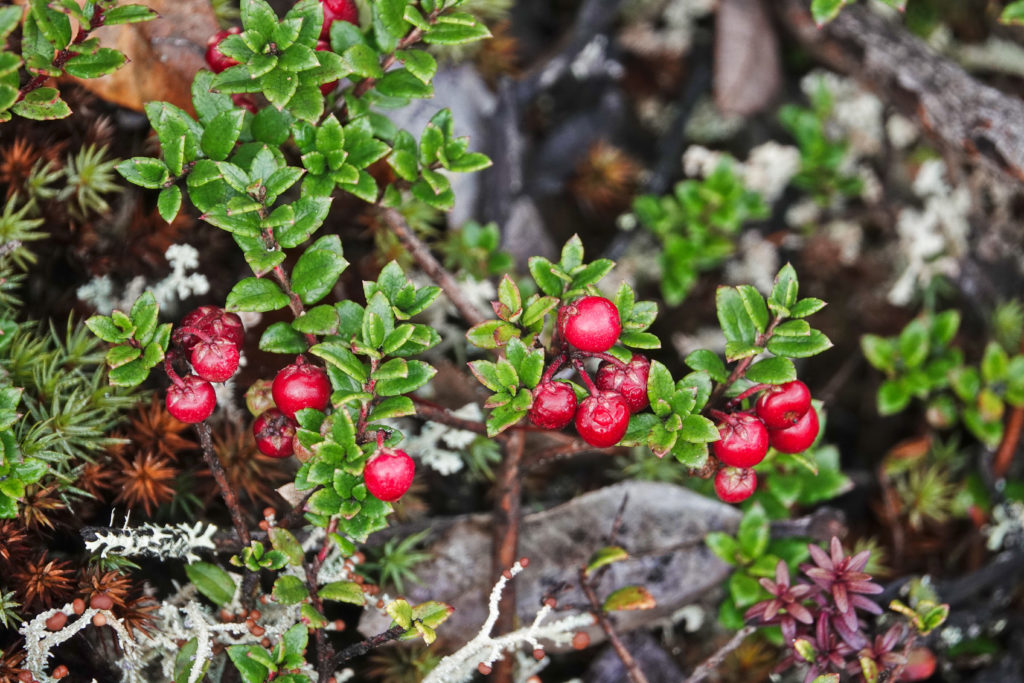
We made another visit to the Puna near the entrance station to Manu National Park while at Wayqecha Biological Station. Again, the Puna is the dry grass and shrub area above tree-line in the Andes. Clouds were rolling across the summit when we visited and there were not many birds around, but I was satisfied with the wildflowers.


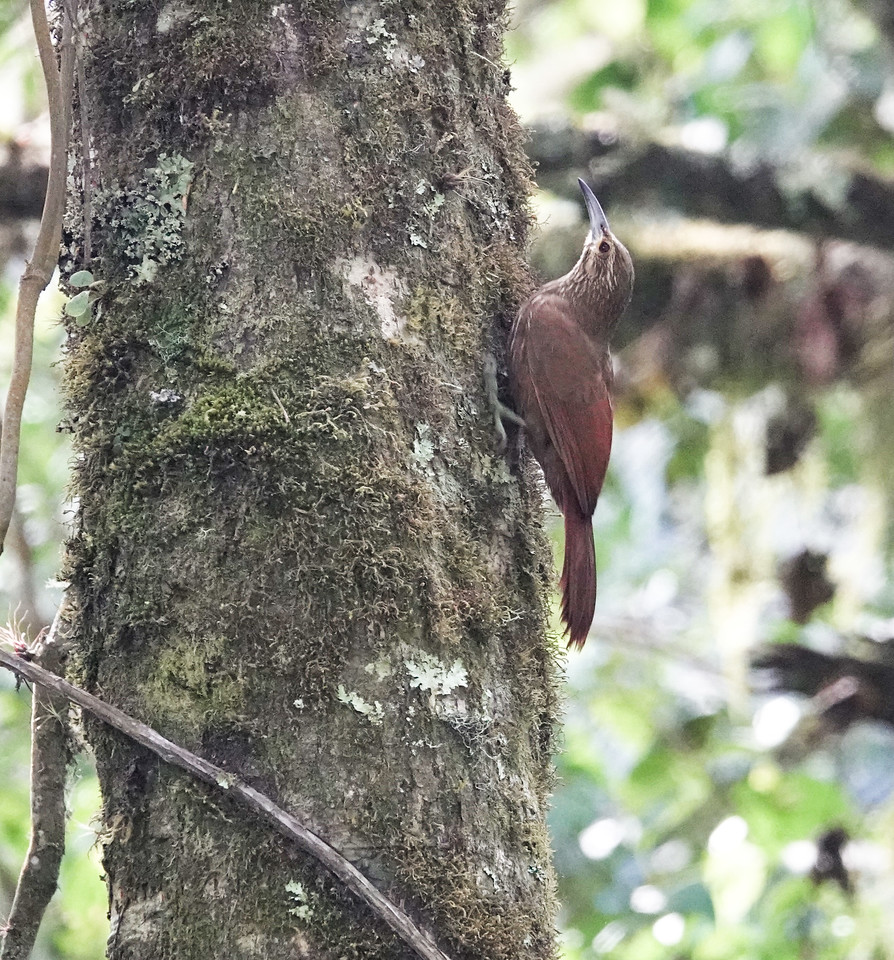
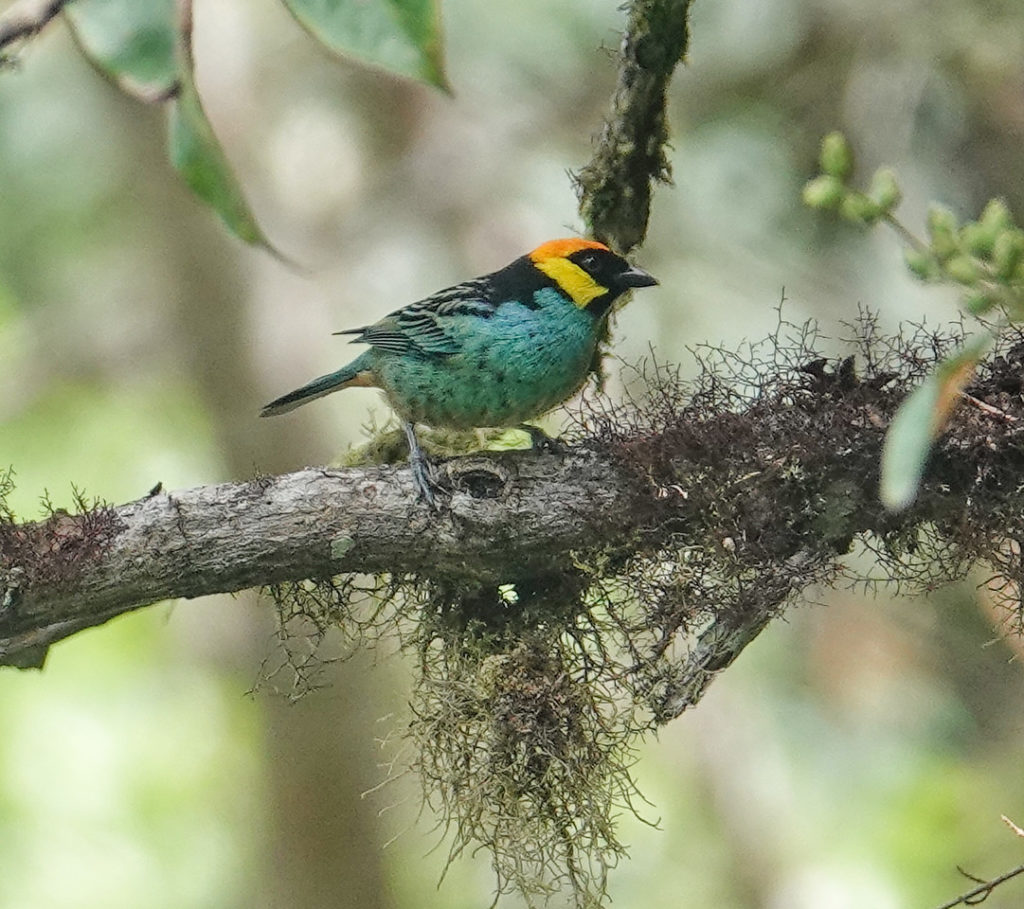
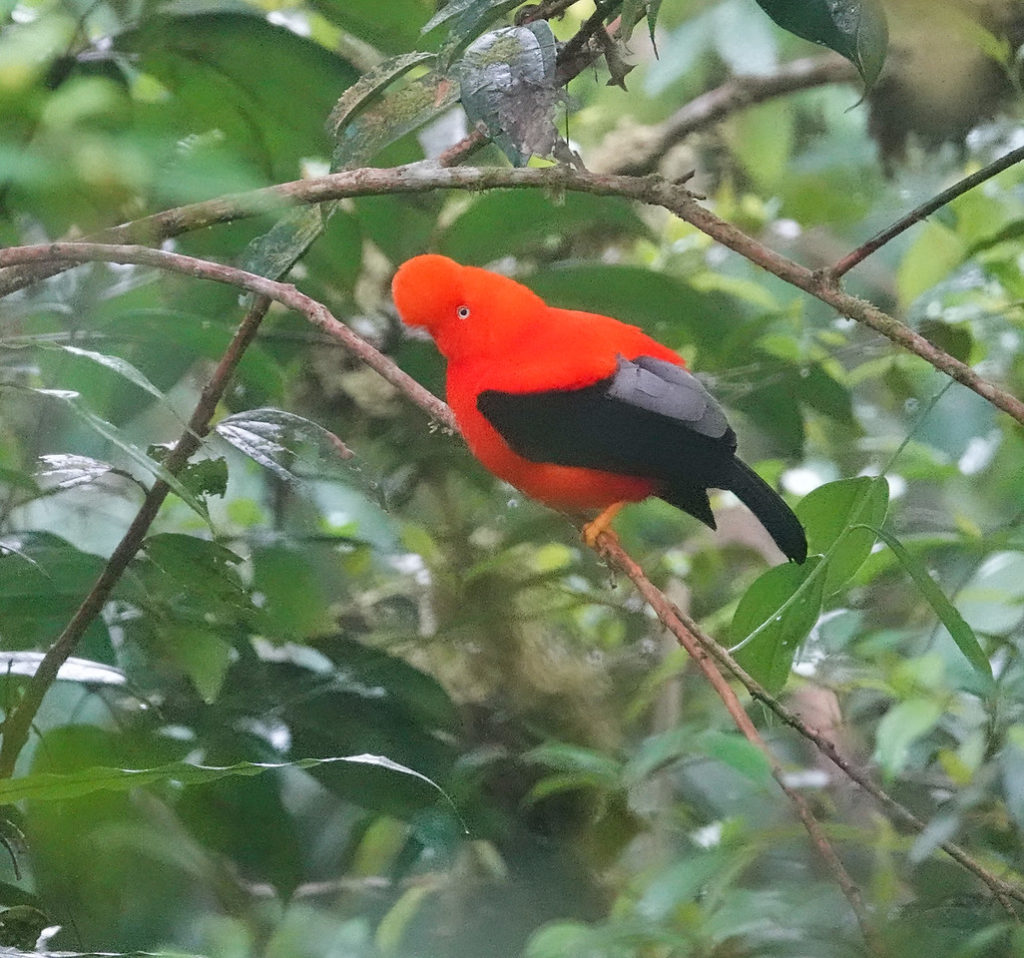
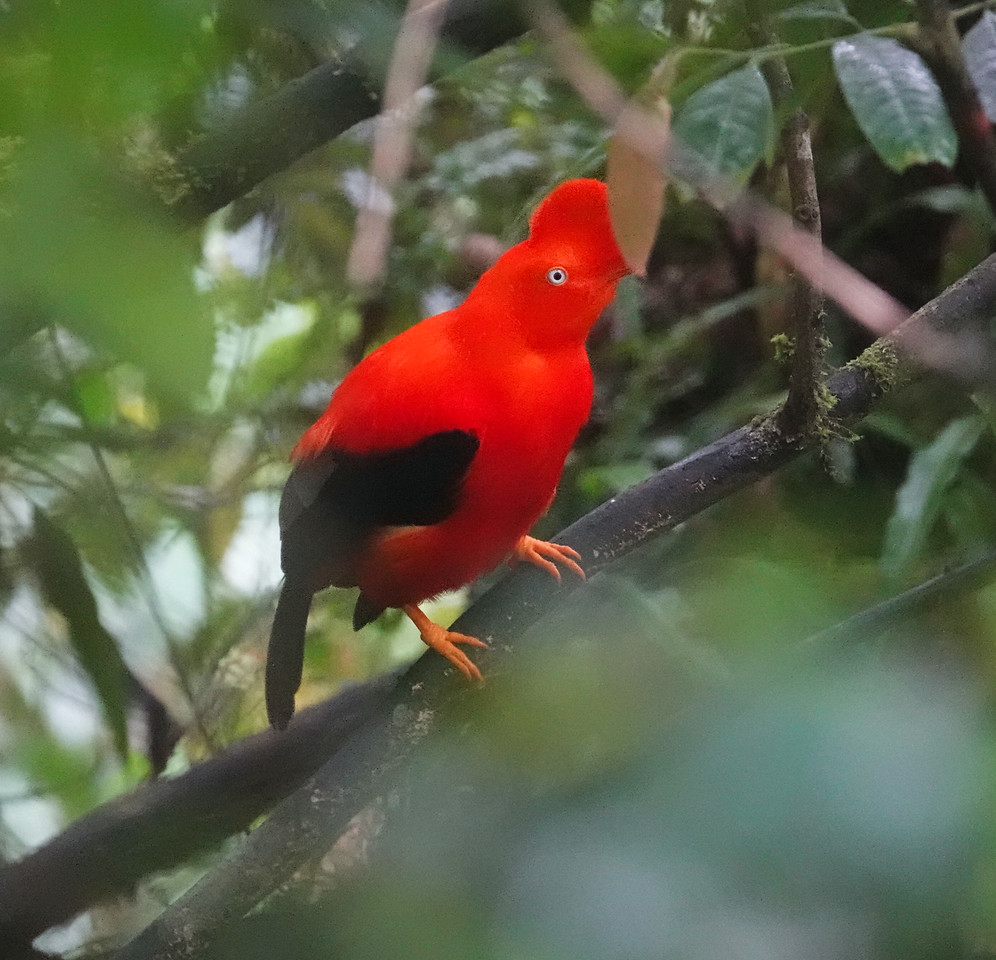
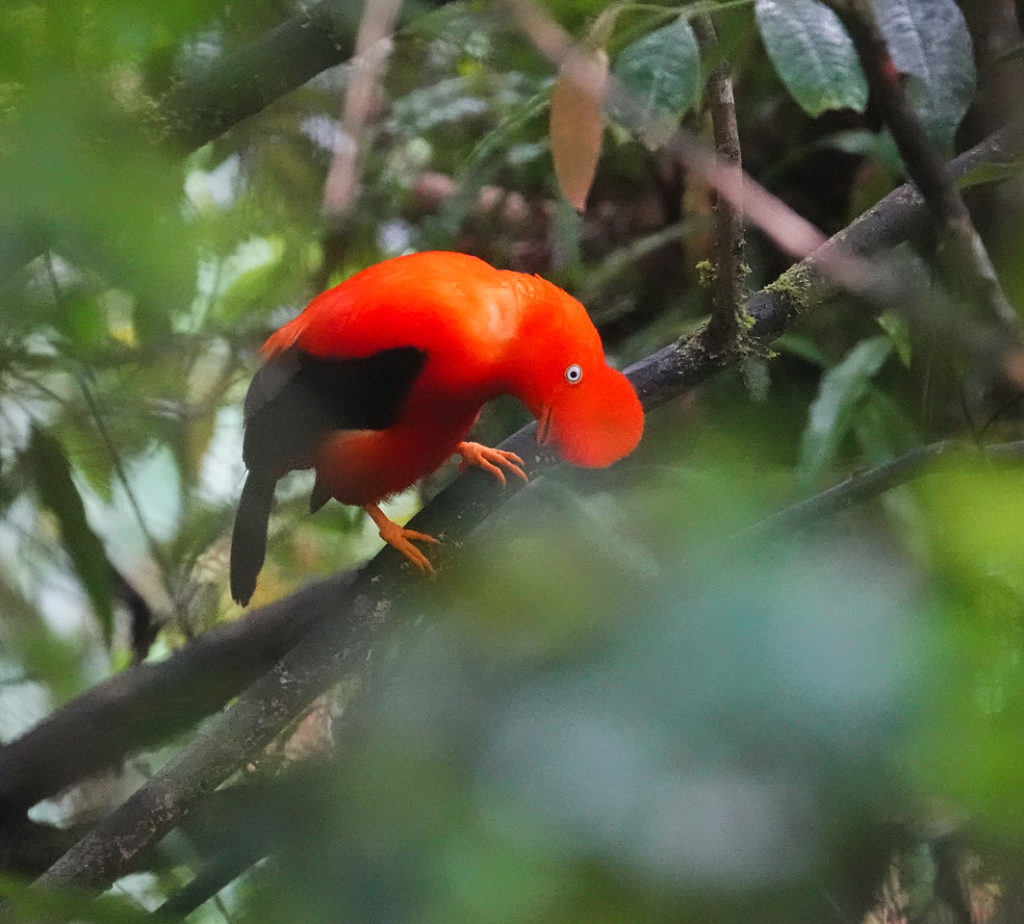
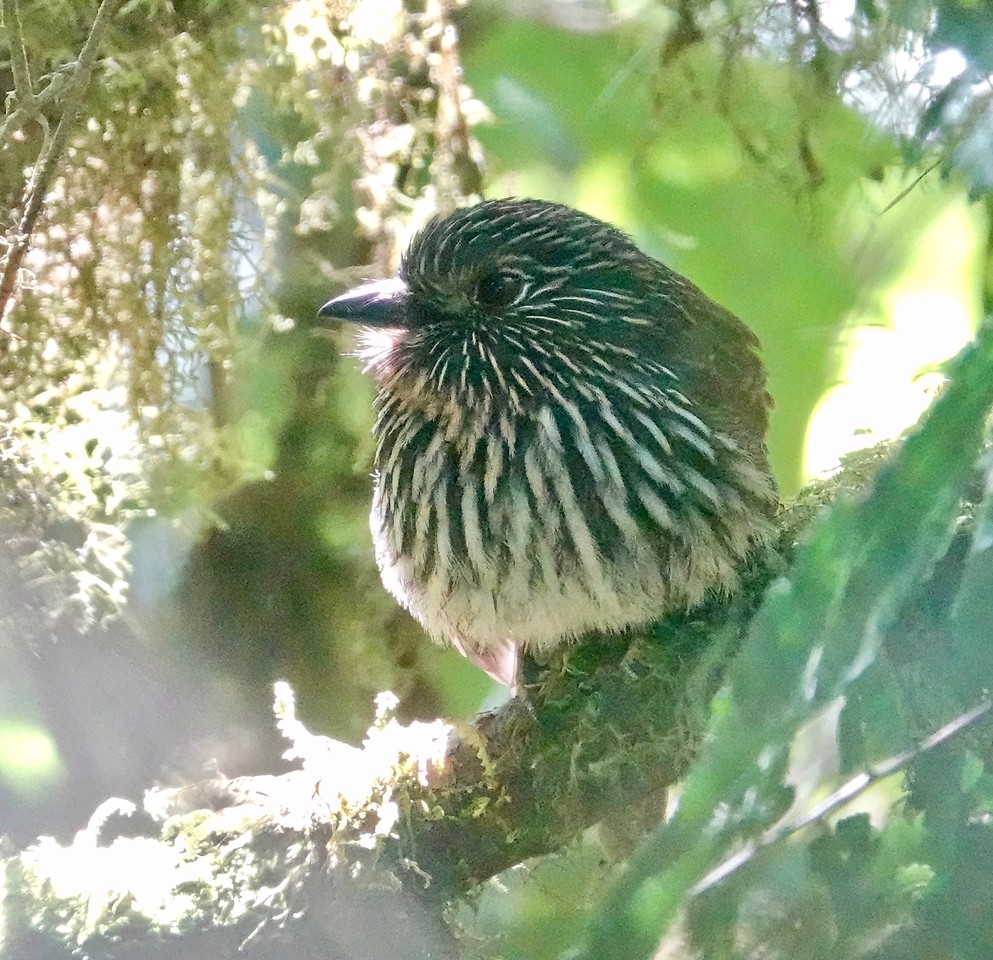
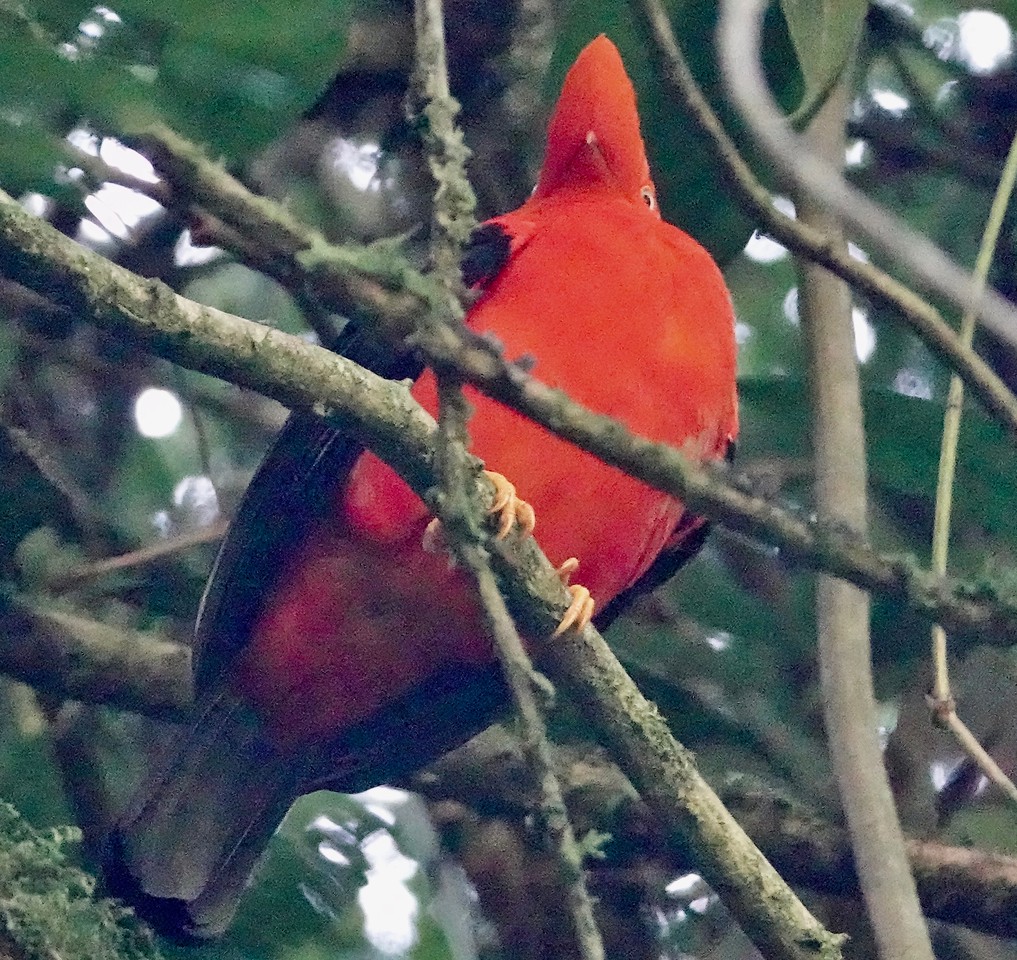
The next morning we packed up and headed down the Manu Road toward Villa Carmin Biological Station in the foothills. The target bird of the day was the Andean Cock-of-the-Rock and we had a late afternoon appointment at the Cock-of-the-Rock lek near Cock-of-the-Rock Lodge, half way between Wayqecha and Villa Carmin. The morning, however, as we slowly drove and walked the section of the Manu Road above Cock-of-the-Rock Lodge, turned out to be highly productive. Here is a small sampling of what we saw.


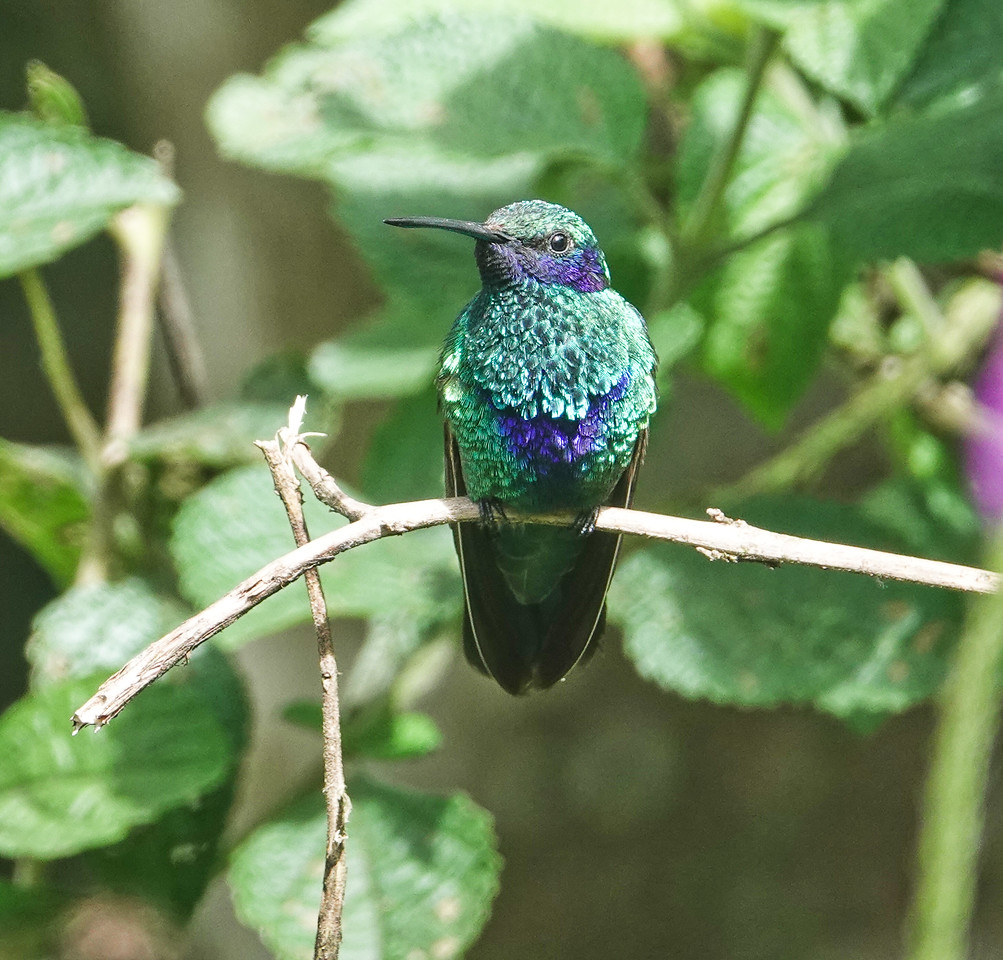
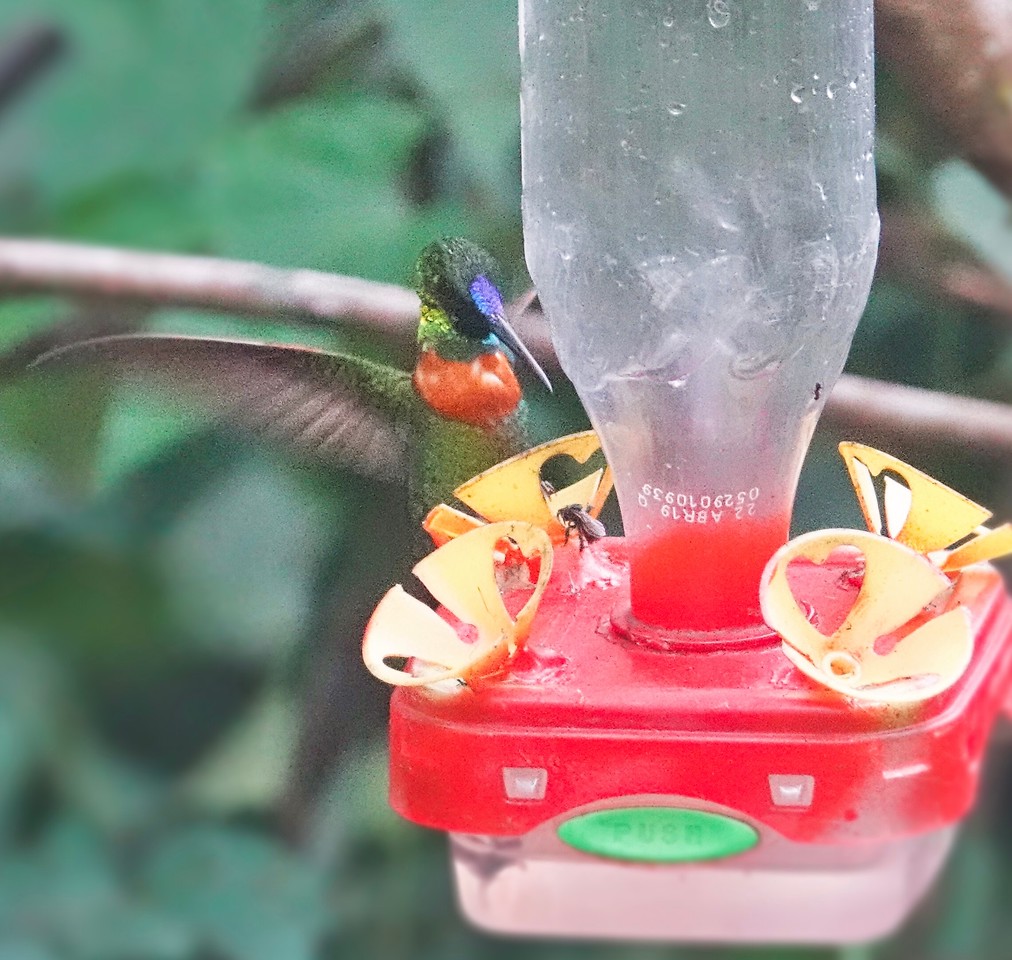
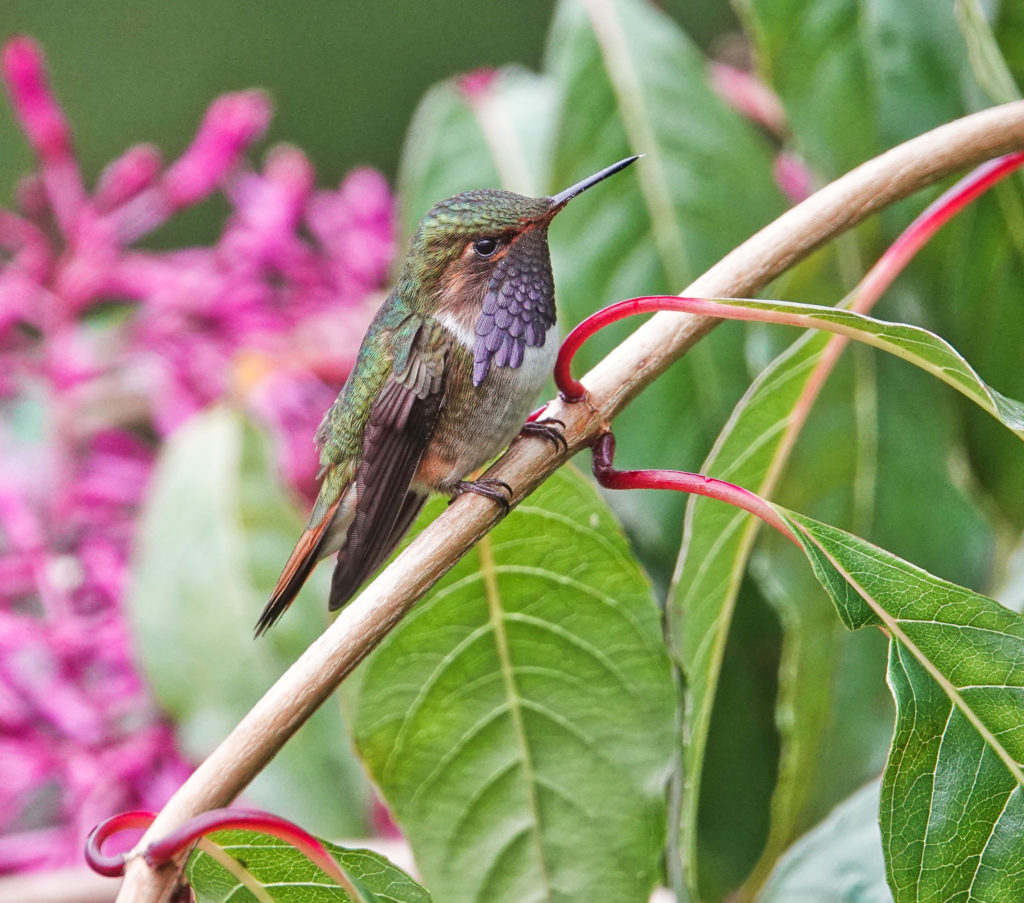
Cock-of-the-Rock Lodge has a fame all its own, and is worth visiting for more than the nearby CotR lek. The feeding station, hummingbird feeders, and plantings in the back yard below the dinning hall attract a wide variety of hummingbirds, tanagers, sparrows, woodpeckers, etc.

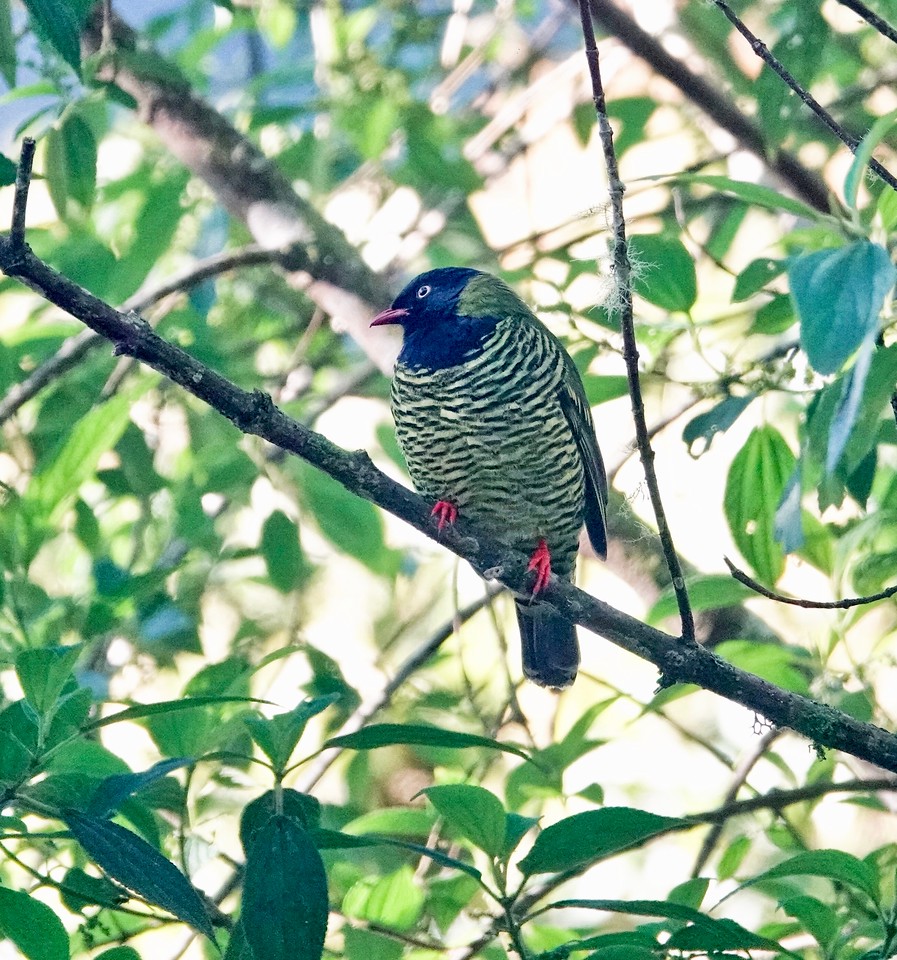
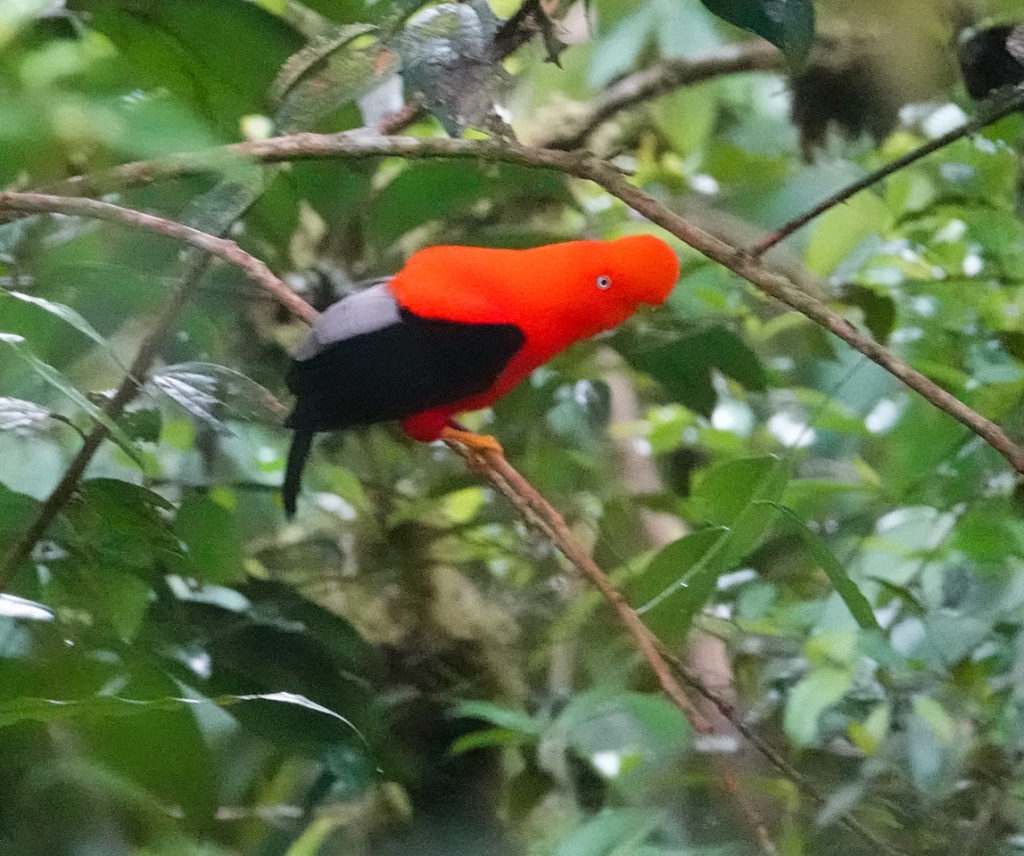
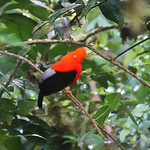
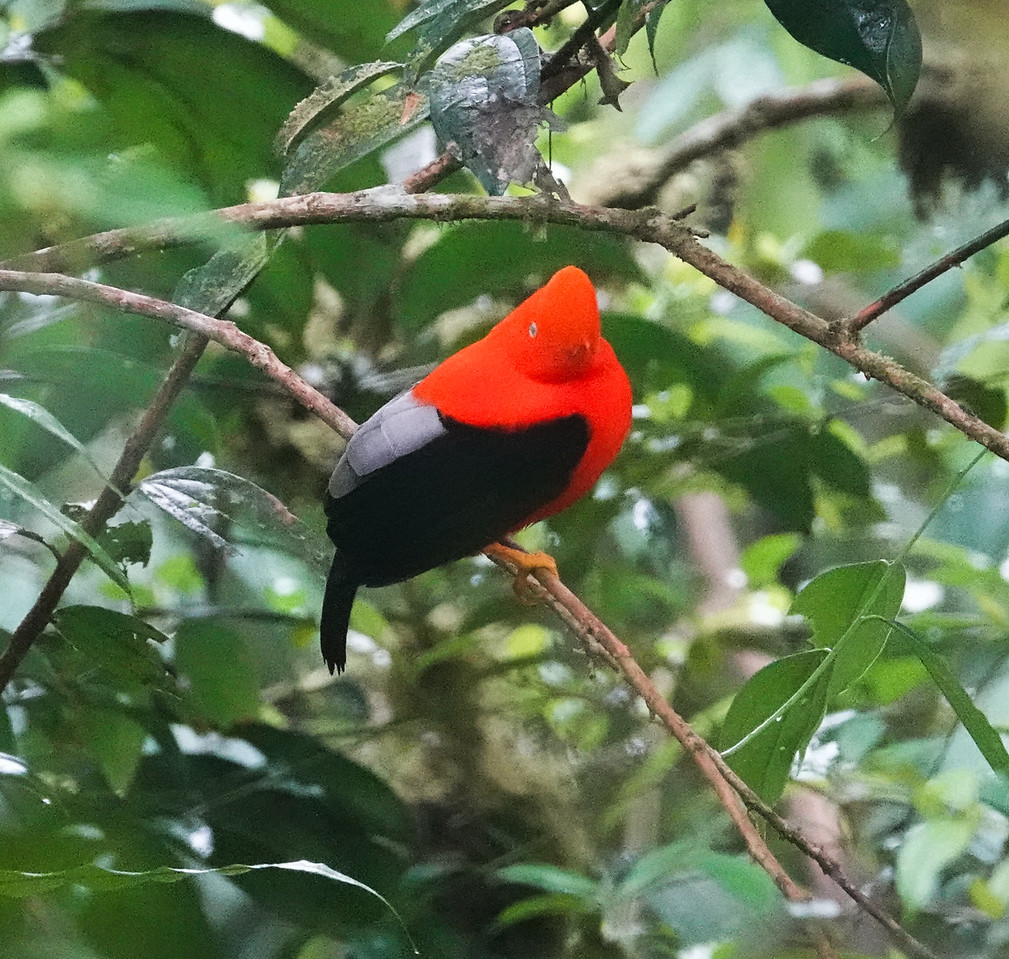
They take appointments for the lek both morning and afternoon, during the hours when the the male Cock-of-the-Rocks are likely to be displaying. We had an afternoon appointment and I was a bit worried, as we watched the bird show around the feeders at the lodge, and as the clouds rolled in and the day darkened, that we would not have much light left after 4PM. Still, we were there. They maintain a rough covered platform for observing the birds, on a slope above the lek. We went in early to get the prime spots for photogrpahy…at the far end of the platform…but it turned out there were only a few others scheduled for that afternoon, and they came and went quickly. We saw our first Cock-of-the-Rock before official opening time and before anyone else arrived. Again, like most experiences on the Manu Road, your experience at the Cock-of-the-Rock lek will be a matter of how active the birds are on the particular day you visit. There is rarely a day when no birds show up to display, but it can happen. And the birds might or might not be visible in the dense foliage of the lek. We had a total of three birds displaying, but one kept well out of sight, and we never did get a clear look at it. Still, the Cock-of-the-Rock lek at Cock-of-the-Rock Lodge is not to be missed if you are doing the Manu Road, and remains one of the most reliable places in South America to see the bird. And what a bird it is. A member of the Cotinga family of birds, there are few birds more spectacular. Light levels are always low in the lek area, and these images were taken in the Sony Rx10ivs special Anti-motion Blur mode, which stacks serval exposures to make the most of the light available.
We were on our way back the van from the Cock-of-the-Rock lek when Pepe spotted a female Amazonian Umbrella Bird just off the road at eye-level in a small tree. This is another hard to see bird, and another example of the opportunities the Manu Road provides.

For the second half of the journey, see part 2.
For more information on arranging a Birding the Manu Road adventure of you own, contact Amazon Journeys.
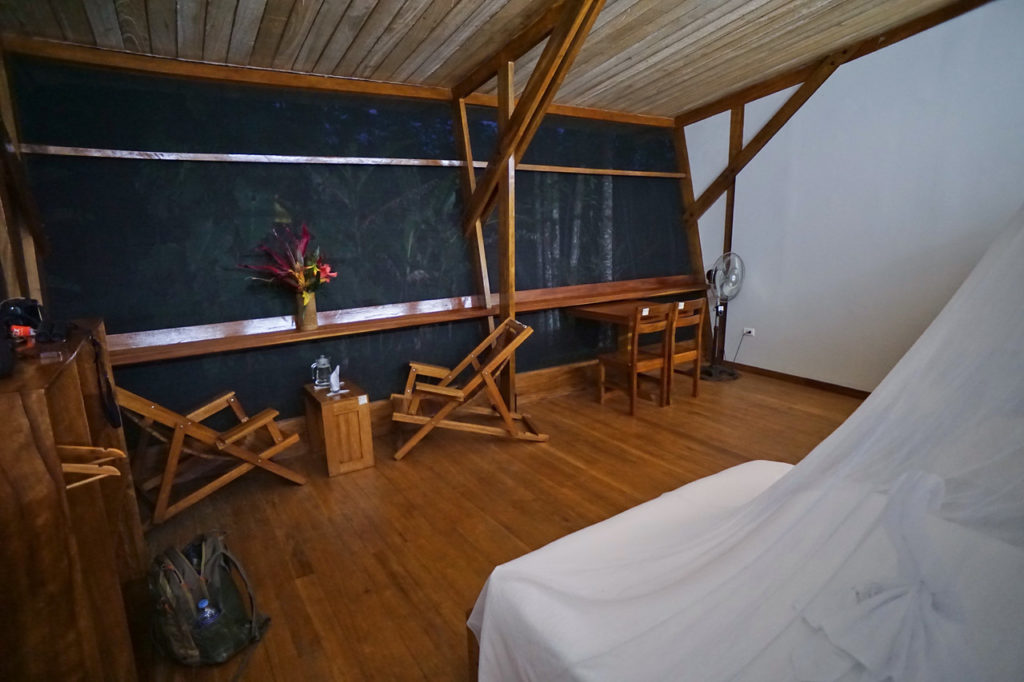
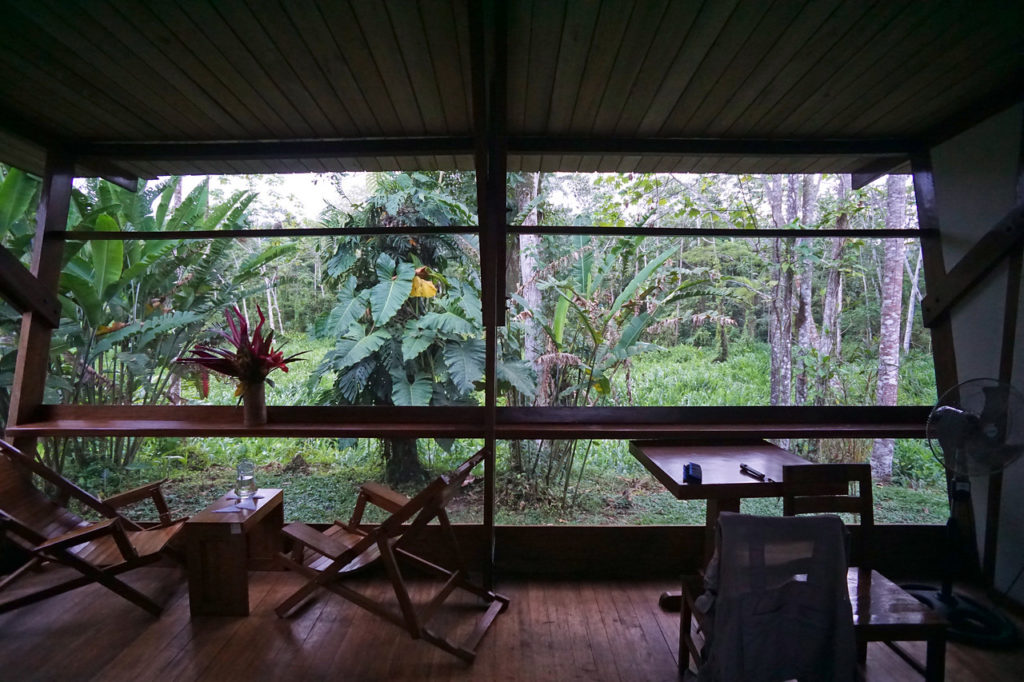
We arrived at Villa Carmen Biological Station just as it was getting full dark. Villa Carmen, again, is owned and operated by the Amazon Conservation Association, as a base for research and as lodge for birders visiting the foothills area of Manu National Park. Villa Carmen sits on 7600 acres, ranging in elevation from 1700 to 4000 feet. They have 25 miles of maintained trails, and comfortable facilities for travelers of all kinds. The cabins, as befits the more lowland location, are open to the air on both sides, and unexpectedly elegant.
The feeding station and plantings near the dinning hall attract some interesting birds.


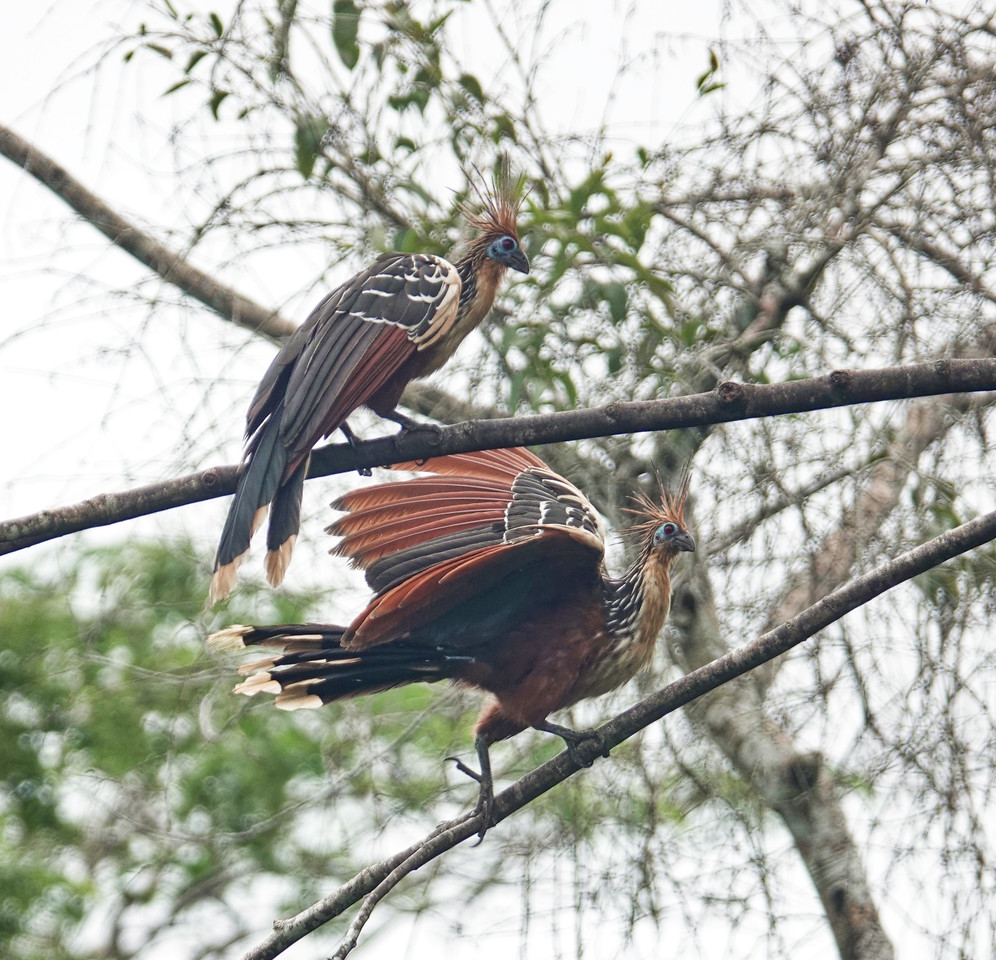
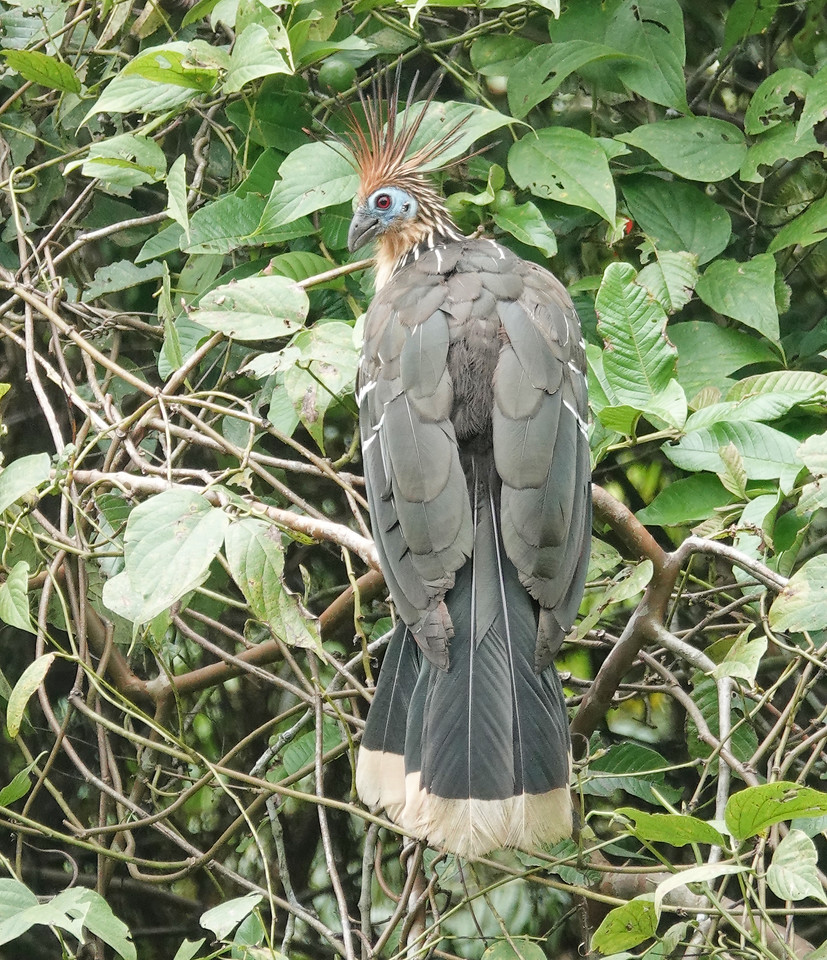
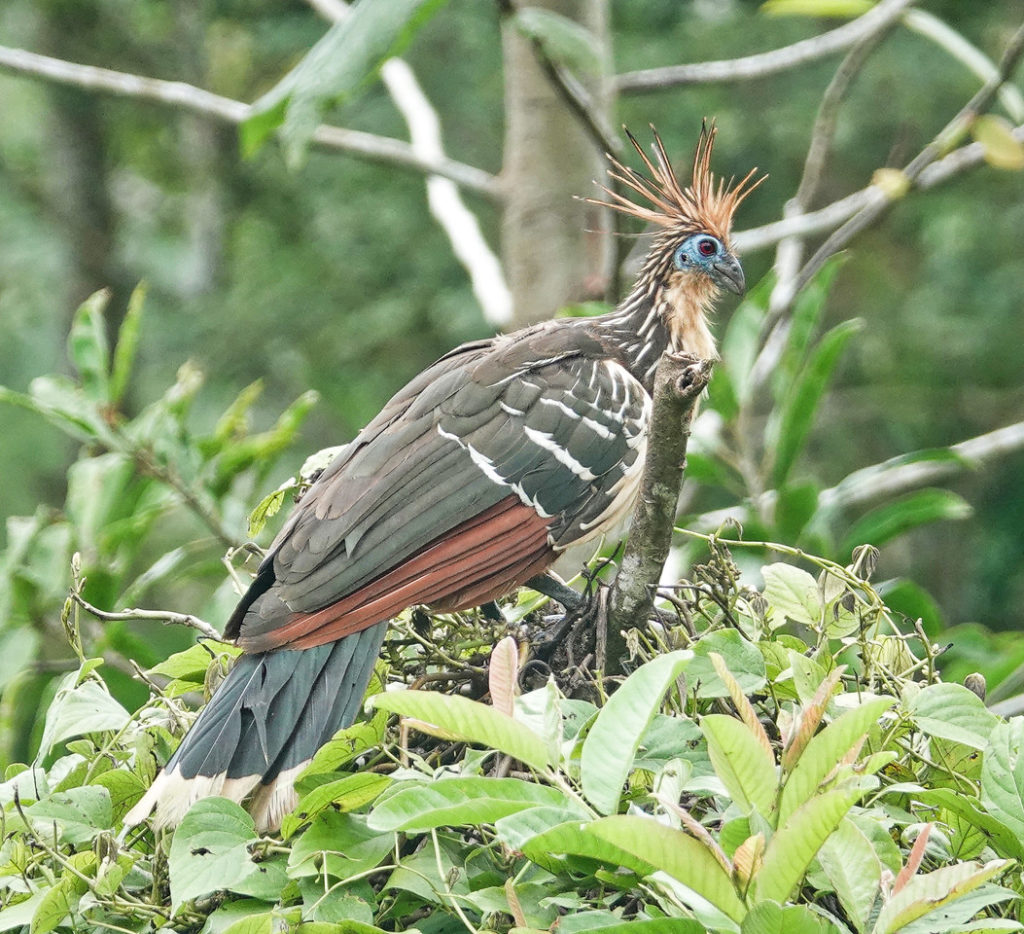
But the most interesting residents of the immediate grounds of Villa Carmen are the colony of Hoatzin that congregate around the little pond below the dinning hall. The Hoatzin was a target bird on our Amazon Riverboat Cruise a few years ago, and we went to a lot of trouble finding them. At Villa Carmen they are yard birds, and present in impressive numbers.

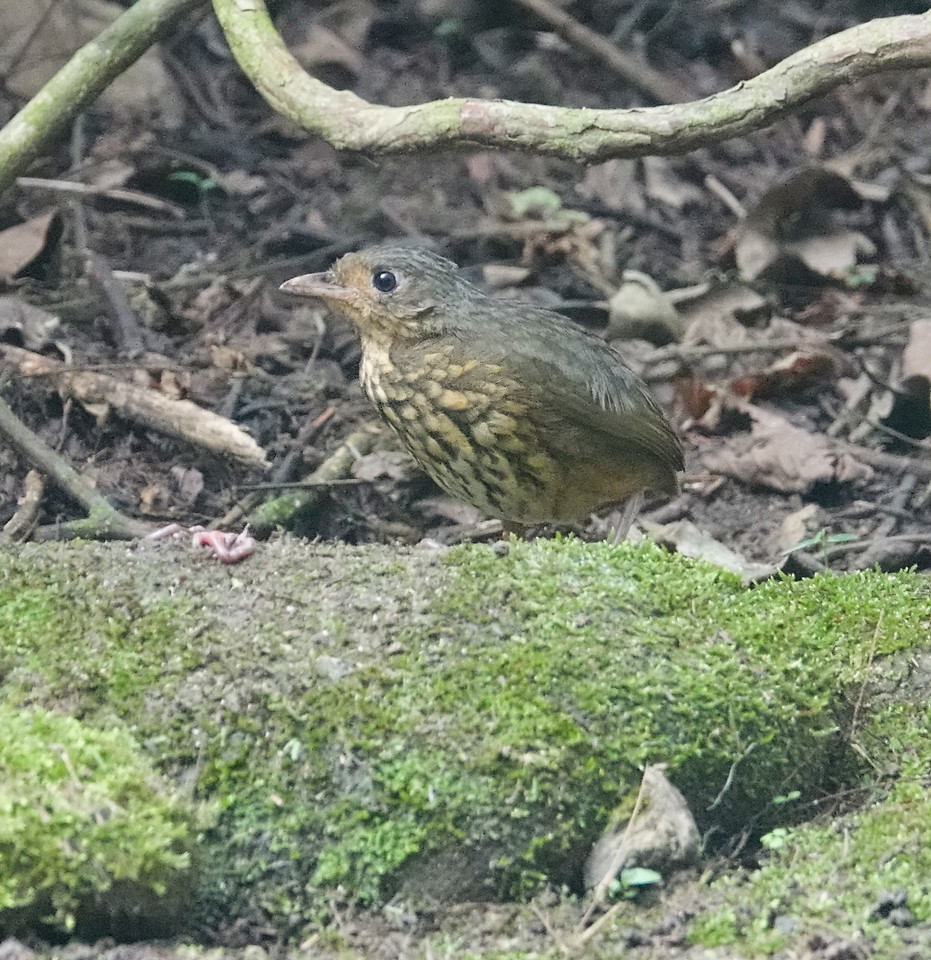
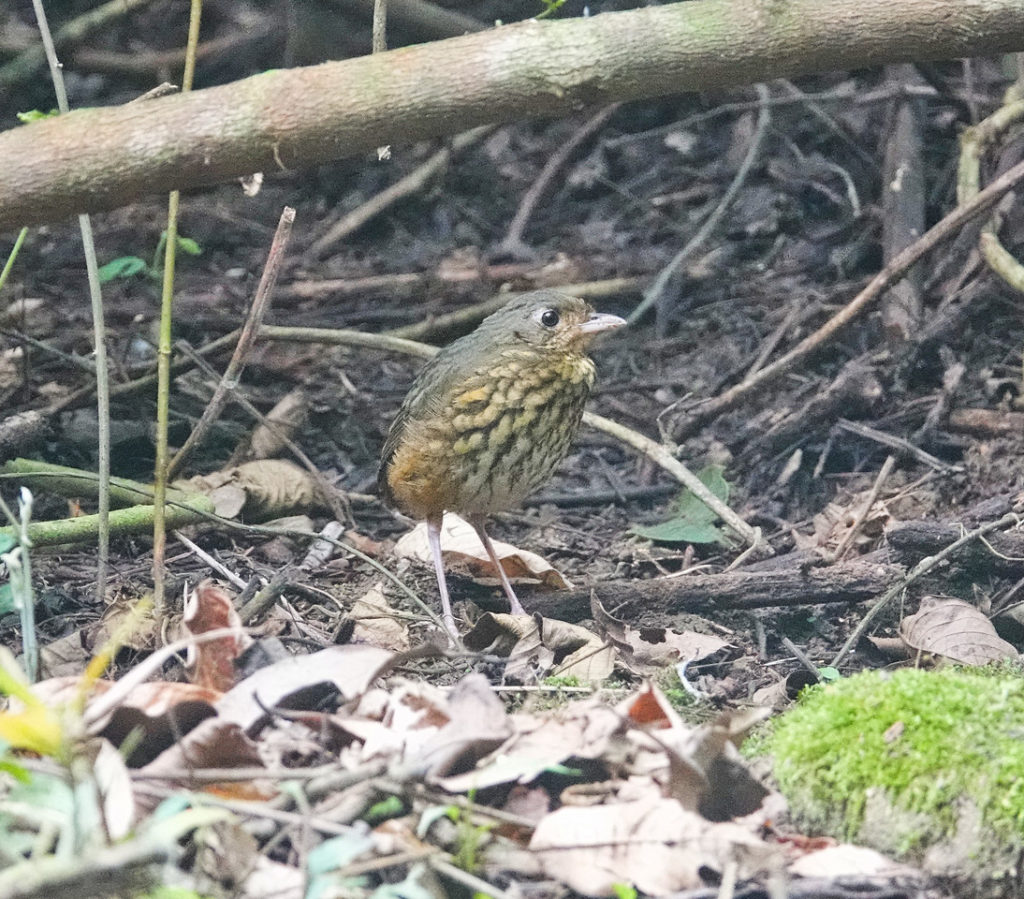
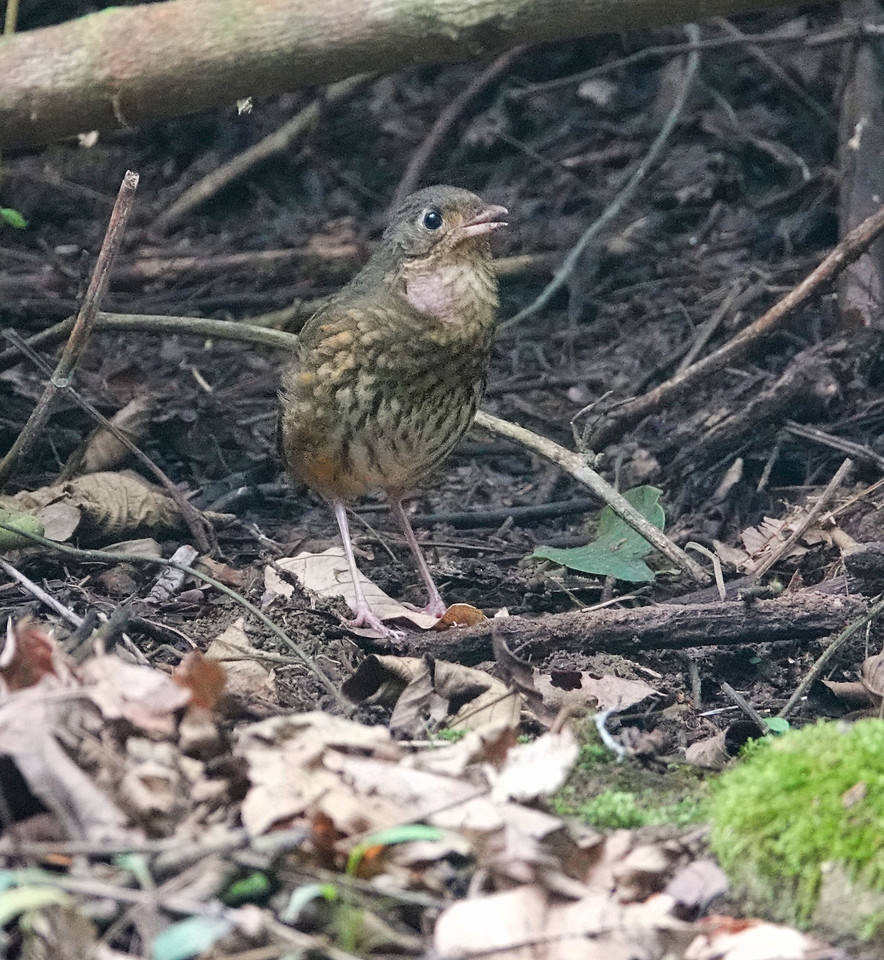
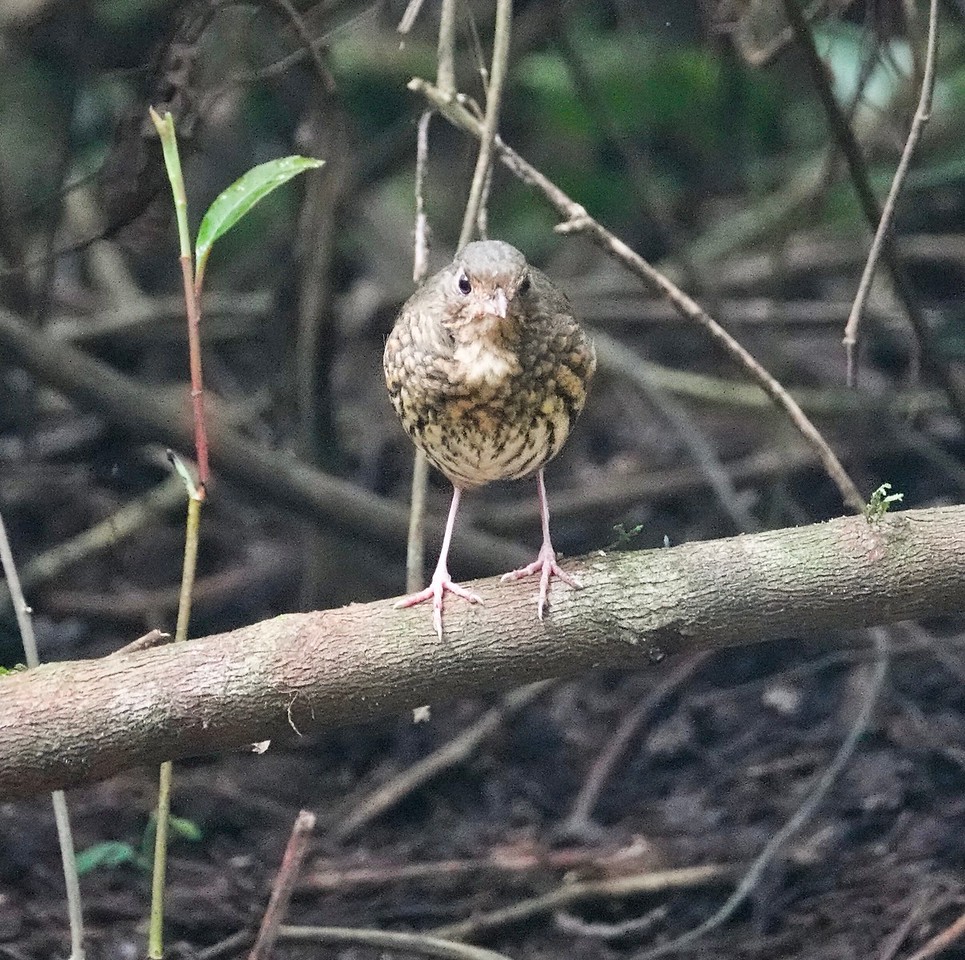
Another attraction of Villa Carmen are the Amazonian Antpitta’s that the staff have been working with for several years. They have constructed a little ally way in the forest, with some basic benches, and you can make an appointment to accompany the researcher to the Antpitta’s area, where, if you are patient, at least one bird might come out to take worms from mossy rock in plain sight. As with the Cock-of-the-Rock lek, the Antpitta run is deep of the forest, so high ISOs or special low light modes (or both) are required for satisfying photography.
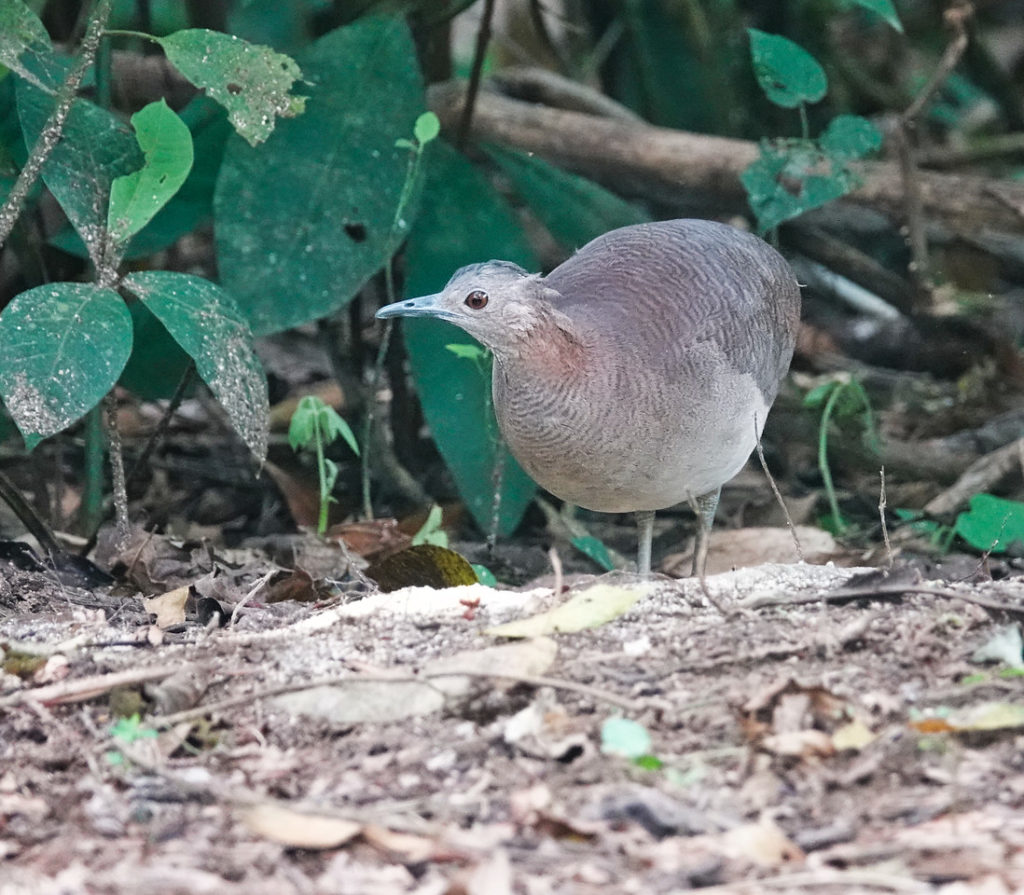
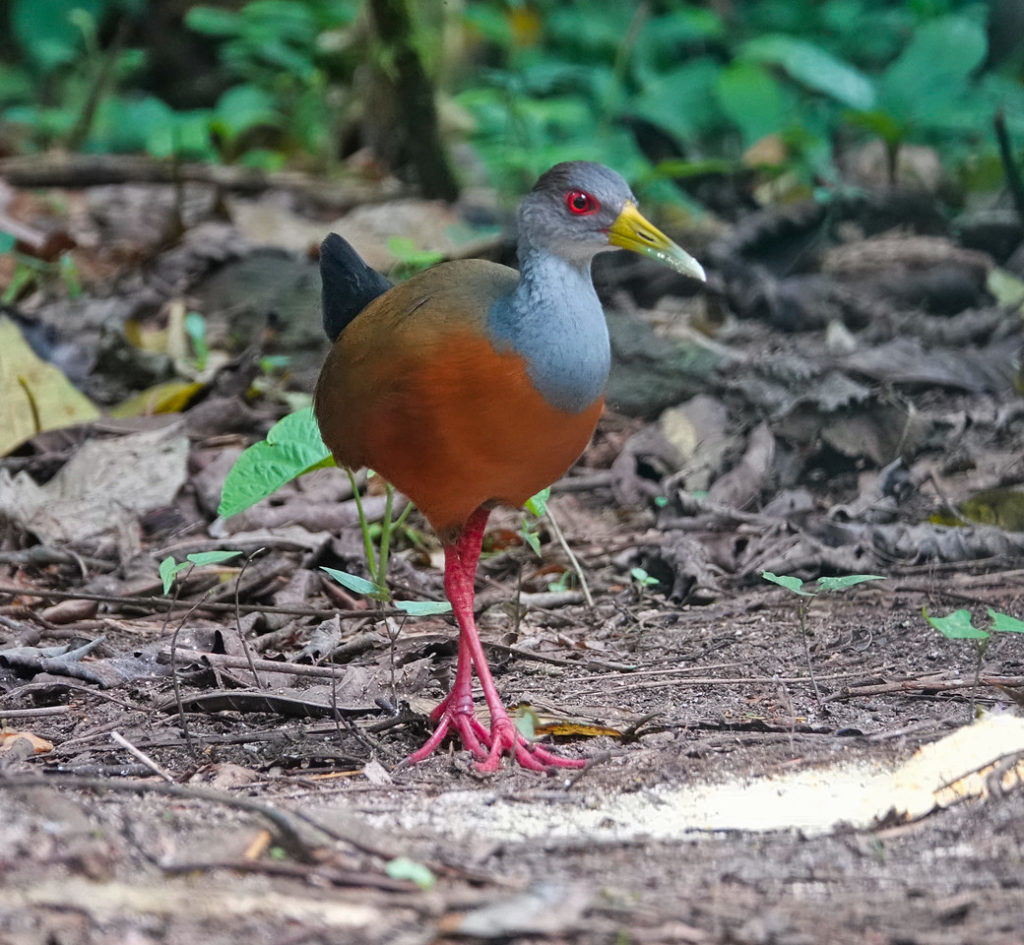
Literally at the far other end of the immediate Villa Carmen grounds, they also maintain a feeding station where Wood Rails and at least two species of Tinamous come out on a regular basis. The days we visited the Undulated Tinamou and the Grey-cowled Wood-Rail graced us with their presence.


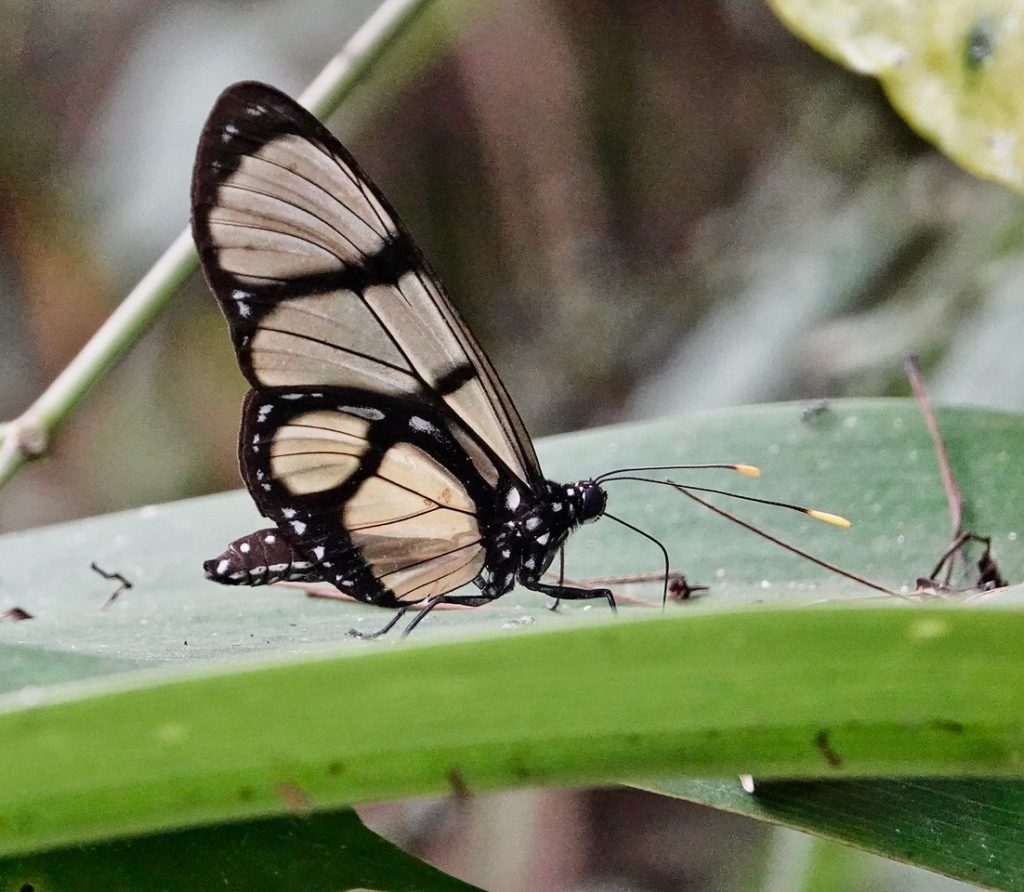
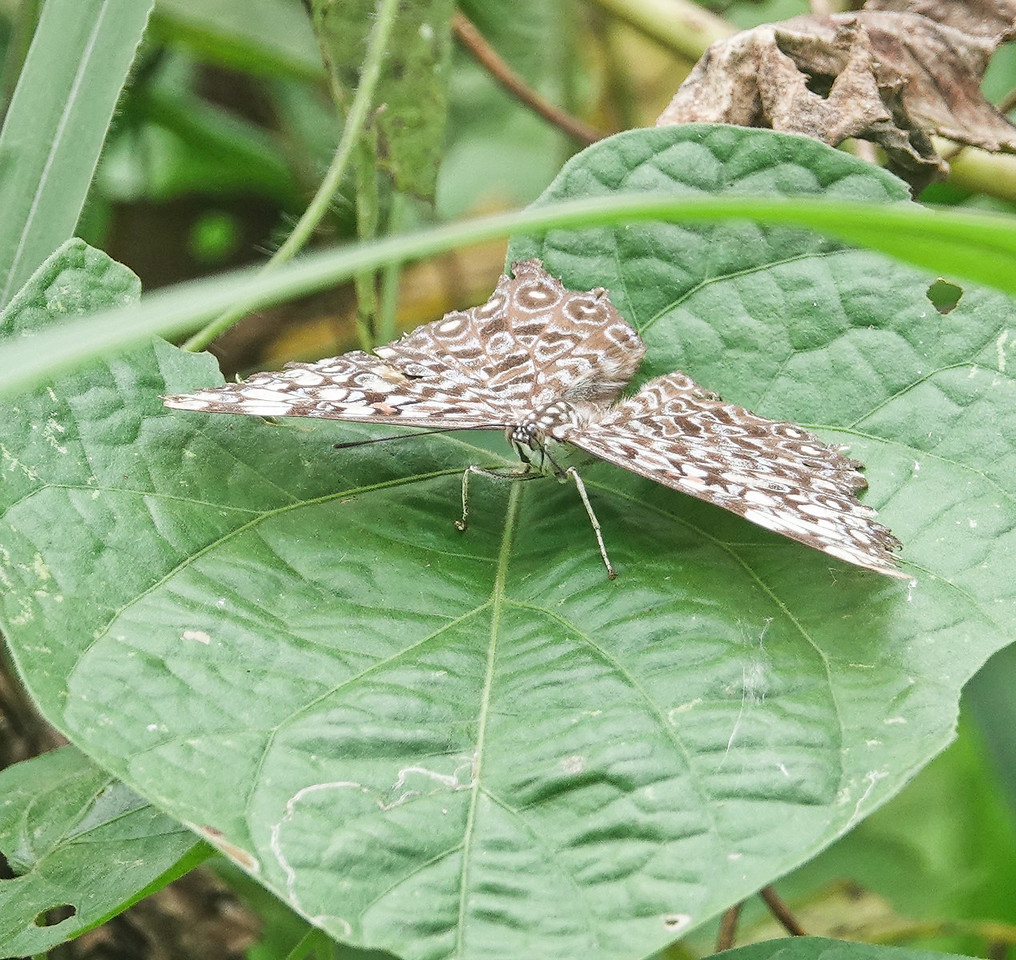
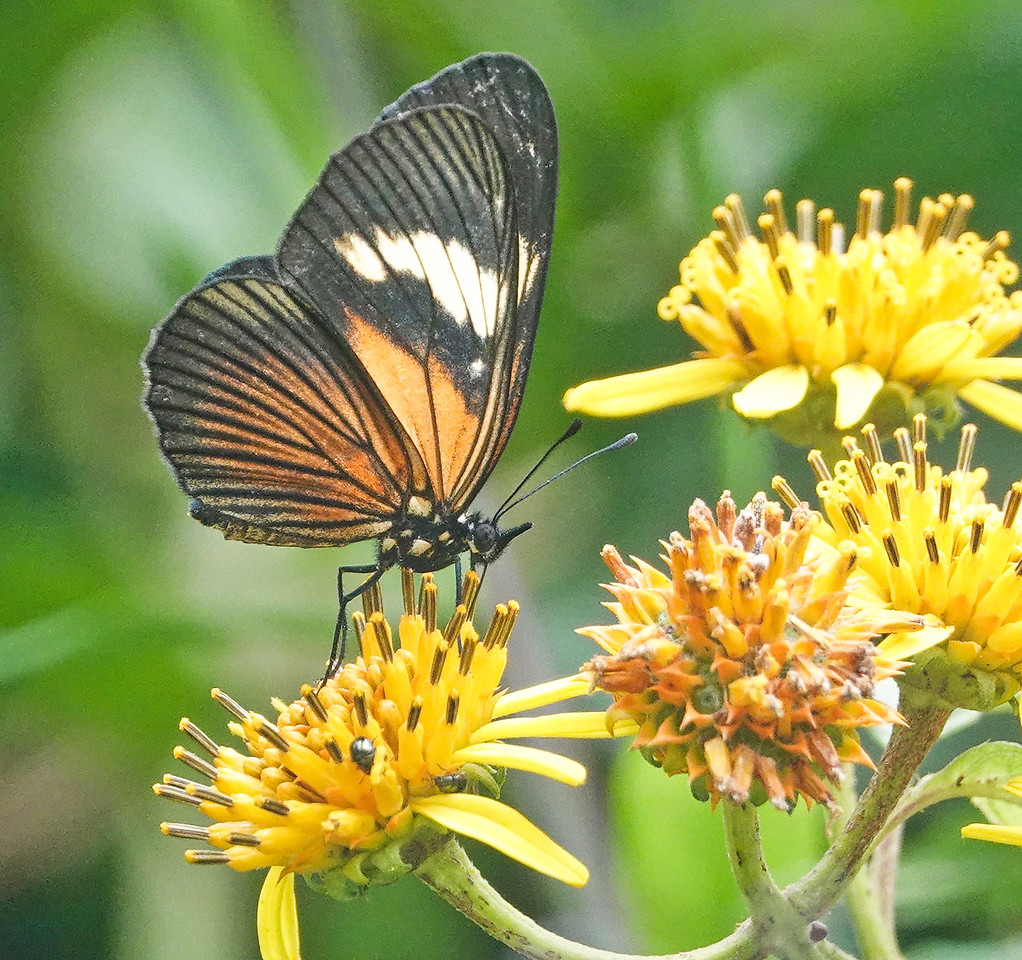
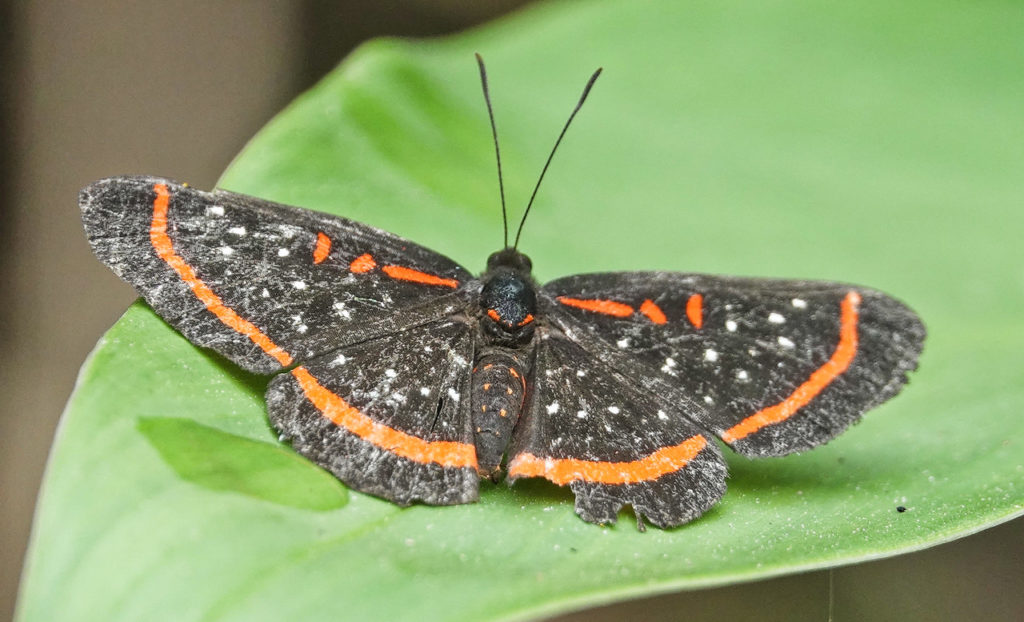
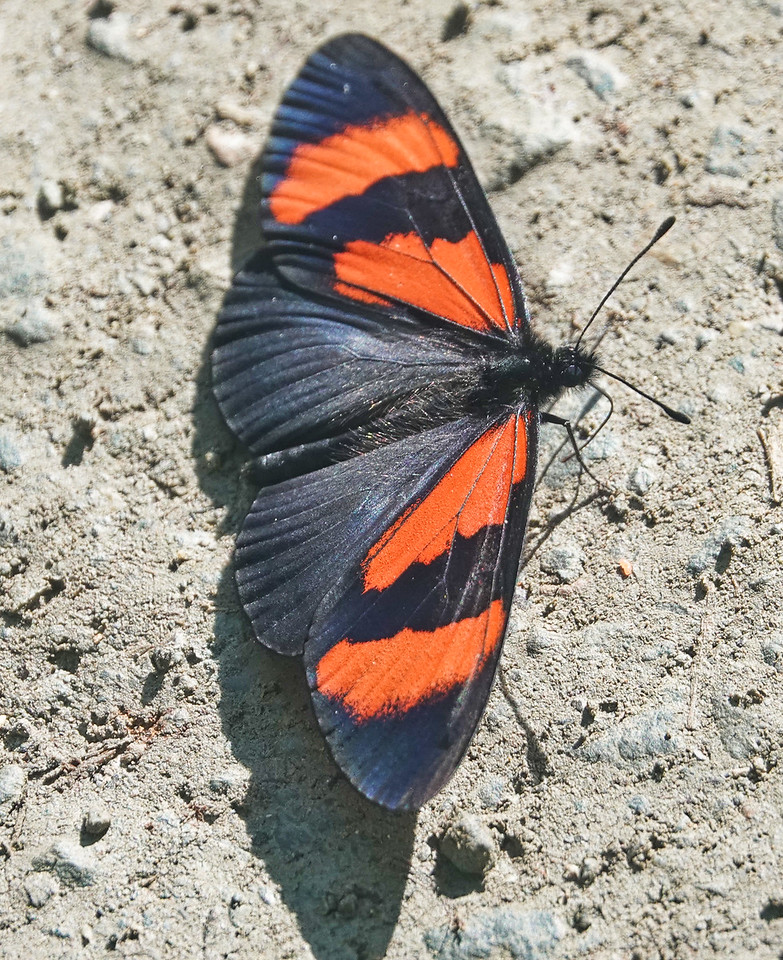
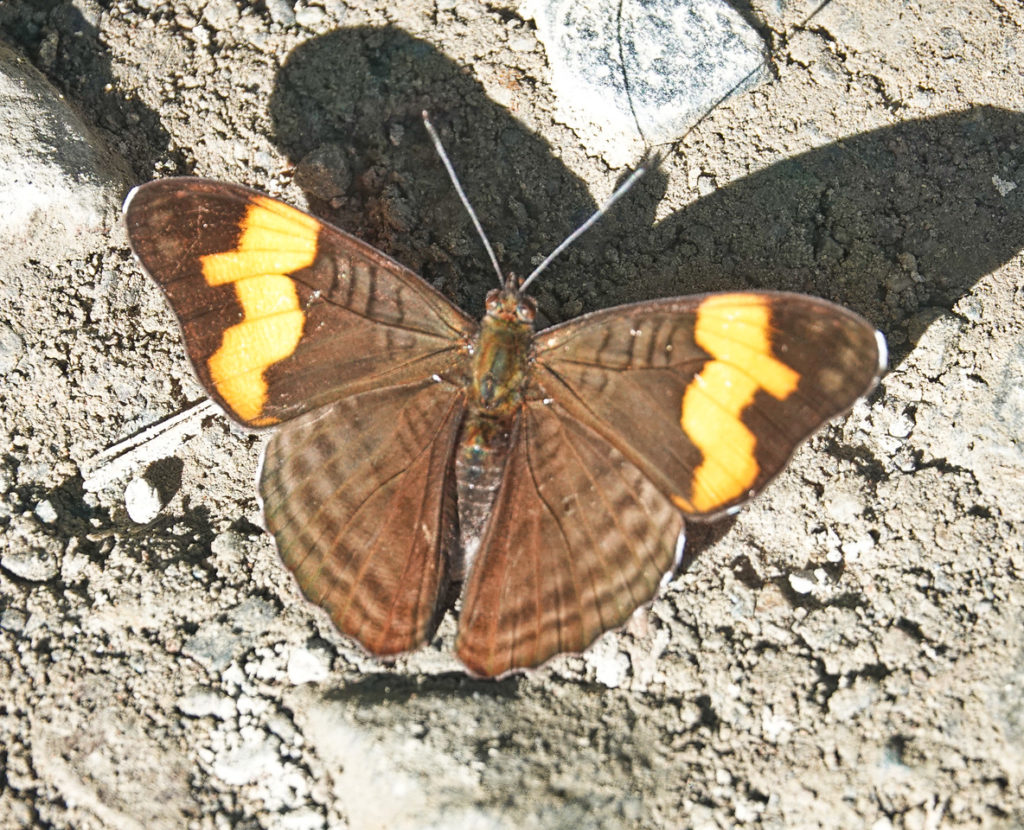
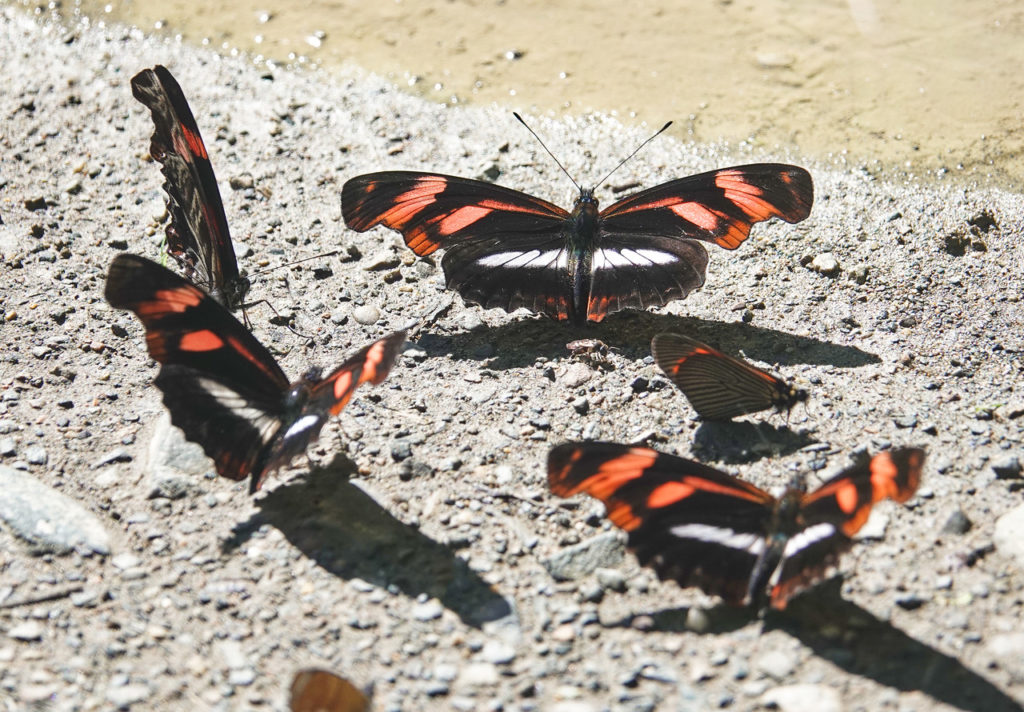
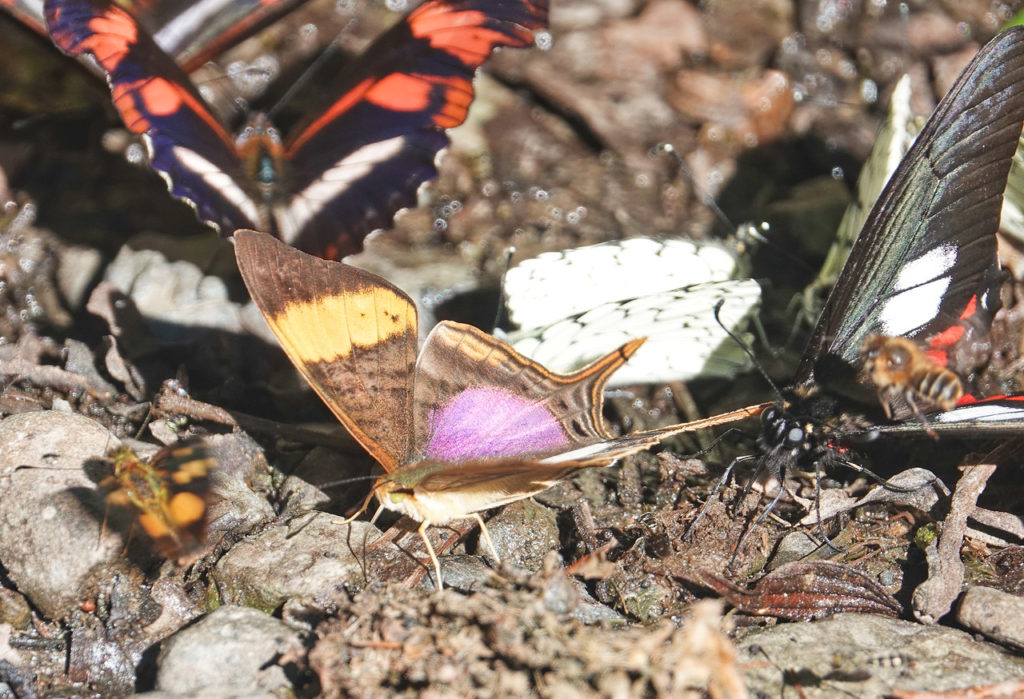
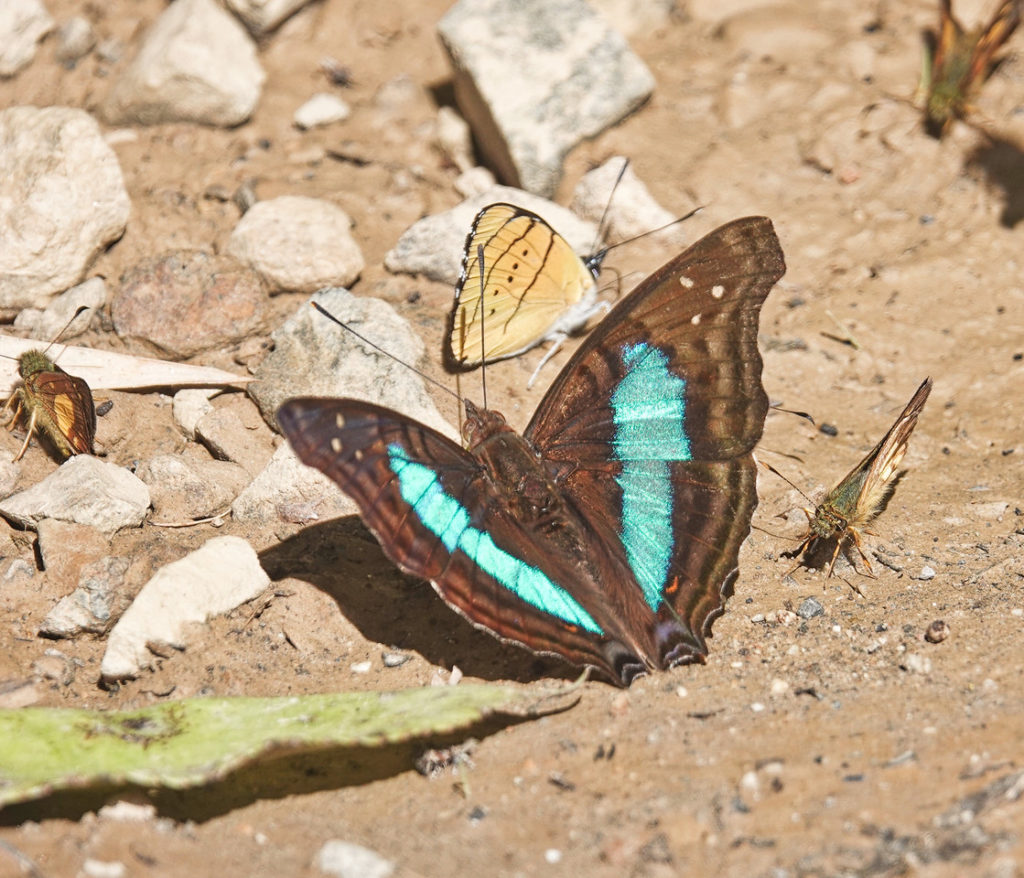
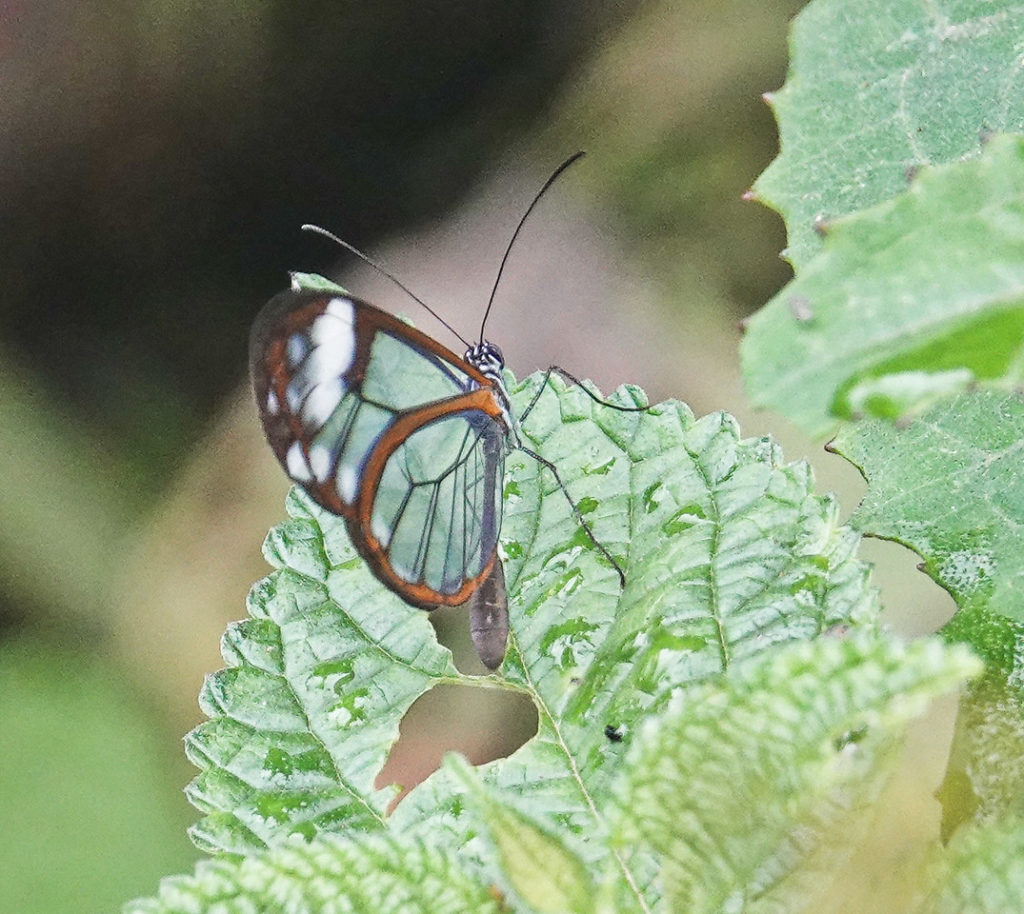
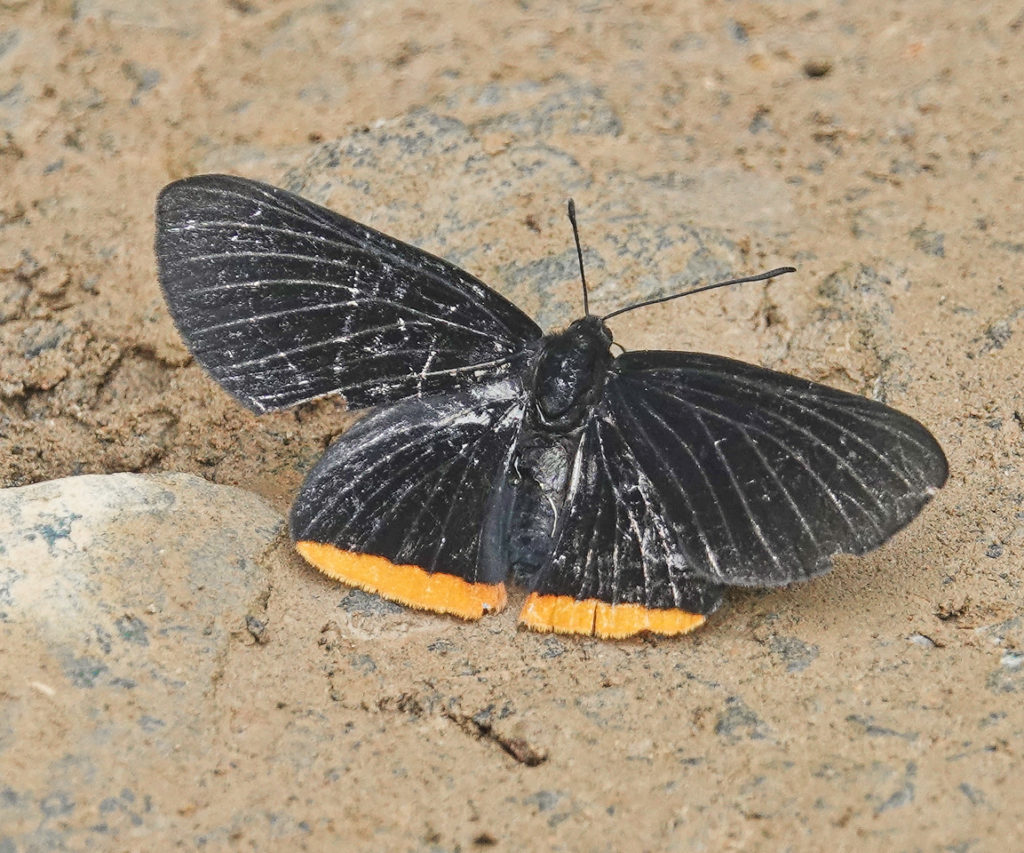
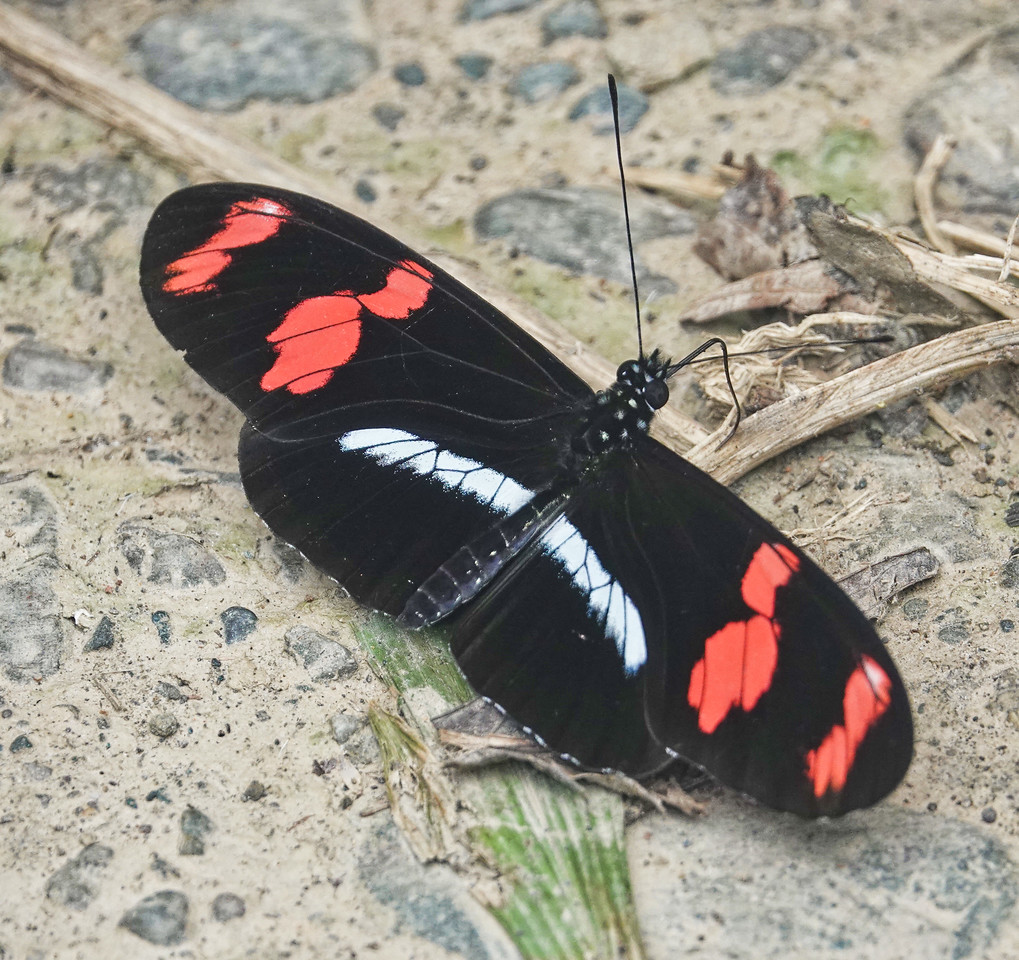
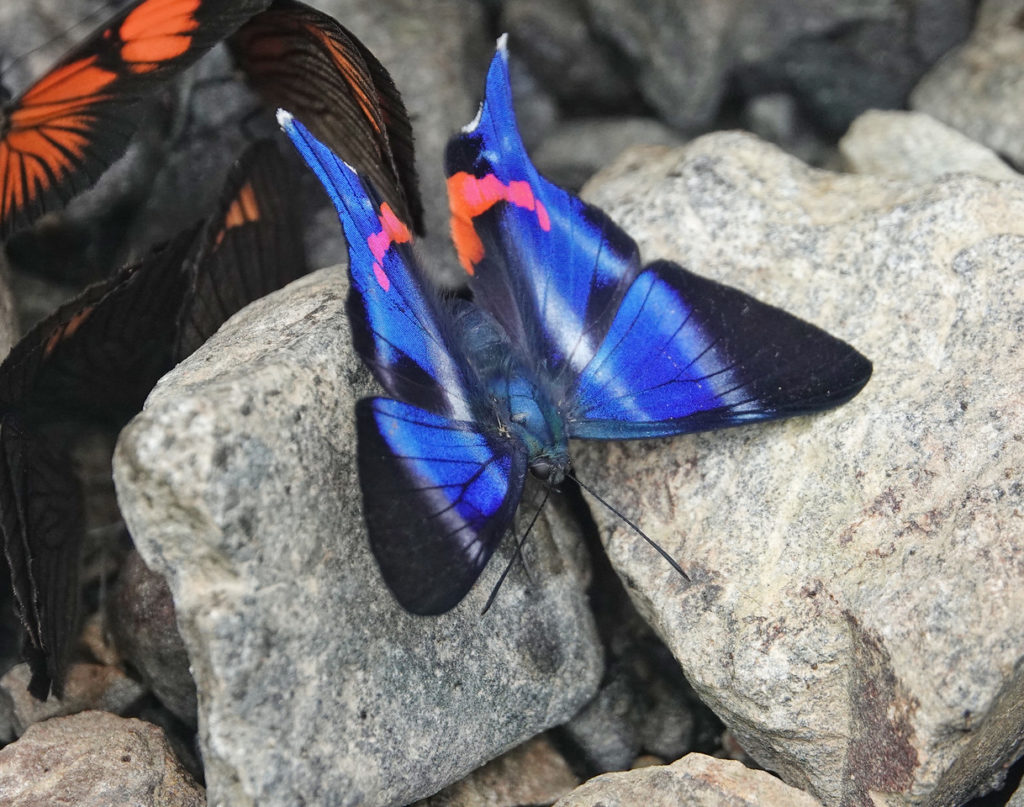
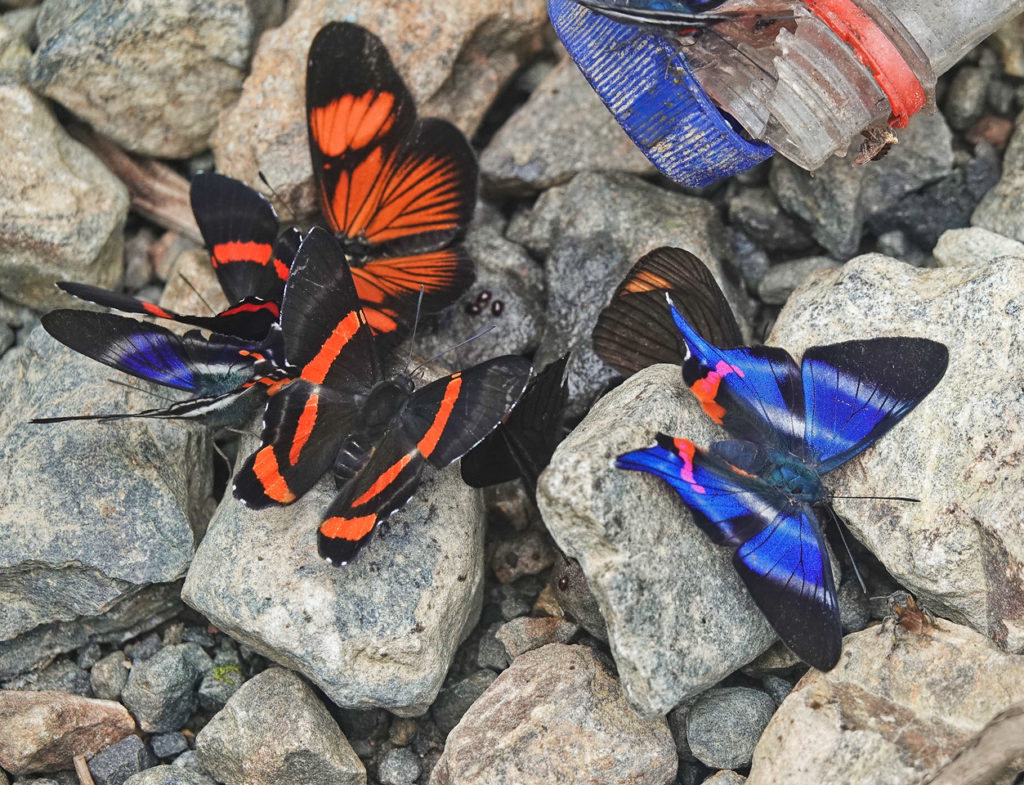
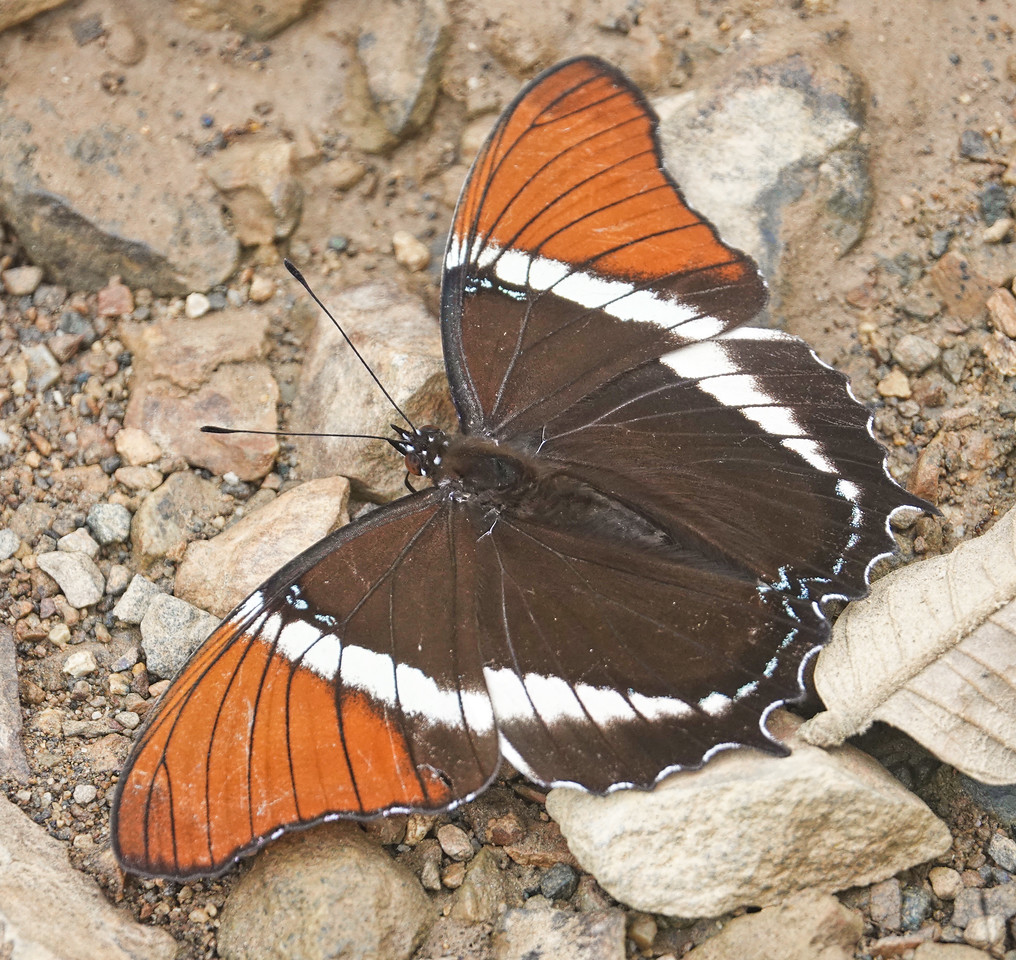
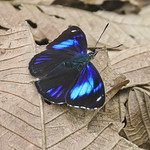
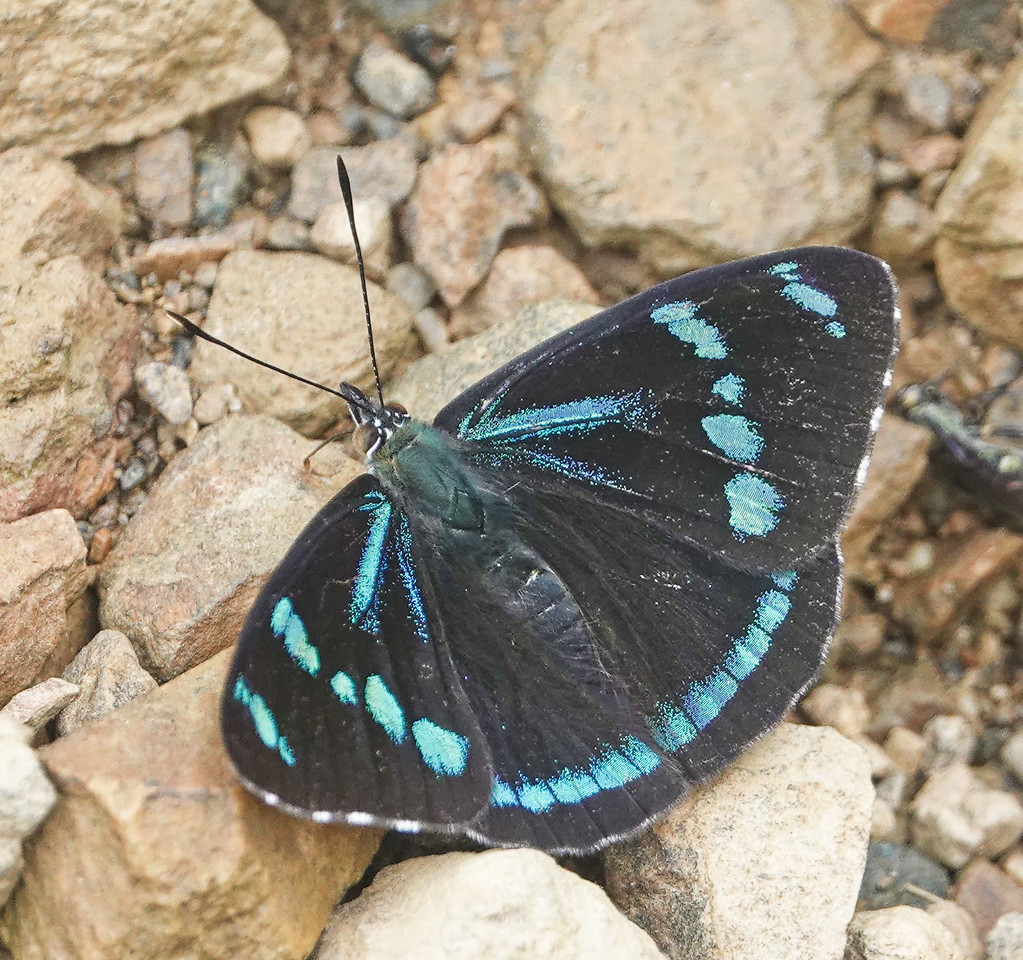
An afternoon walk down the access road at Villa Carmen also turned up interesting birds, and quite a few interesting butterflies.

While watching for the Tinamous and Wood-Rails our guide, Yonatan Puma, mentioned that he was developing a small hummingbird garden on the other side of the river and a few hundred feet higher that attracted some interesting hummers which did not regularly appear at Villa Carmen. We spend a few hours with him late one afternoon, sitting on a rustic bench and enjoying the hummingbirds. Again, low light levels brought the Sony’s Anti-motion Blur Mode into play.

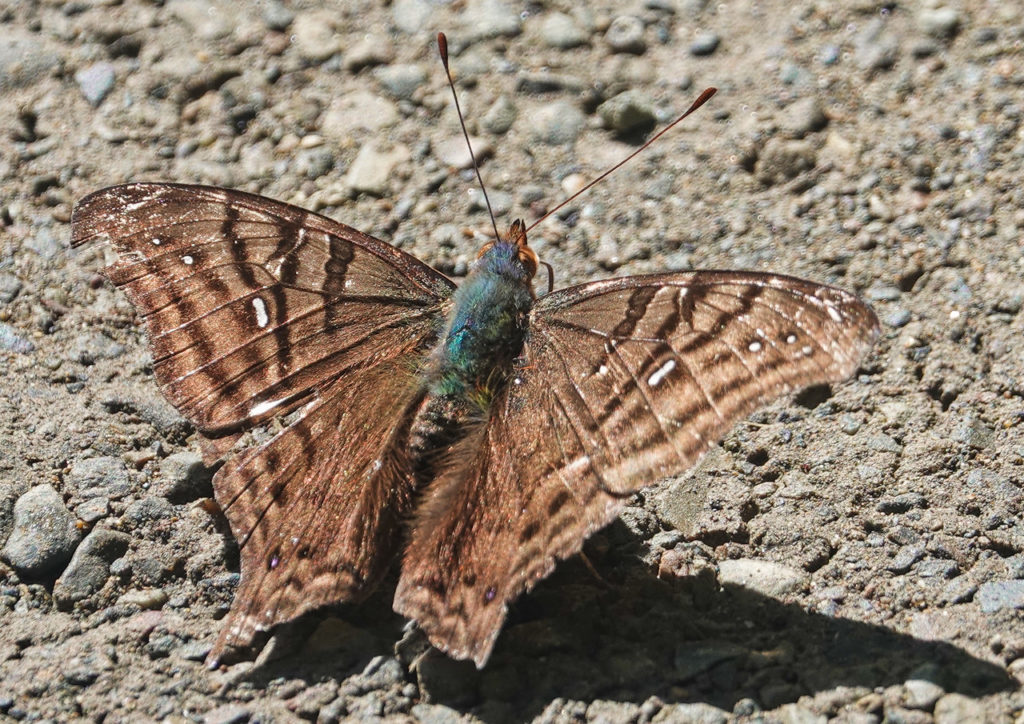
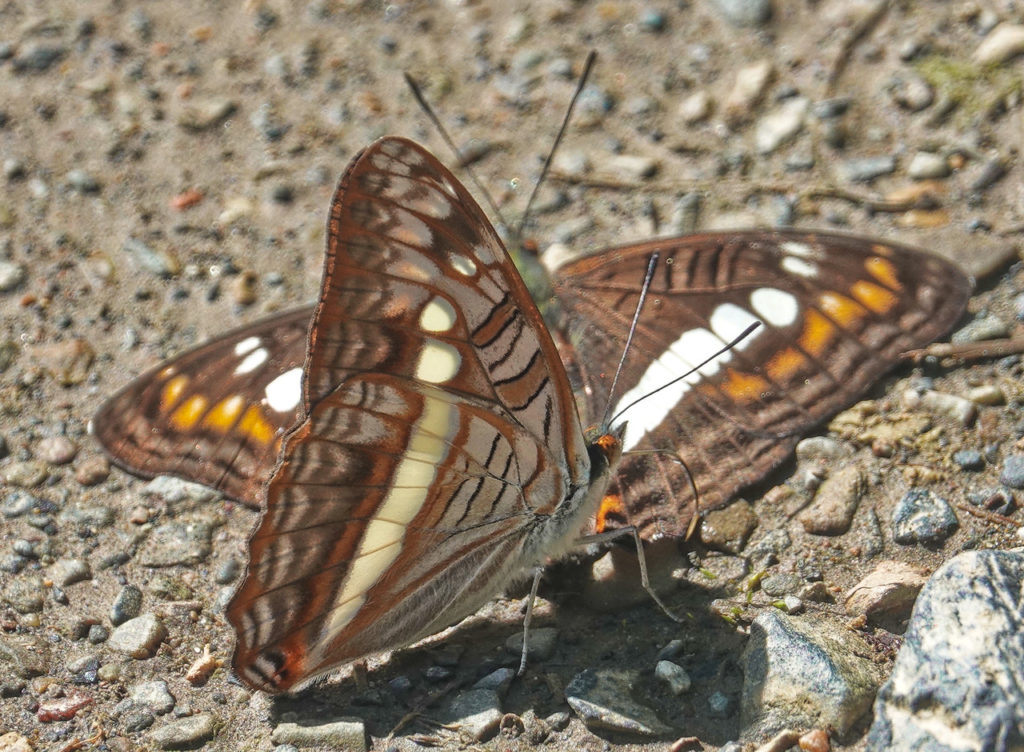
We spent our last full day on the Manu Road walking down the section above Cock-of-the-Rock Lodge again…in search of some Cloud Forest species we had not yet seen. We got a few good birds, and a few better looks at birds we had ween before…including a Cock-of-the-Rock foraging away from the lek. And, we had a great show of butterflies.


Almost back to the lodge we stopped for some good lowland birds along the road.
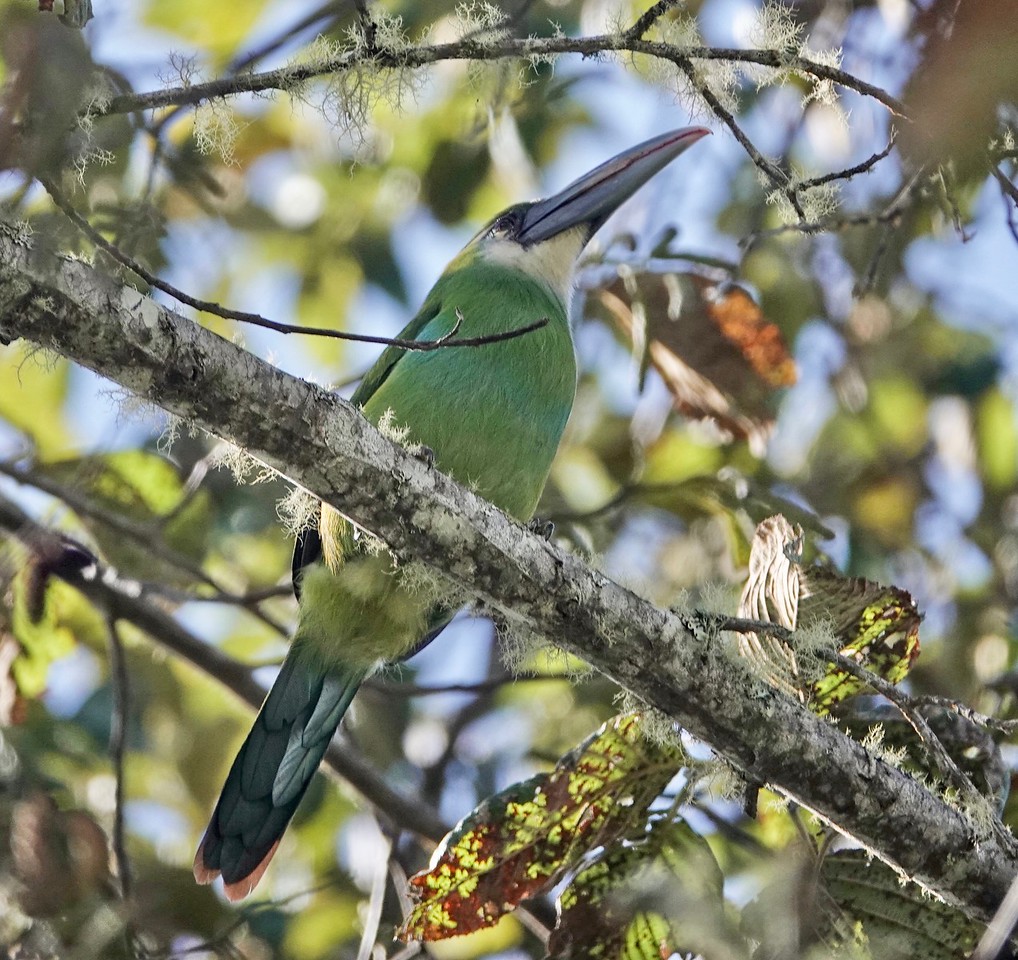
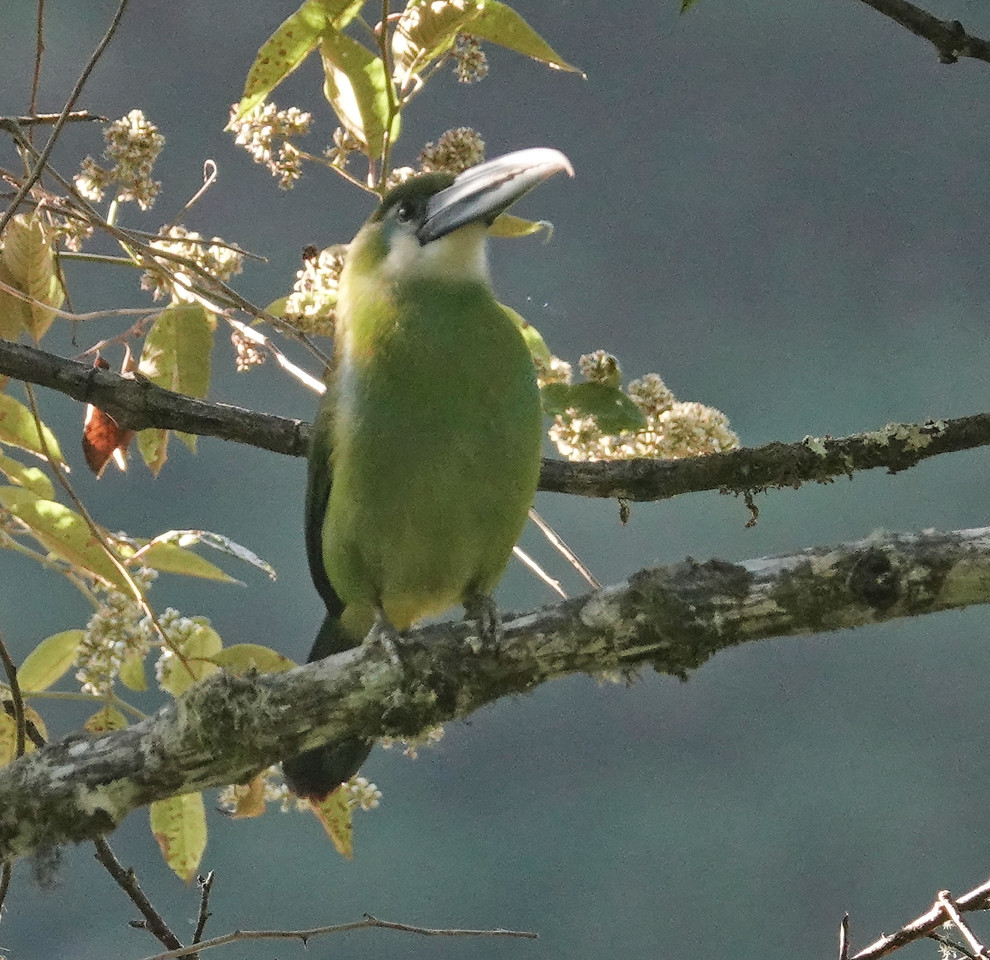
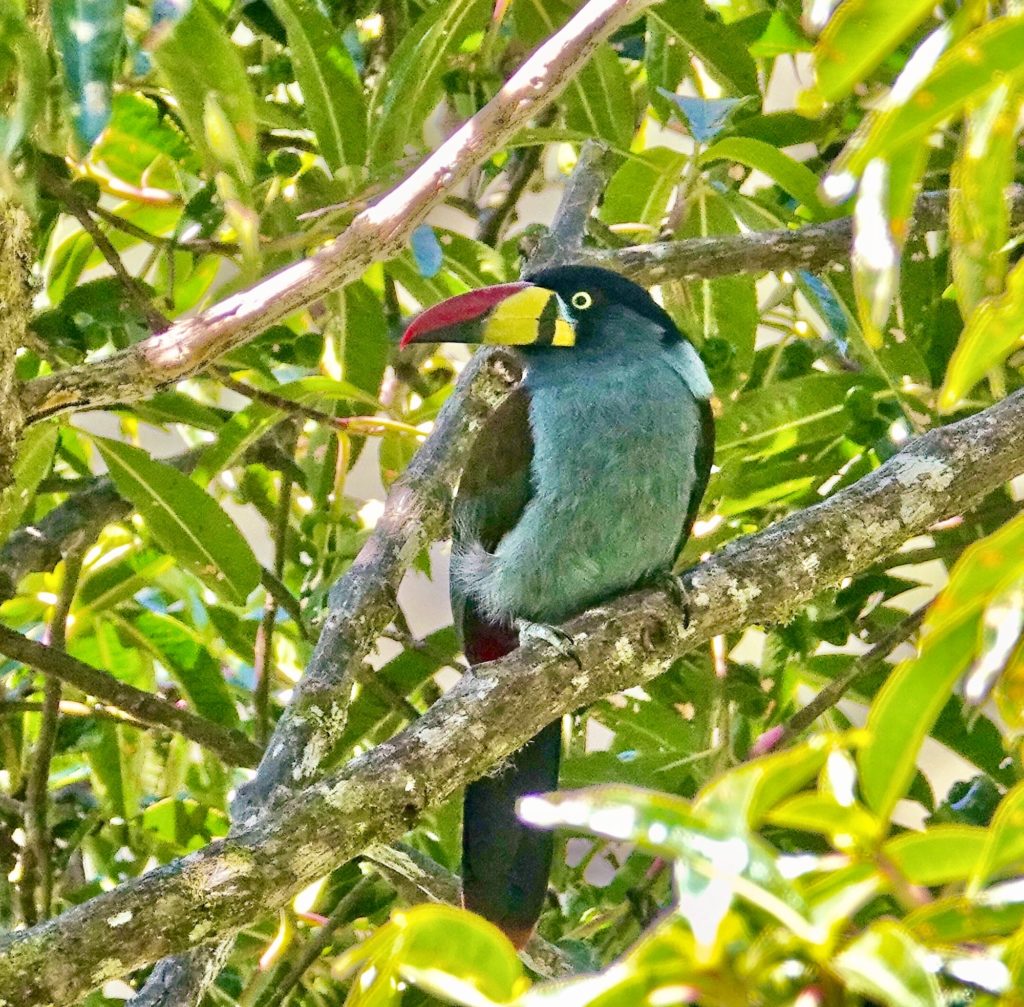
On our last day on the Manu Road, on the drive back to Cusco, we only stopped for good birds, but the Manu Road had saved one of the best for last. On a tight turn near a big waterfall we came upon several van loads of birders, all looking at a Grey-breasted Mountain Toucan. We had been looking for this bird every day for 7 days, and here it was!
And that is the way it is on the Manu Road. You never know exactly what you will or will not see, but everyday you spend there you can count on great birds, great butterflies, and great scenery.
For more information on Wayqecha Biological Station and Birding Lodge, Villa Carmen Biological Station and Reserve and Amazon Journeys, visit Amazon Journeys.
I am just back from a month of travel which took me and my trusty RX10iv to southern Portugal, the Dry Tortugas, and the Erie shore of Northern Ohio (for migrant birds). I am still experimenting with focus modes to get the most out this camera in different situations.
In southern Portugal, has in most places in Europe, it is hard to get close to birds. Many of the birds you see are either small and distant, or big and really distant (as in eagles flying high on the thermals). Also, at least where we were, by mid-morning there is significant heat shimmer over the fields and pastures and seashore, which makes any auto-focus mode problematic. In those conditions, I found, after experimenting with several different modes, that wide-frame tracking auto focus worked as well as anything. I was able, when needed, to pin the initial focus point down by touching the screen, but most of the time the camera locked on to the subject within a few seconds and held long enough for a series of shots. Keeping the camera in wide area tracking also allowed me to swing up for birds overhead without changing any settings.
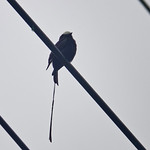
 a tight crop of a very distant bird in heat haze…even expanded spot flexible focus could not provide reliable focus under these conditions. Great Bustard, one of most sought after European birds
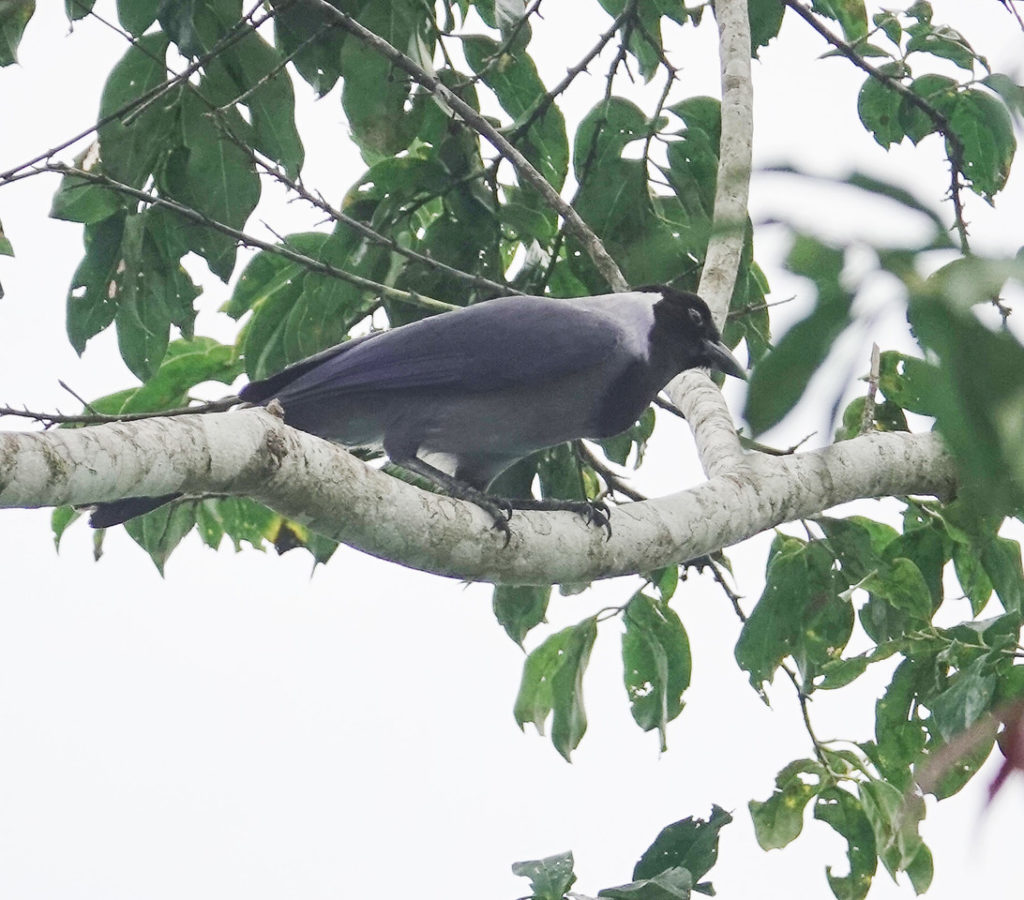
 keeping the camera in wide area tracking auto focus allowed me to swing up for BIF. Iberian Magpie.
In the Dry Tortugas, the birds were somewhat closer, and the light was blindingly bright. Again, I found that, in most cases, wide area tracking auto focus did as well as any other setting, and better than most, at focusing on the bird. It takes some getting used to, as the camera often takes a second to seek and find the most obvious target, but if the target is moving at all, as even in a preening bird, it will lock on. And again, you have the advantage of being able to swing to birds in flight without changing any settings.
 wide area tracking auto focus in great light in the Dry Tortugas . Brown Noddies.
 Not a perfect shot but impossible without wide area tracking auto focus. Sooty Tern
But then I went to Ohio…the famous Magee Marsh boardwalk for migrating warblers and other singing birds. The birds are close…often less then 10 feet…very small and very active. And they are in dense cover…the trees are beginning to leave out, and there are always twigs and brush in the way. In those conditions, I had to revert to my preferred Expanded Spot Flexible Focus (without any tracking). It was the only way to get on the close, active, and too often particularly hidden, birds. On occasion I even had to switch to DMF and focus through foreground foliage and twigs.
 Expanded flexible spot was needed here with the bird in a confused surround. Female Cape May Warbler
 DMF allowed me to focus right through obscuring foreground foliage. Not a great shot but effective. Northern Oriole.
By the way, when using DMF, I do it backwards. I use the focus ring to get close to focus and then half press the shutter release to kick in auto focus. Only on really rare occasions do I half press to enlarge the subject and focus completely manually.
So, the take away is that no one focus mode works best all the time. You have to adapt to the situation. And the Sony RX10iv has the options you need in almost any situation.
This will appear as an added chapter in my Sony RX10iv ebook soon.
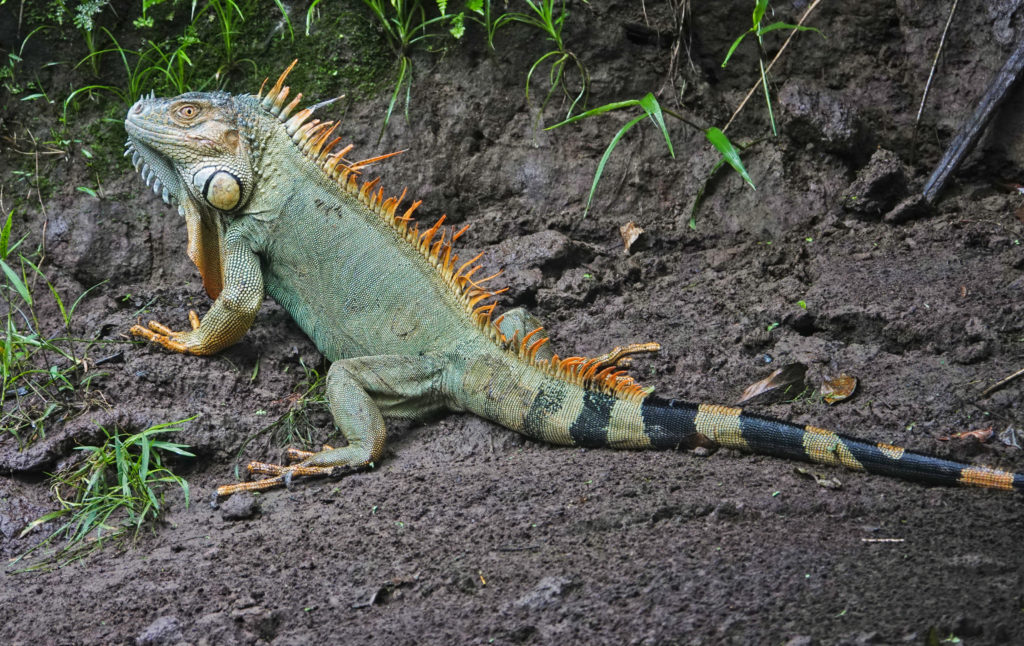
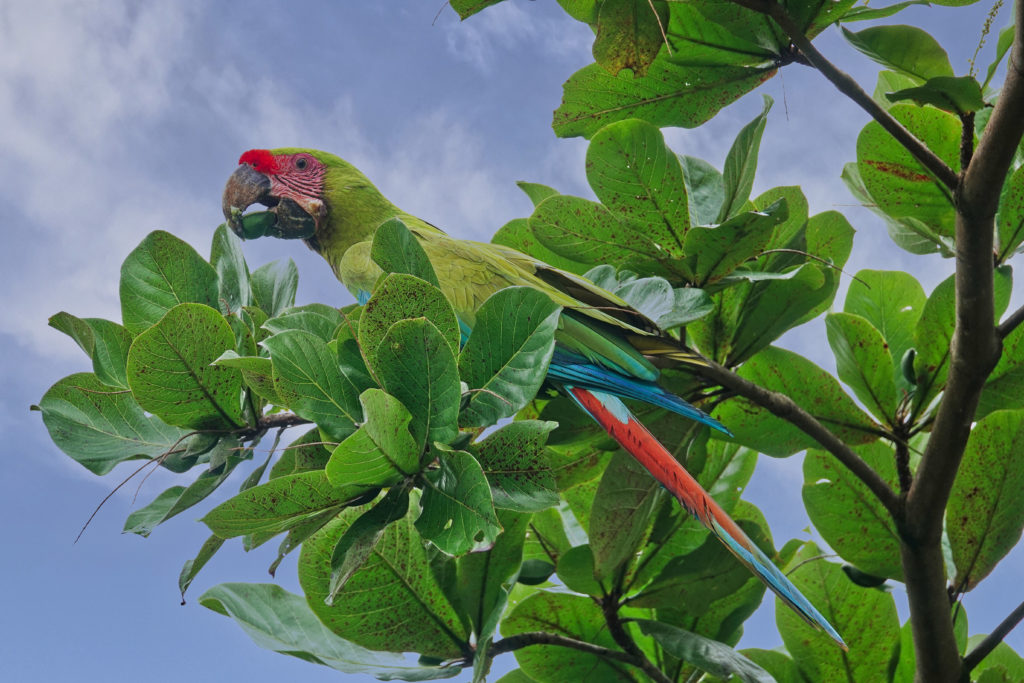
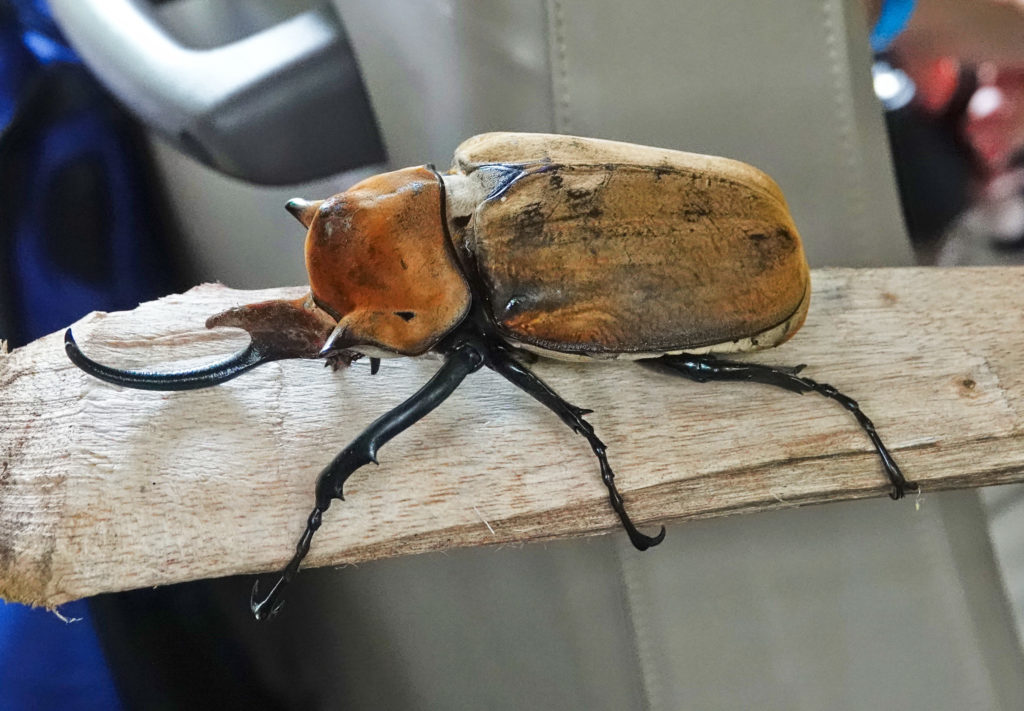
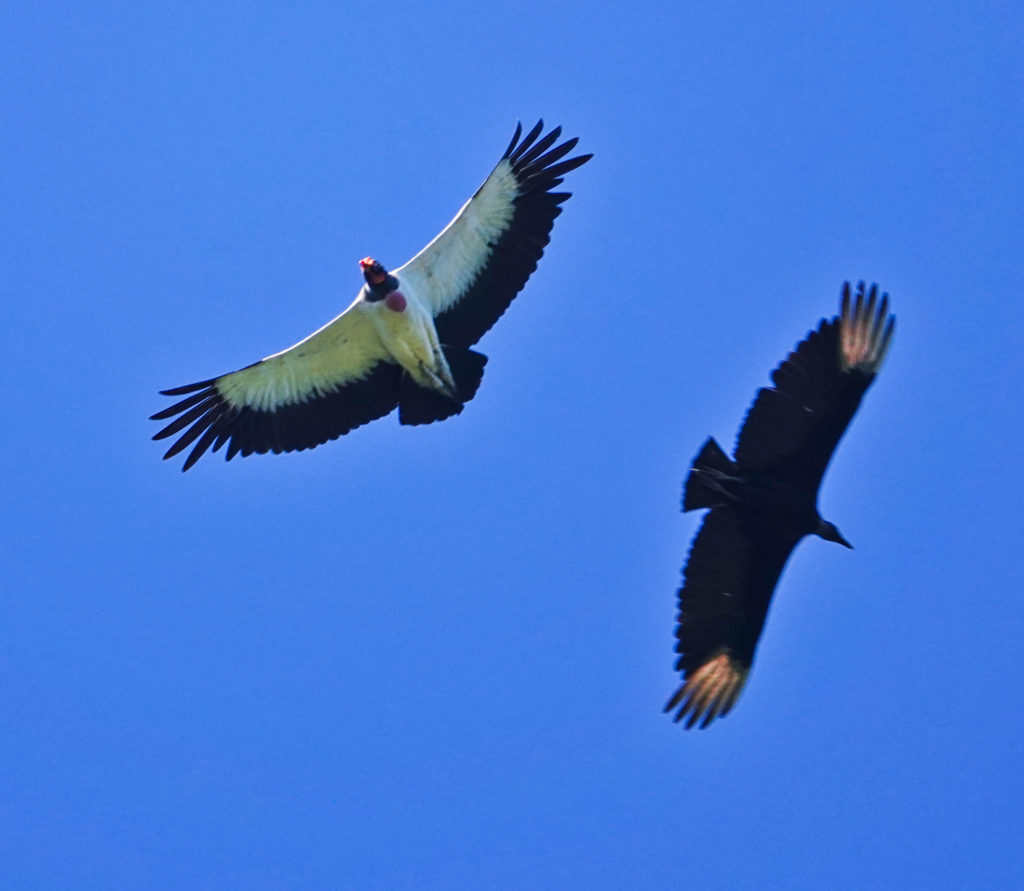
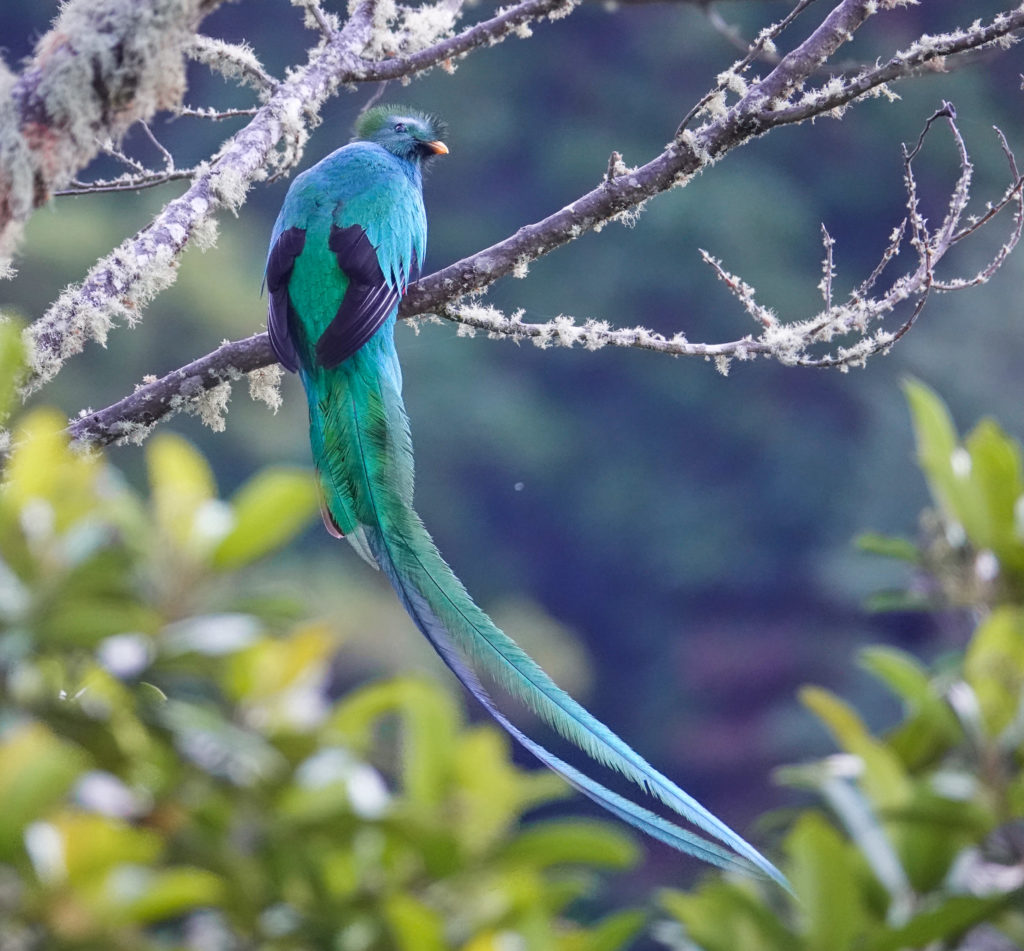
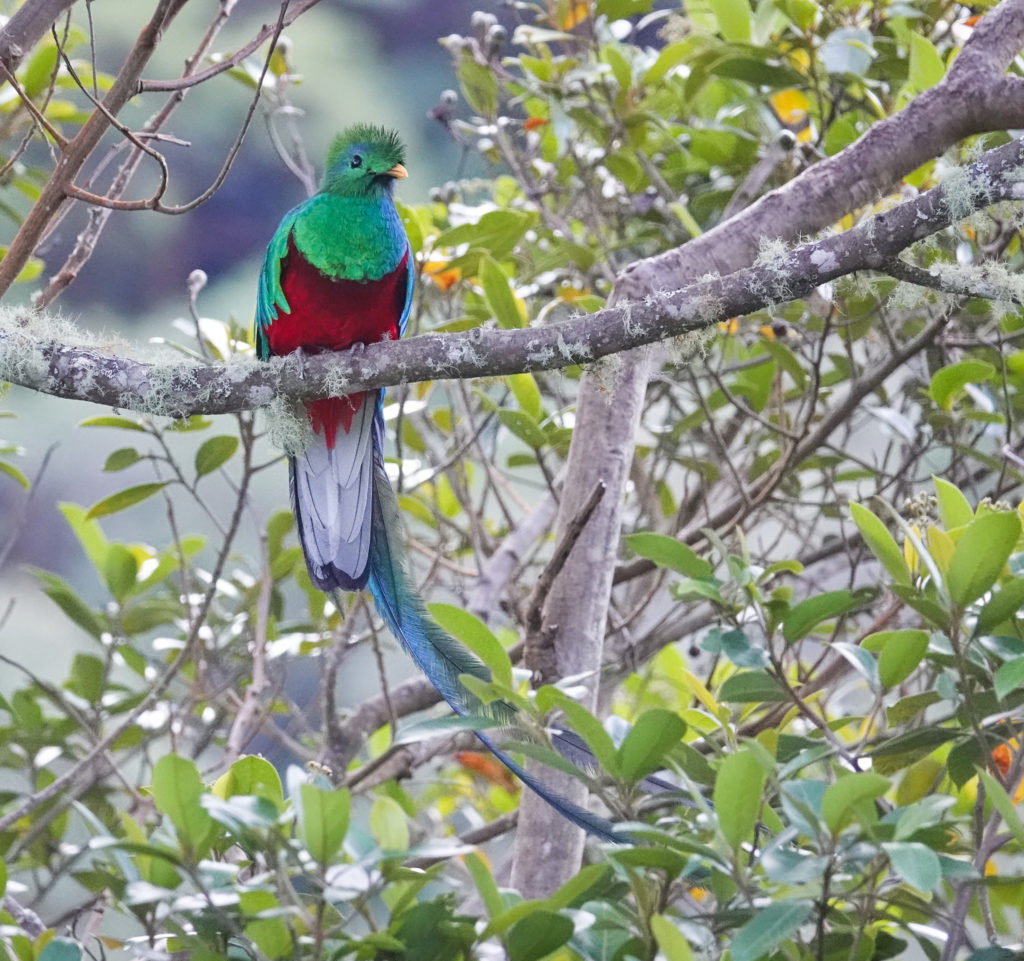
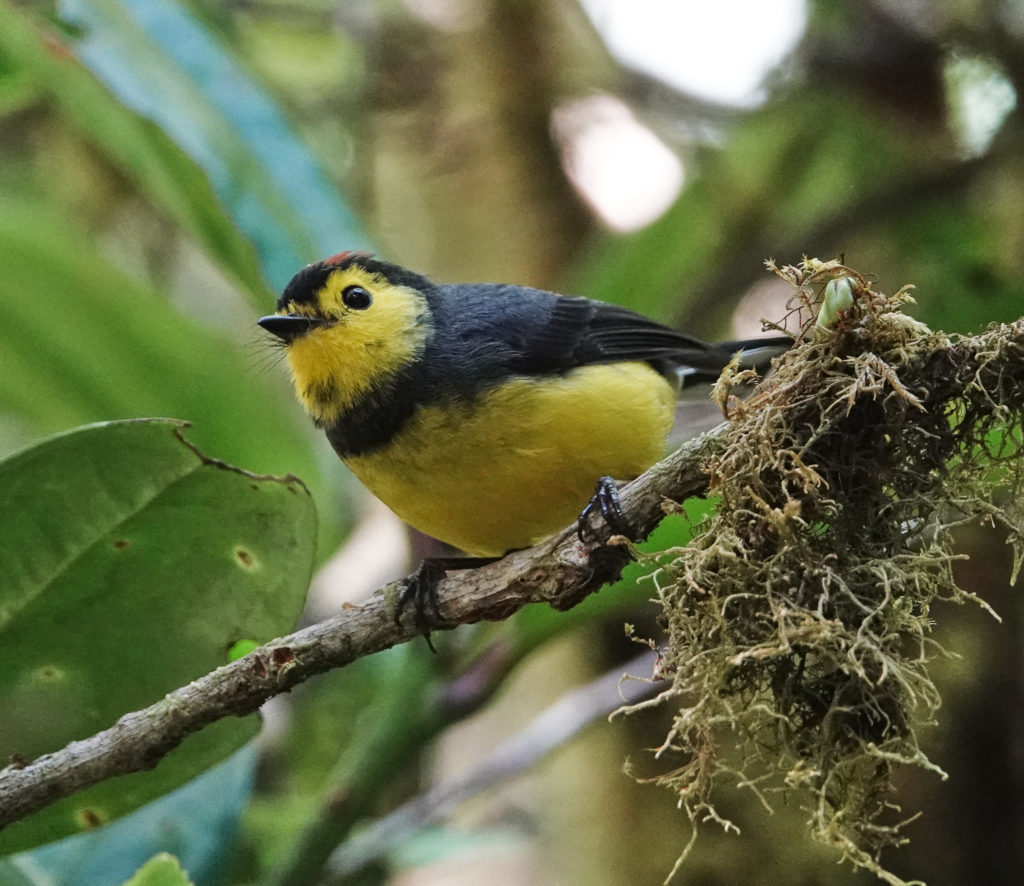
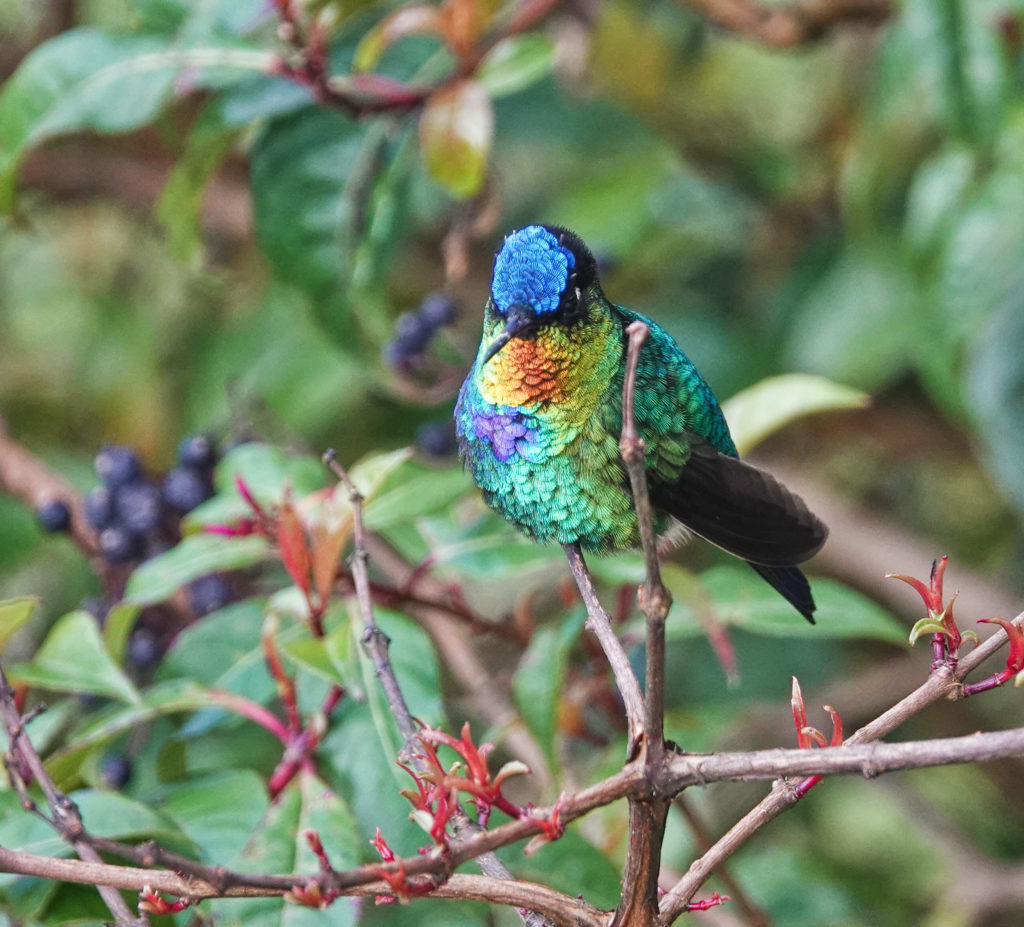
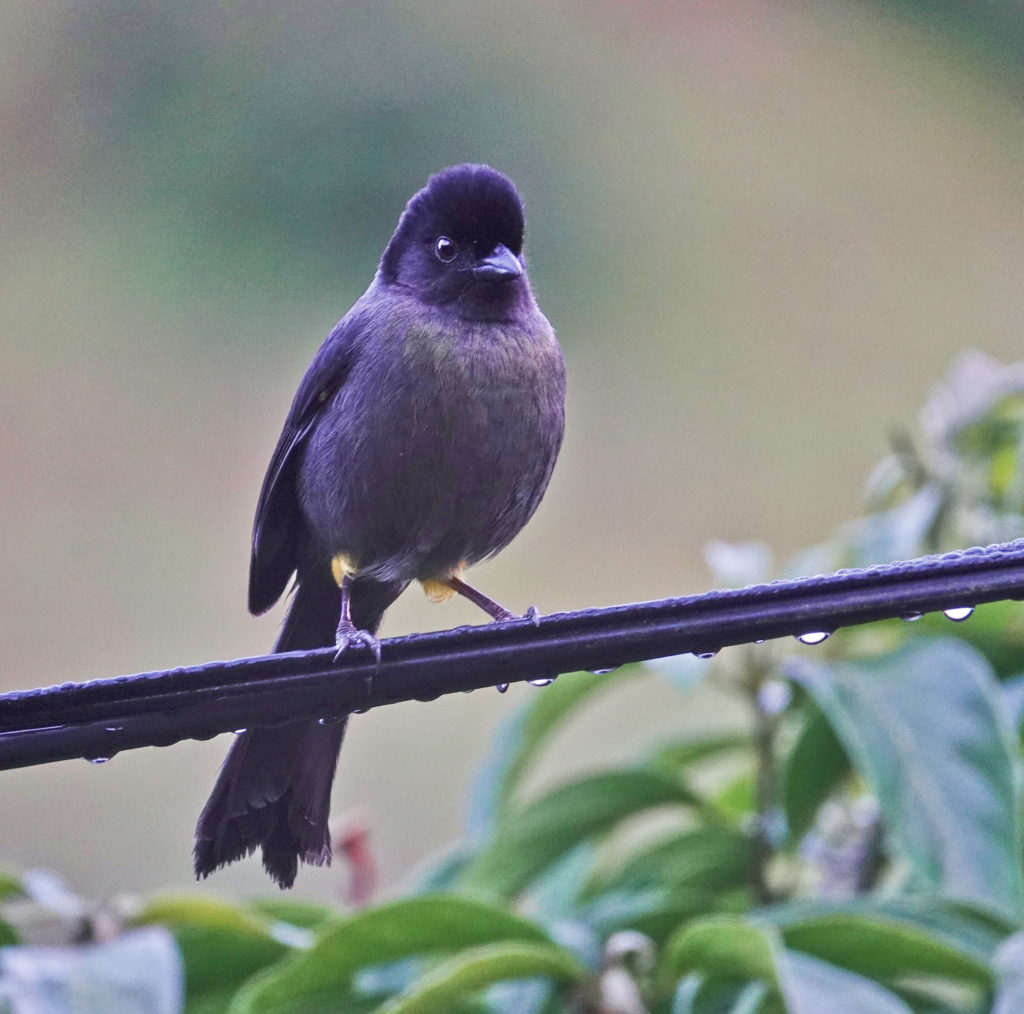
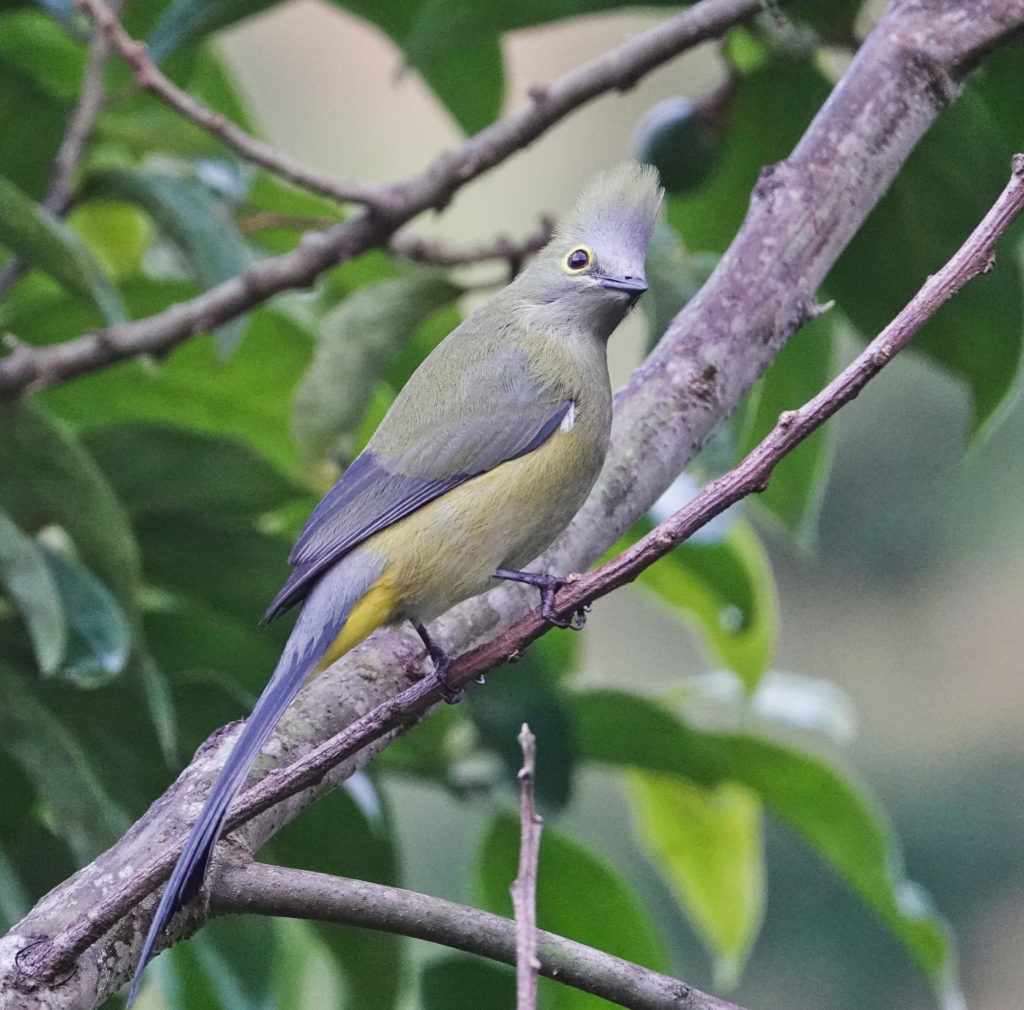
The Sony RX10iv is, in my opinion, of the finest cameras for birds and wildlife ever made. The excellent 600mm equivalent ZEISS zoom, and the equally as excellent 1 inch sensor combine to produce exceptional images of both birds and wildlife. In the past year I have traveled to Portugal, Honduras, Kenya, and Costa Rica…as well as to Florida, Califronia, New Mexico, Colorado, Yellowstone, and Ohio in the US. The RX10iv has gotten a workout and never let me down. Here is a collection of some of my favorite photos of birds and wildlife.
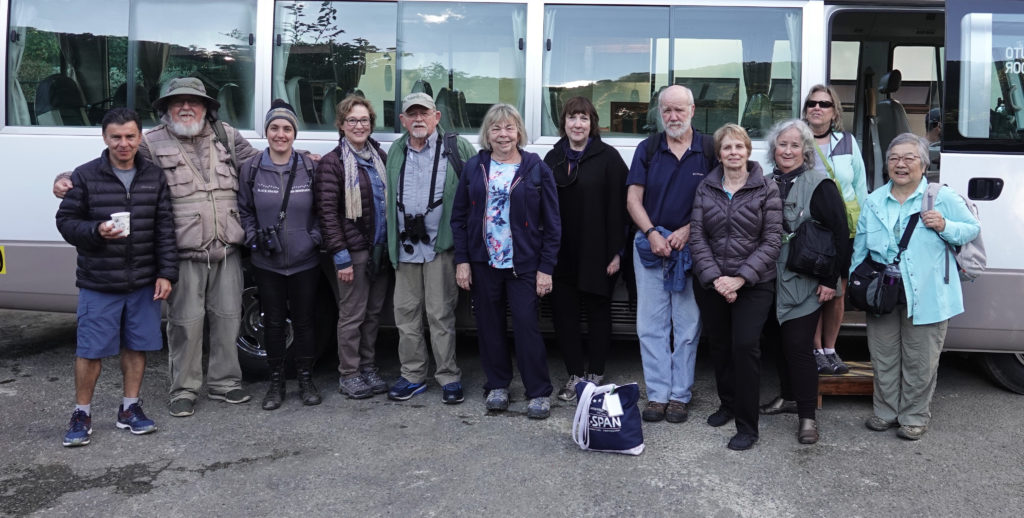
In December 2018, I took 10 Point and Shoot Nature Photographers to Costa Rica for 9 days. We visited two of my favorite lodges and several excellent photo venues around those lodges. Here is a gallery of shots from the trip, and a link to a pdf e-book detailing the journey.


You can join me on this tour next December. Visit Holbrook Travel for detials.
I have completed my Guide to using the Sony RX10iv for Point and Shoot Nature Photography. You can download it below.

And, if you enjoy the booklet and would like to contribute to my Sony RX10v fund (if and when), click here: to go to my Coffee page. 🙂 No contribution is necessary, but all contributions are appreciated.


In September, 2018, I traveled to Kenya with my Sony RX10iv for 12 days in the Parks and Refuges, photographing wildlife, birds, and landscapes. It was an amazing journey, which I made into a book. I have posted it here as a PDF, for your viewing pleasure. It will take a few moments to load.
On Safari: Kenya. On Safari Kenya