
When you read the reviews of Point and Shoot cameras, especially the superzooms we favor for bird, wildlife, and nature photography, you are sure to come across comments about their less than stellar low light performance. No digital sensor camera does as well at high ISOs as it does at low ISOs. Digital sensors love light, and the more light, within reason, the better the image quality and the image detail you can expect. And the smaller the sensor, the common wisdom goes, the worse the high ISO, low light, performance you can expect. The tiny senors in the P&S Superzooms can not be expected to equal the performance of APS-C or full frame sensors.

On the other hand, you will notice that with each new generation of digital sensors, the maximum ISO ratings increase. Full frame cameras will let you set ISO to 5 digits these days…totally unheard of, undrempt of even, ratings back in the days of film. Remember, ISO 800 color slide film (ASA 800 in those days) was revolutionary, and only to be used in emergencies, since its performance…with highly visible grain, limited contrast range, and muted colors…left a lot to be desired. Those were the days when Kodachrome 25 was still the standard for published photos.
Even today’s P&S cameras will reach 3200-6400 ISO, though to listen to the reviewers, anything over ISO 400 on some, and certainly ISO 800 on most, is simply unusable. Same issue: visible noise (the digital equivalent of grain), limited contrast range, and desaturated colors. However, each new generation of P&S cameras also has improved noise reduction built into the jpeg processing engines. Yet the common advice is still to turn it off if you can…or to shoot in RAW (again if you can)…and do any noise reduction in software after the fact. The Image Quality issues (watercolor effects and detail smearing) that are often claimed for P&S superzooms are often attributed to “overly aggressive noise reduction.”
Still, if you shoot wildlife…especially active birds…in anything but full sunlight, you sometimes find yourself making the hard choice between higher ISOs and slower shutter speeds. Nothing will destroy image detail quicker than camera or subject motion, so you pretty much have to keep the shutter speed up, and let the ISO got where it needs to. I do not like to shoot birds and wildlife at anything under 1/500th of a second, even with today’s excellent optical image stabilization. Even if the camera does not move, the critter is likely too. 🙁
On my latest photo trip to Cape May, New Jersey, for the Autumn Bird Festival, the days ranged from rain and overcast to full sun. If I wanted to shoot birds it was necessary to let the camera do its ISO thing, using the full range available to me. The first two days I still had not figured out how to set the camera so that it was not limited to ISO 1600 in Auto ISO, so that limited me even more. I did eventually figure out how to let the IsO ride all the way up to 3200.
Reflecting on the results, and my efforts around home over the past weeks and since returning from Cape May, I have come to a pretty startling conclusion. At least with the superzoom I am using (Sony HX400V), the high ISO results were not all that bad…in fact…they were very good…especially when you consider that I could not have gotten the images any other way. When choosing between some kind of pretty good okay image and no image at all…well, that is an easy choice for me. 🙂
The first thing I learned is that there is a lot of detail in underexposed images. While the camera was limiting me to ISO 1600, many of my bird and wildlife shots were seriously underexposed…by several stops. Yet, when taken into Lighroom, I was able to bring them up to quite acceptable levels and produce images that were satisfying, if not spectacular…and you might even consider them spectacular if you take into account the conditions they were taken under.
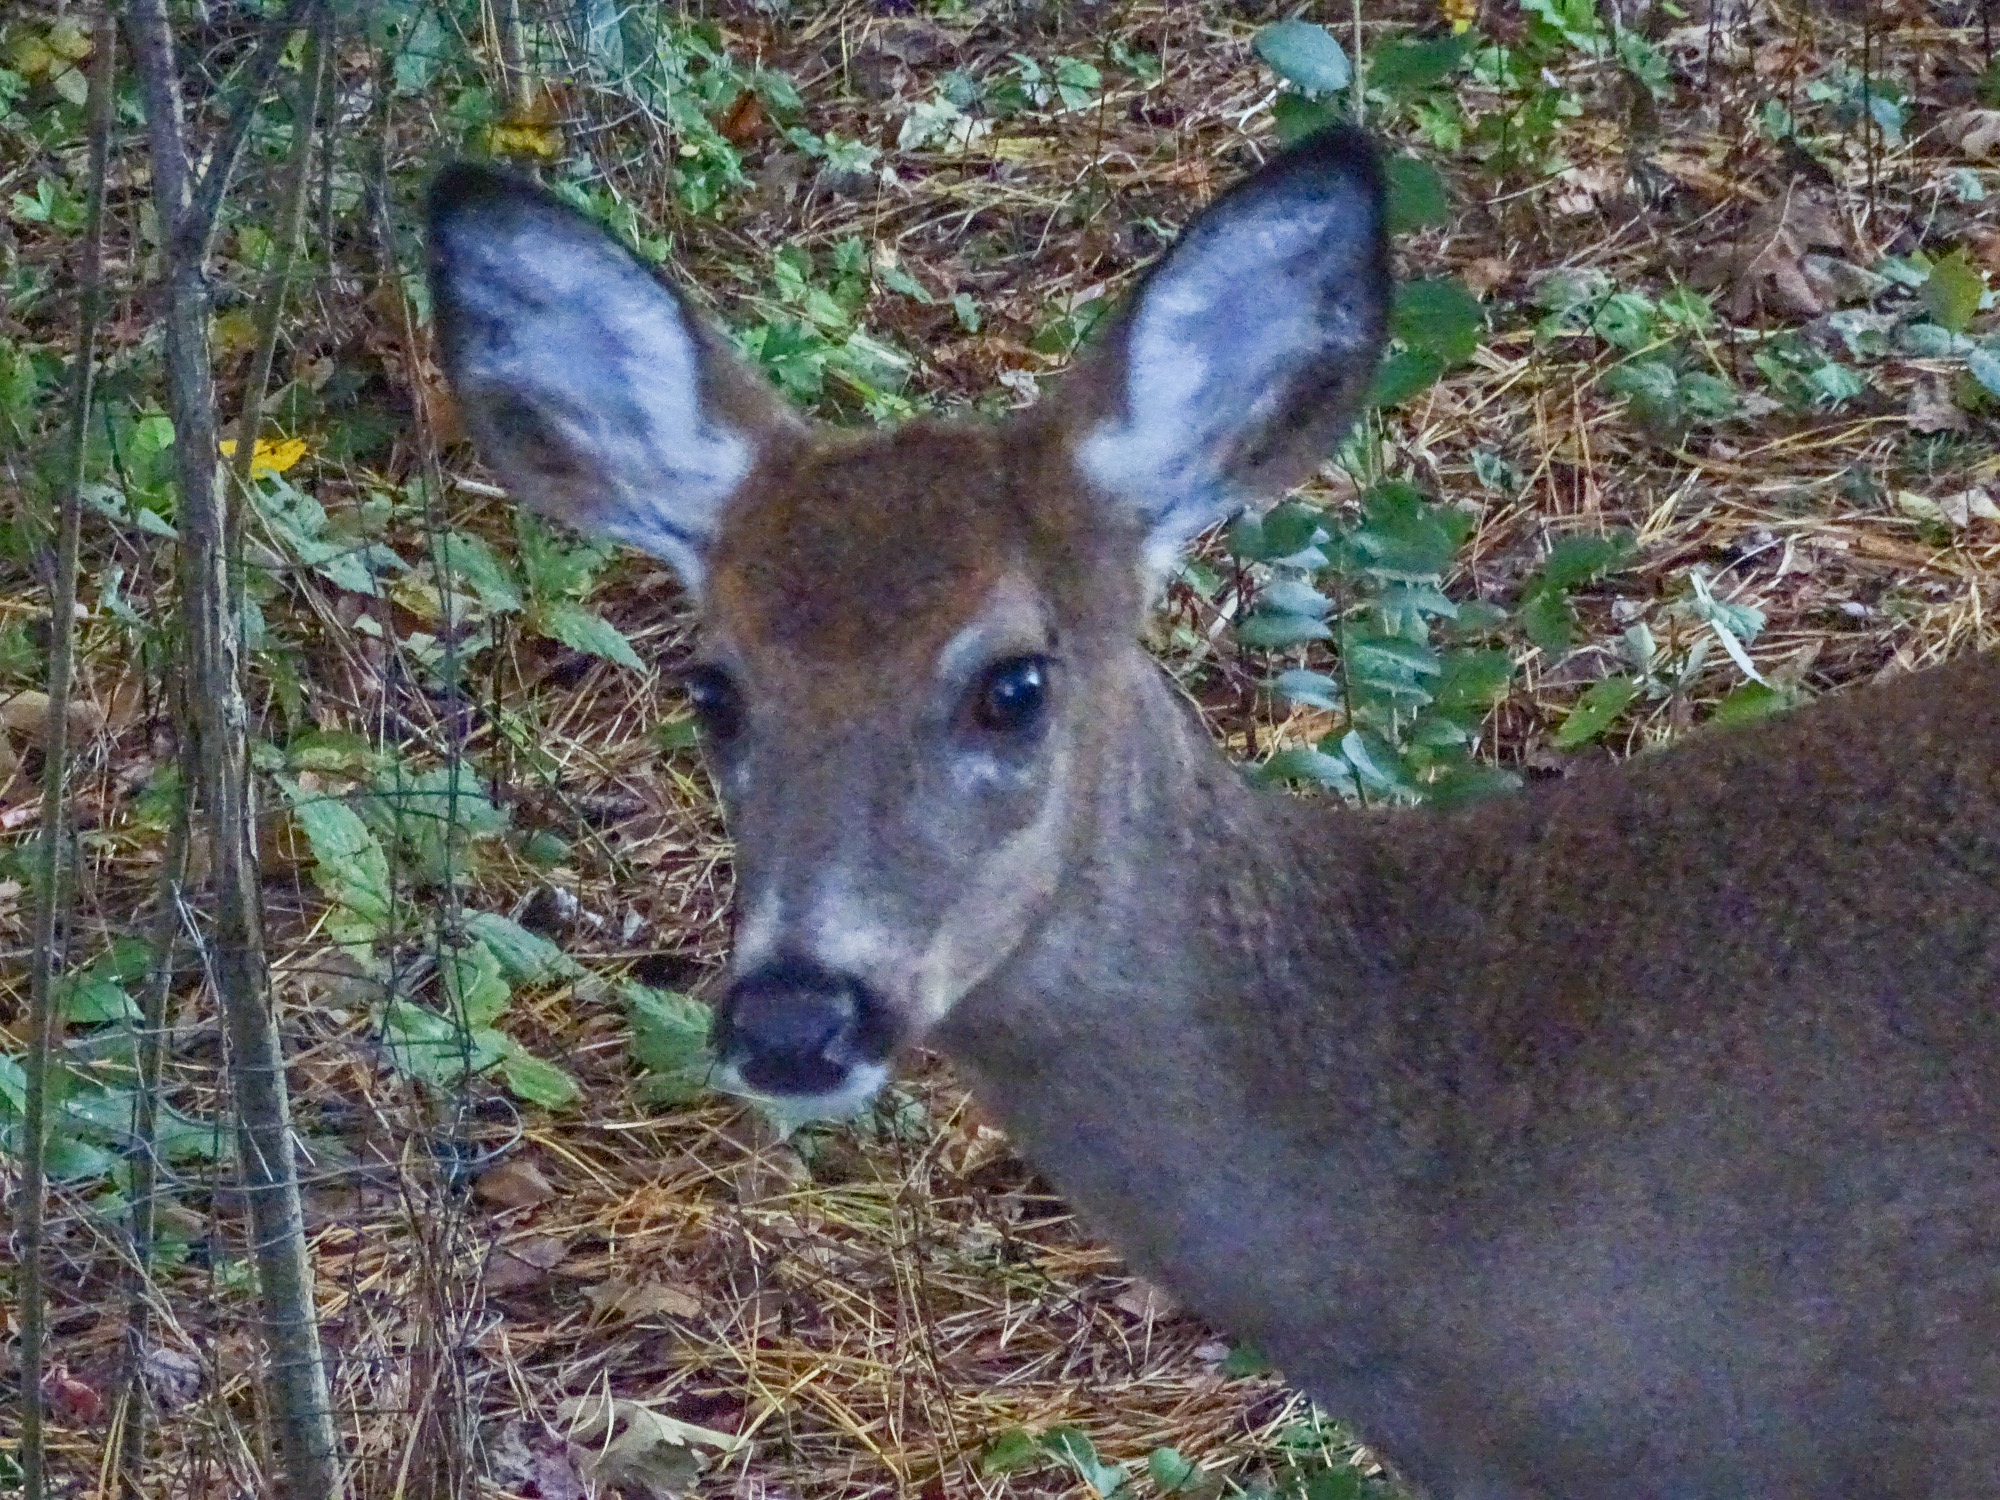
Consider this Red Squirrel from Laudholm Farm…taken before I left for Cape May. It was so dark in the under the apple trees and in the brush that I pushed the shutter speed all the way down to 1/160th at ISO 1600, stretching both the Image Stabilization of the camera, and the good will of the squirrel to the max…and the image was still several stops underexposed.

As you see, while not a great image, it is hard to tell the processed result was ever that underexposed. Color is pretty good. Detail is satisfying. Both noise and digital artifacts are visible in the finished result, but only if you view the image at full resolution. At normal screen sizes it looks pretty good okay! And…of course…I could not have done any better with any camera I could have been carrying…a full frame DSLR would have wanted even more light…pushing the ISO higher and the shutter speed lower…and no lens I could have hand-held…no…no lens I could have used even on a tripod…would have equaled the 1200mm reach of the Sony HX400V. I would have had to crop heavily to achieve this image scale. Given that, I am convinced that this image is better than I would have gotten with any other camera. You want more proof…
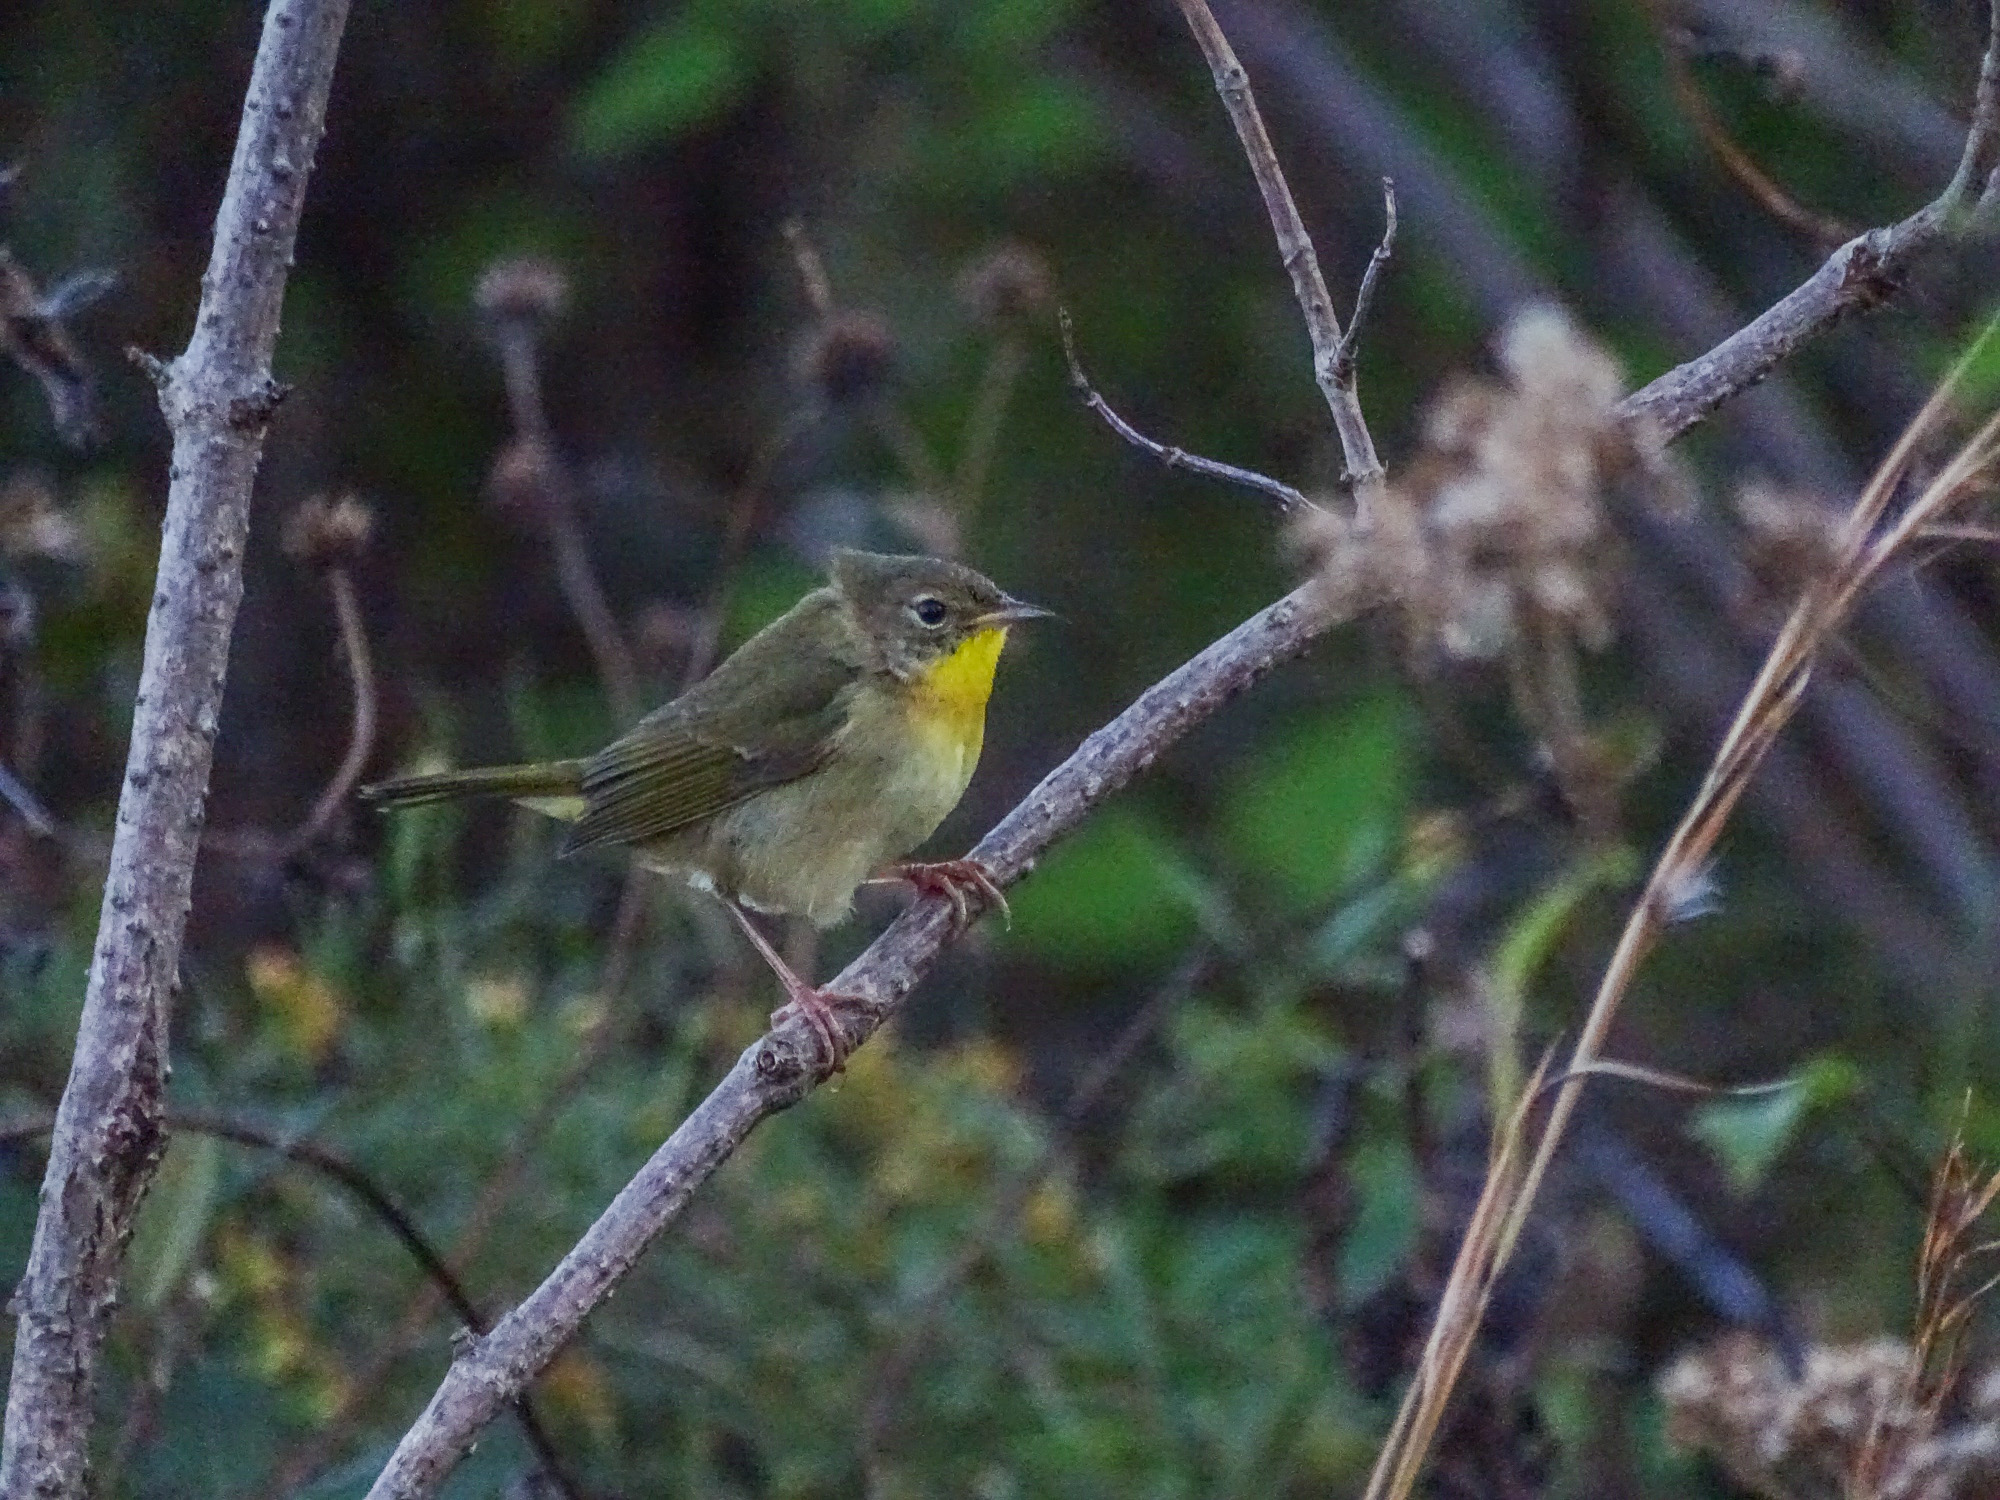
Again, not great shots, but satisfying, considering any reasonable alternative. 🙂
When I did figure out how to set Auto ISO for the full 3200 range on the HX400V, I was even more surprised by the results! The images, of course, required much less lightening in post-process, and maintained good color saturation, satisfying detail, and very few visible artifacts in the backgrounds (a problem area for any high ISO shot). And this is straight from the camera, with only my standard one click preset Lightroom processing. I did not, at first, even apply any extra noise reduction in Lightroom…though I did find that some slight Luminance NR, with detail emphasis, did produce an even more satisfying result.


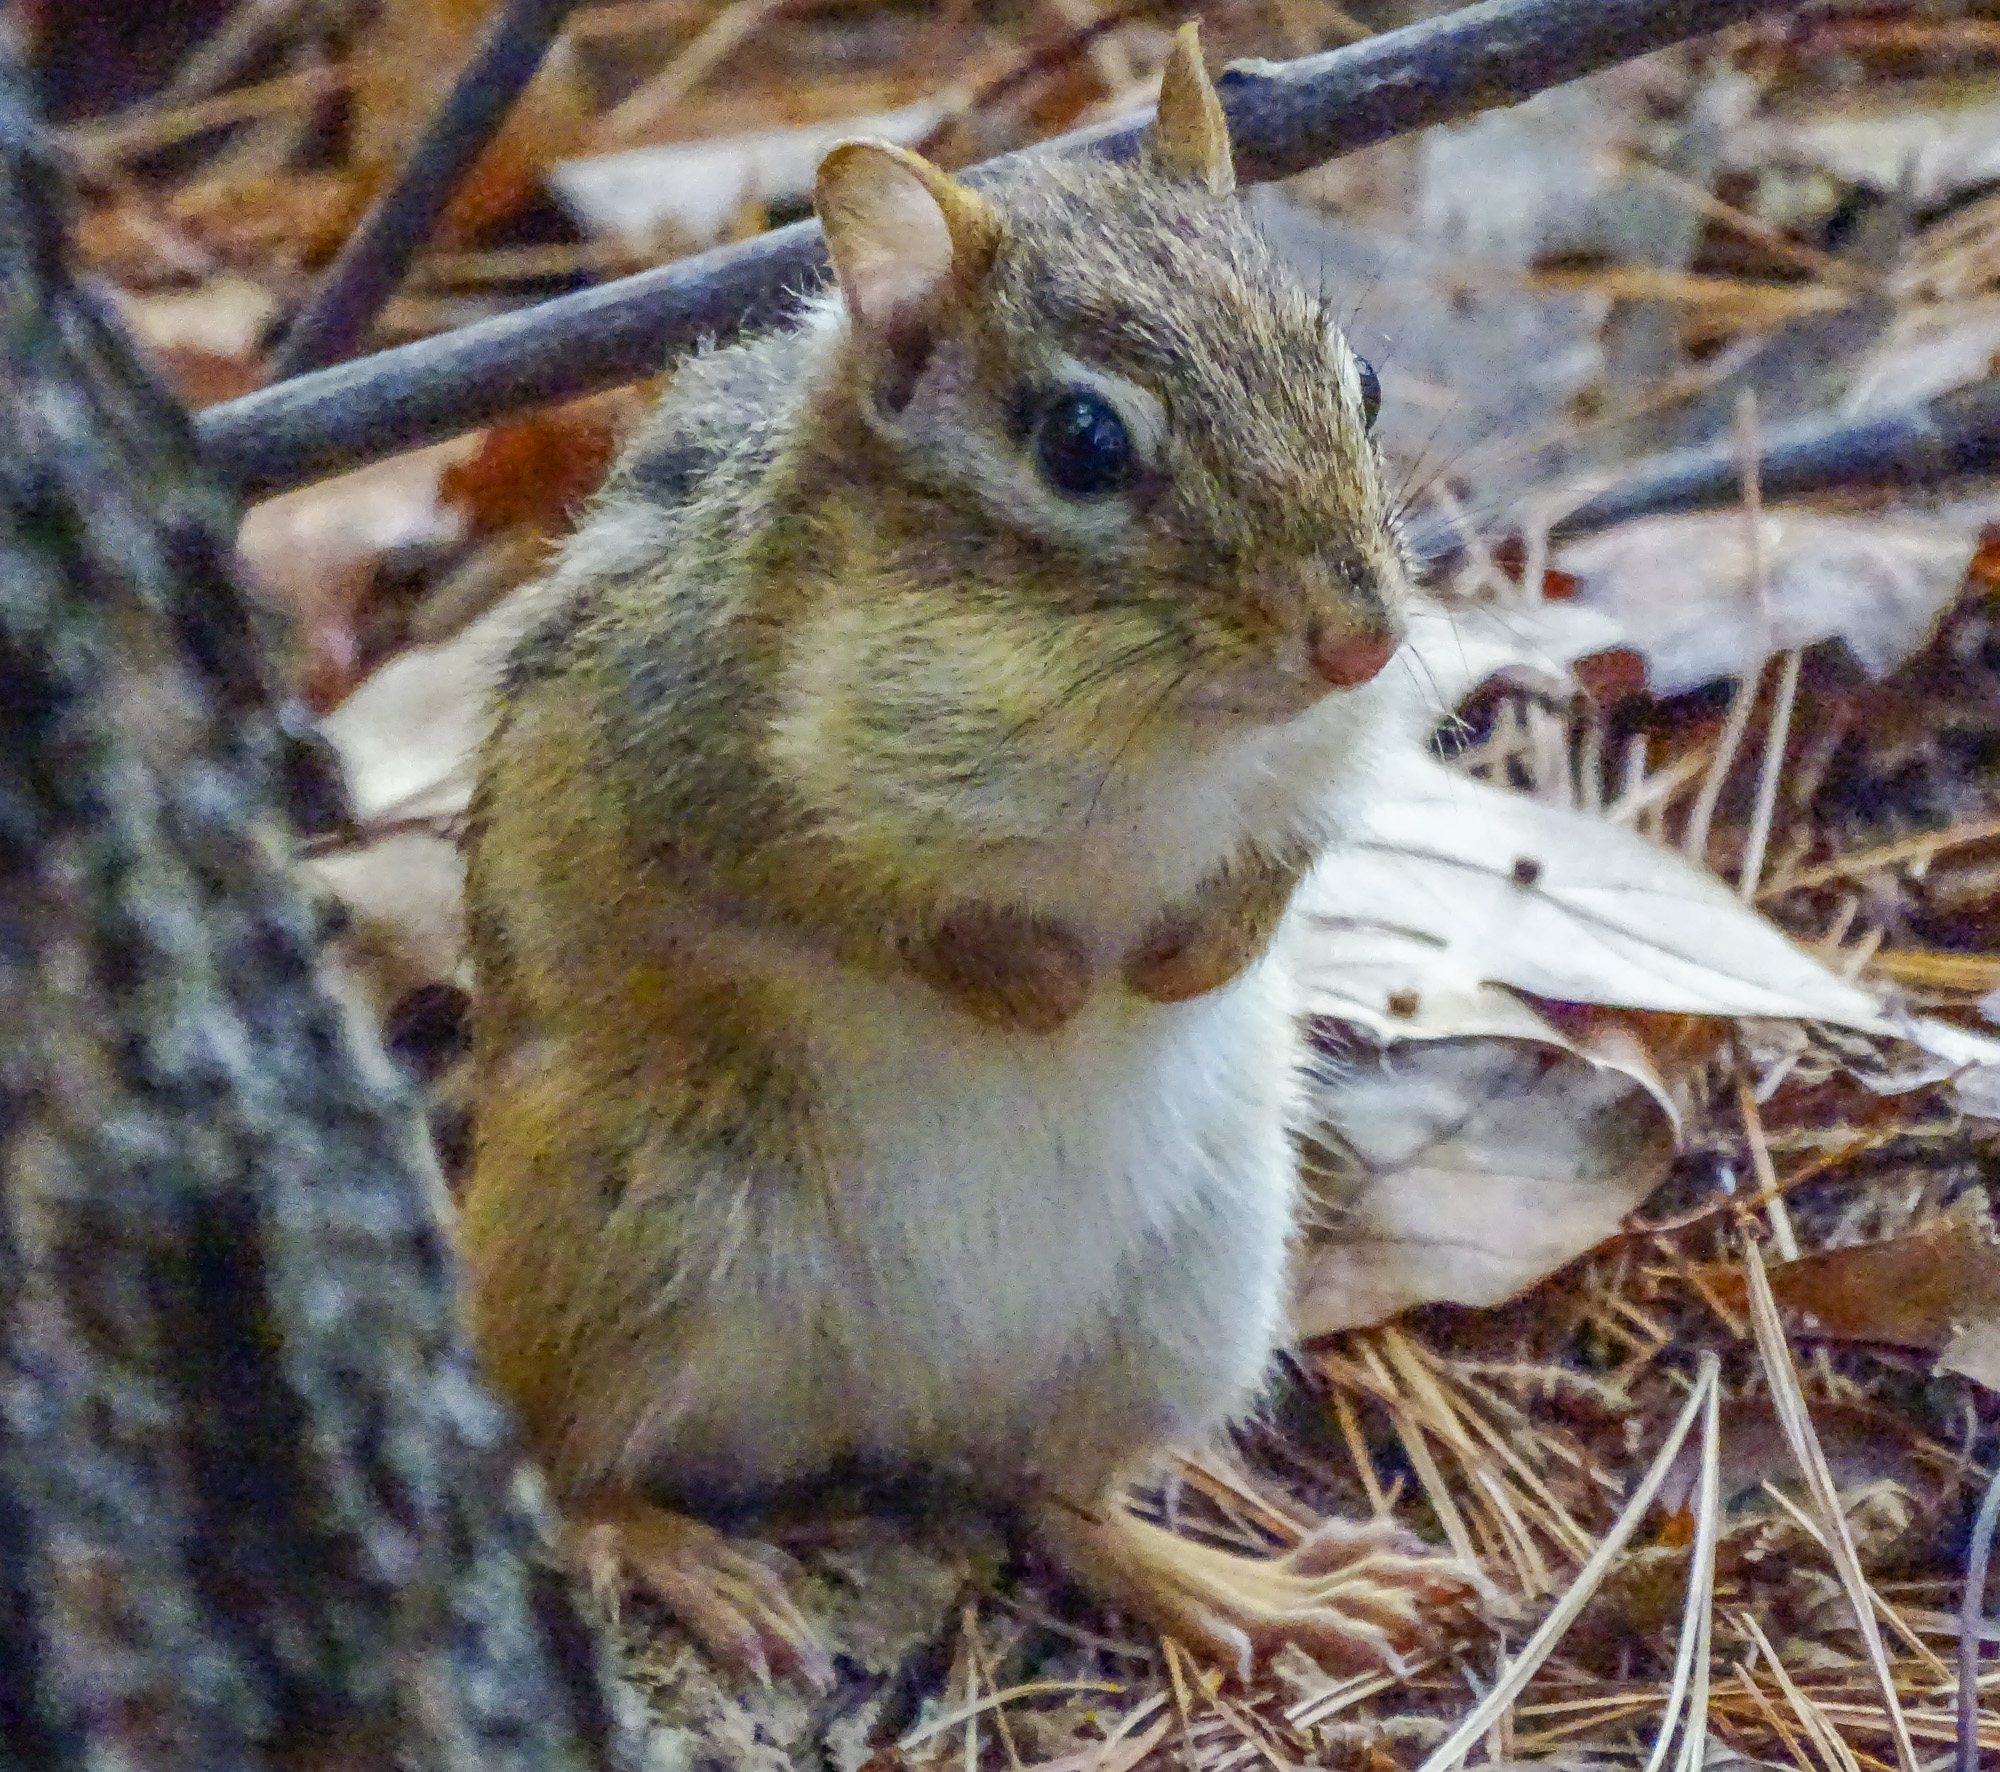
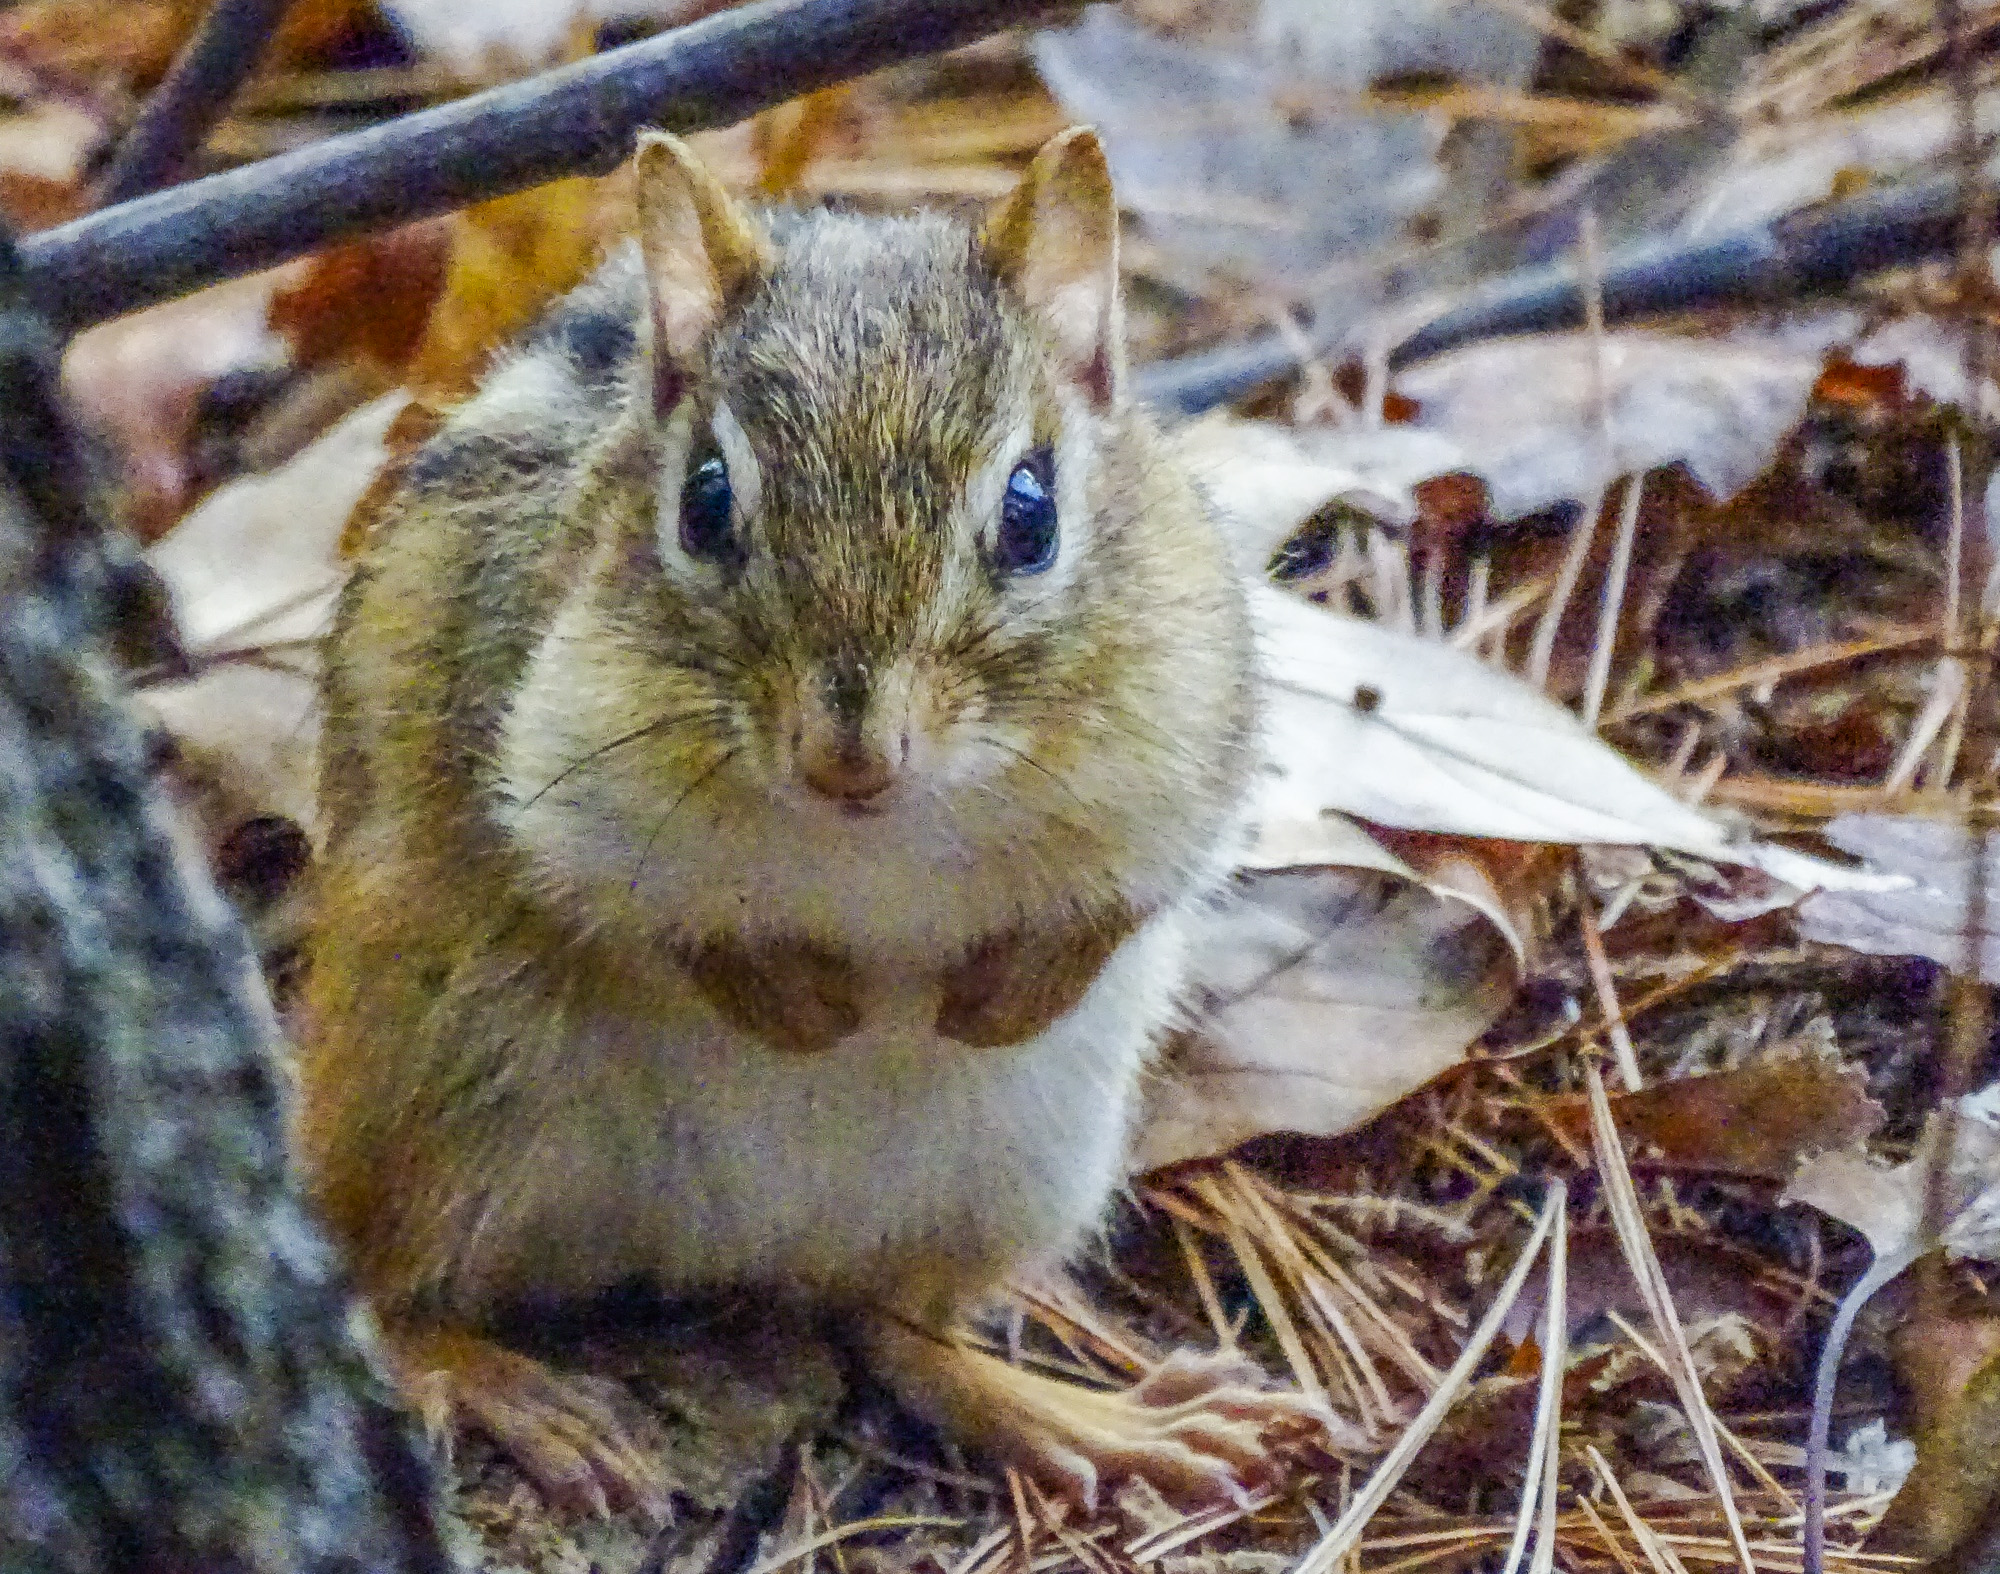
It is even possible to crop an ISO 3200 image from the Sony HX400V and get acceptable results…pretty good okay results! This chipper is proof enough for me. In-camera Noise Reduction set to standard. Sharpening to -1. Saturation to +1. My standard one click processing in Lightroom with some added NR.
So folks, here is my conclusion. Unless you are looking for magazine quality publication images…if, in other words, your main interest is sharing on the web and the occasional print for the wall or for a gift…you have no reason, with the latest crop of P&S superzooms, to fear the dark. Go boldly. Set your ISO high and bring back satisfying images of the birds and wildlife you encounter in less than ideal light…images you would be very unlikely to get with any other camera.
Do not fear the dark…
Dear Mister Ingraham
This is a very interesting report about the low light capacity of your Sony HX400V. Thank you very much. As you said, in general small point-and-shoot Digicams struggle in bad light. Low-light photography was allways the area where large-sensor Cameras are superior. Considering the small sensor- area of your pictures are awesome good in this light conditions.
I agree with your report and conclusion, but you have in my opinion overseen an import point. The Sony HX400V has the advantage of the anti-motion-blur mode and the hand-held-twilight mode. This is the secret of the relativly noise free pictures with 1600 or 3200 ISO. If the taken bird is not moving a lot, your Sony HX400V can take 4 or 6 images with a lot of noise at high ISO-level and merge them to a quite noise-free and sharp picture. I think this is the reason for your good low-light pictures. As soon as you try to shoot fast moving birds in low-light, you will not have any more these good results.
What is your opinion about my thought ?
Greetings from switzerland
Philipp Keller
Most of the time, for most birds and wildlife, multiple exposure NR would not be practical as the animals are in pretty constant motion. I recently shot a Common Paraque on the roost in very low light, and I wish now I had remembered to try menr on it.
Dear Mr Ingraham,
How do you let the Sony’s auto ISO reach 3200?
Regards from the UK
Set it in Program. Press the Fn button, select ISO, select Auto (not ISO Auto), you will see two settings displayed to the right. The first is minimum ISO, the second is max. Scroll to max and use the up/down keys to set to 3200. 🙂
Interesting information as always. I have always wondered about images that look ok at normal viewing size but when viewed at 100 % the noise is apparent and less than ideal sharpness. My feeling is if it looks ok at normal viewing size it is ok.
I’m reading through all these great articles and will now reset the auto ISO from 1600 to 3200 in my RX10 III. I think higher shutter speed over rules the higher ISO.
If you go to Cape May again I’d like to join you, I’m only about
2 hrs drive away.
Back to the next lesson.