

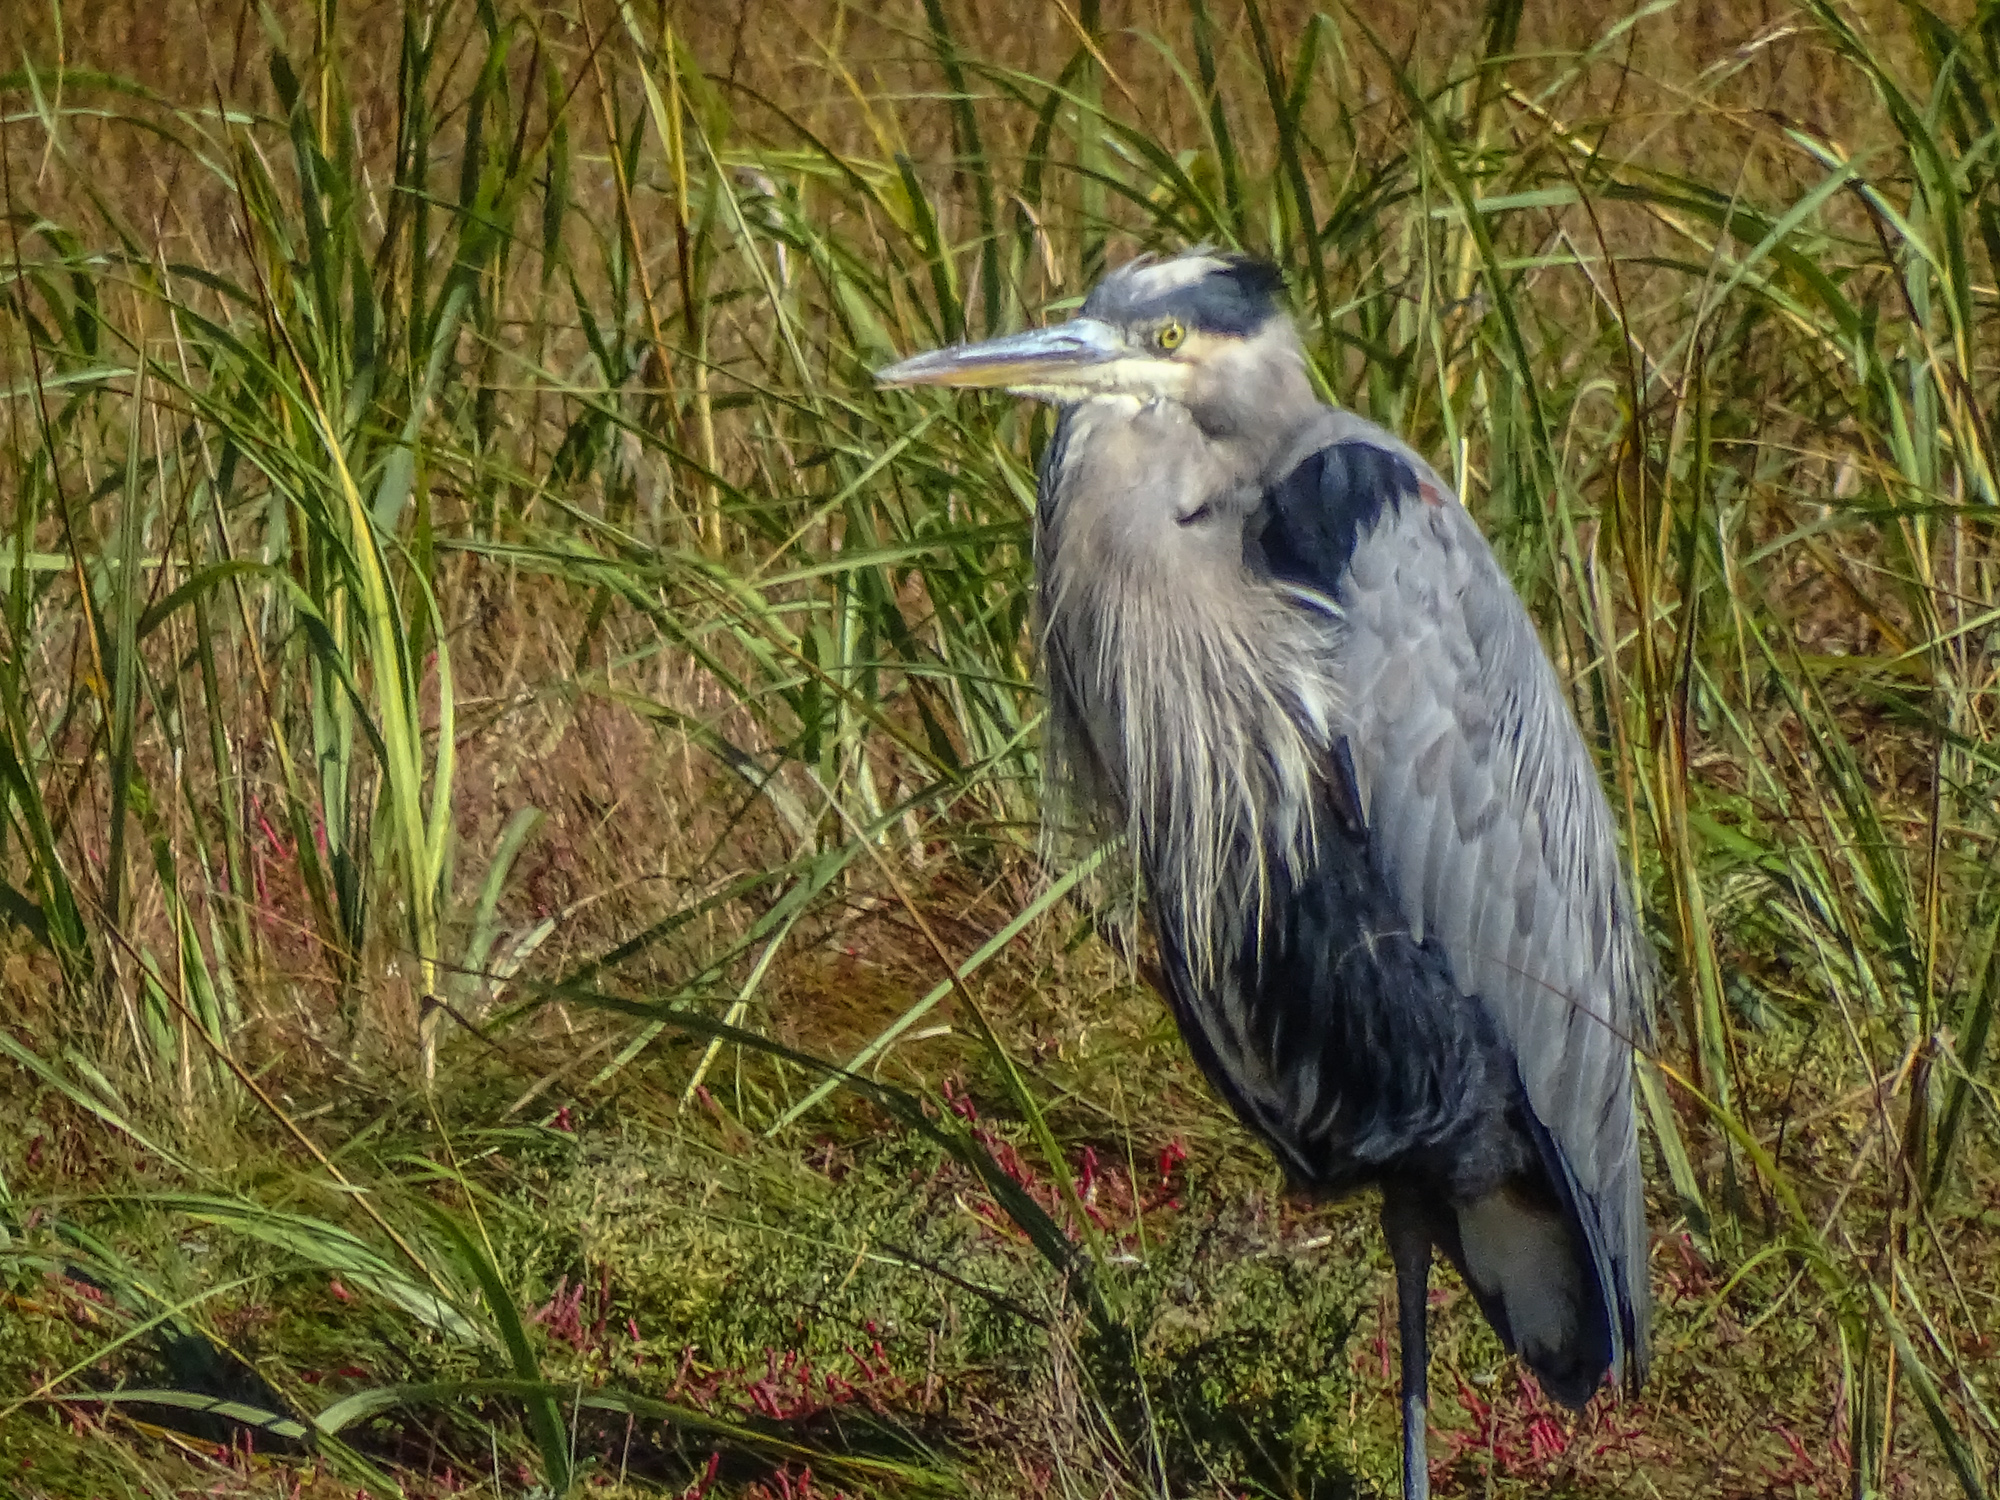
When shots like this present themselves, you need to be ready, and so does your camera. Wouldn’t it be nice if there was a Bird and Wildlife Mode that would take care of all the settings for you…leaving you free to frame the shot and shoot?
The Nikon P600 actually has a Birding Mode as one of its scene settings, and other cameras may have a Pet mode that is similar, but reviewers have pointed out that these generally are not actually the ideal combination of settings for birds and wildlife. On all other Point & Shoot superzooms, you can fairly easily create a Bird and Wildlife Mode and save it to one of you Custom or Memory settings. This is not for the faint hearted. It will require some digging around in menus and even your manual if you are going to succeed…but the rewards are worth the effort.
This I show I set up my cameras for birds and wildlife.
The base mode for birds and wildlife, since you will be using the top half of the zoom, and the full zoom most of the time, will be Shutter Preferred (labeled “T” on many control dials, “S” on others). Begin by setting your camera to T or S.


Either using the control wheel or the left/right rocker switches on the 5 way control on the back of the camera (rarely the up/down rocker switches) set your shutter speed to the lowest speed experience has shown your image stabilization will handle at full zoom. More telephoto shots are lost due to subject and camera motion blur than to any other cause. Even with the best IS, a high shutter speed will increase your chances of success. I use 1/640th and that is more risky than some would prefer. 1/1000th is probably safe. That means that when you switch to your saved Bird and Wildlife Mode, the shutter speed will be automatically set to no lower than your number…1/640th in my case. Once in Bird and Wildlife Mode in the field, if the light is good, and ISO at a reasonable value, you can easily bump the shutter speed up using the same control you used to set it.
Leave ISO on Auto (or set it to Auto if it is not there). You will need free ranging ISO to compensate for the higher shutter speeds, especially because the the typical superzoom only goes to f6.3-6.5 at the long end. You are going to be shooting wide open, at the lowest possible f-number, 99% of the time.
Set shooting to continuous. I prefer normal continuous to any high speed burst mode that might be available. I find that high speed burst too often gives me 10 identical images. 2-5 frames per second is fast enough, in my opinion, for most bird and wildlife action. If you have a choice, choose the continuous mode that uses auto-focus between frames. Both birds and wildlife are active, and you need all the help you can get keeping them in focus.
If you have control of the size of the focus square (check your menus and manual), set it to spot focus and the smallest area possible. Matrix or wide area focus, where the camera picks the focus point, will not work well, especially shooting birds or wildlife in deep cover. Also set Auto Focus to continuous to eliminate any lag while the camera finds focus.
Likewise, if you have control over the size and positioning of the exposure metering, set it to spot and the center of the field. You are more interested in getting the bird or animal correctly exposed than you are in the foreground or background.
Set image stabilization to full time, and the most intelligent mode your camera provides. This might be called active IS, or adaptive IS, or just super IS. Again, check the menus and manual.

If your camera has a manual focus over-ride on Auto Focus, and if it is easy to use, set it to active. Many superzooms provide the feature, but then make it so hard to use, involving rockers on the back of the camera, etc. that it is really useless. One of the best things about the Sony HX400V is the focus collar around the lens that can be used to fine-tune auto focus…or, more often, to quickly get the focus system in the right range so auto focus can lock without a lot of seeking.
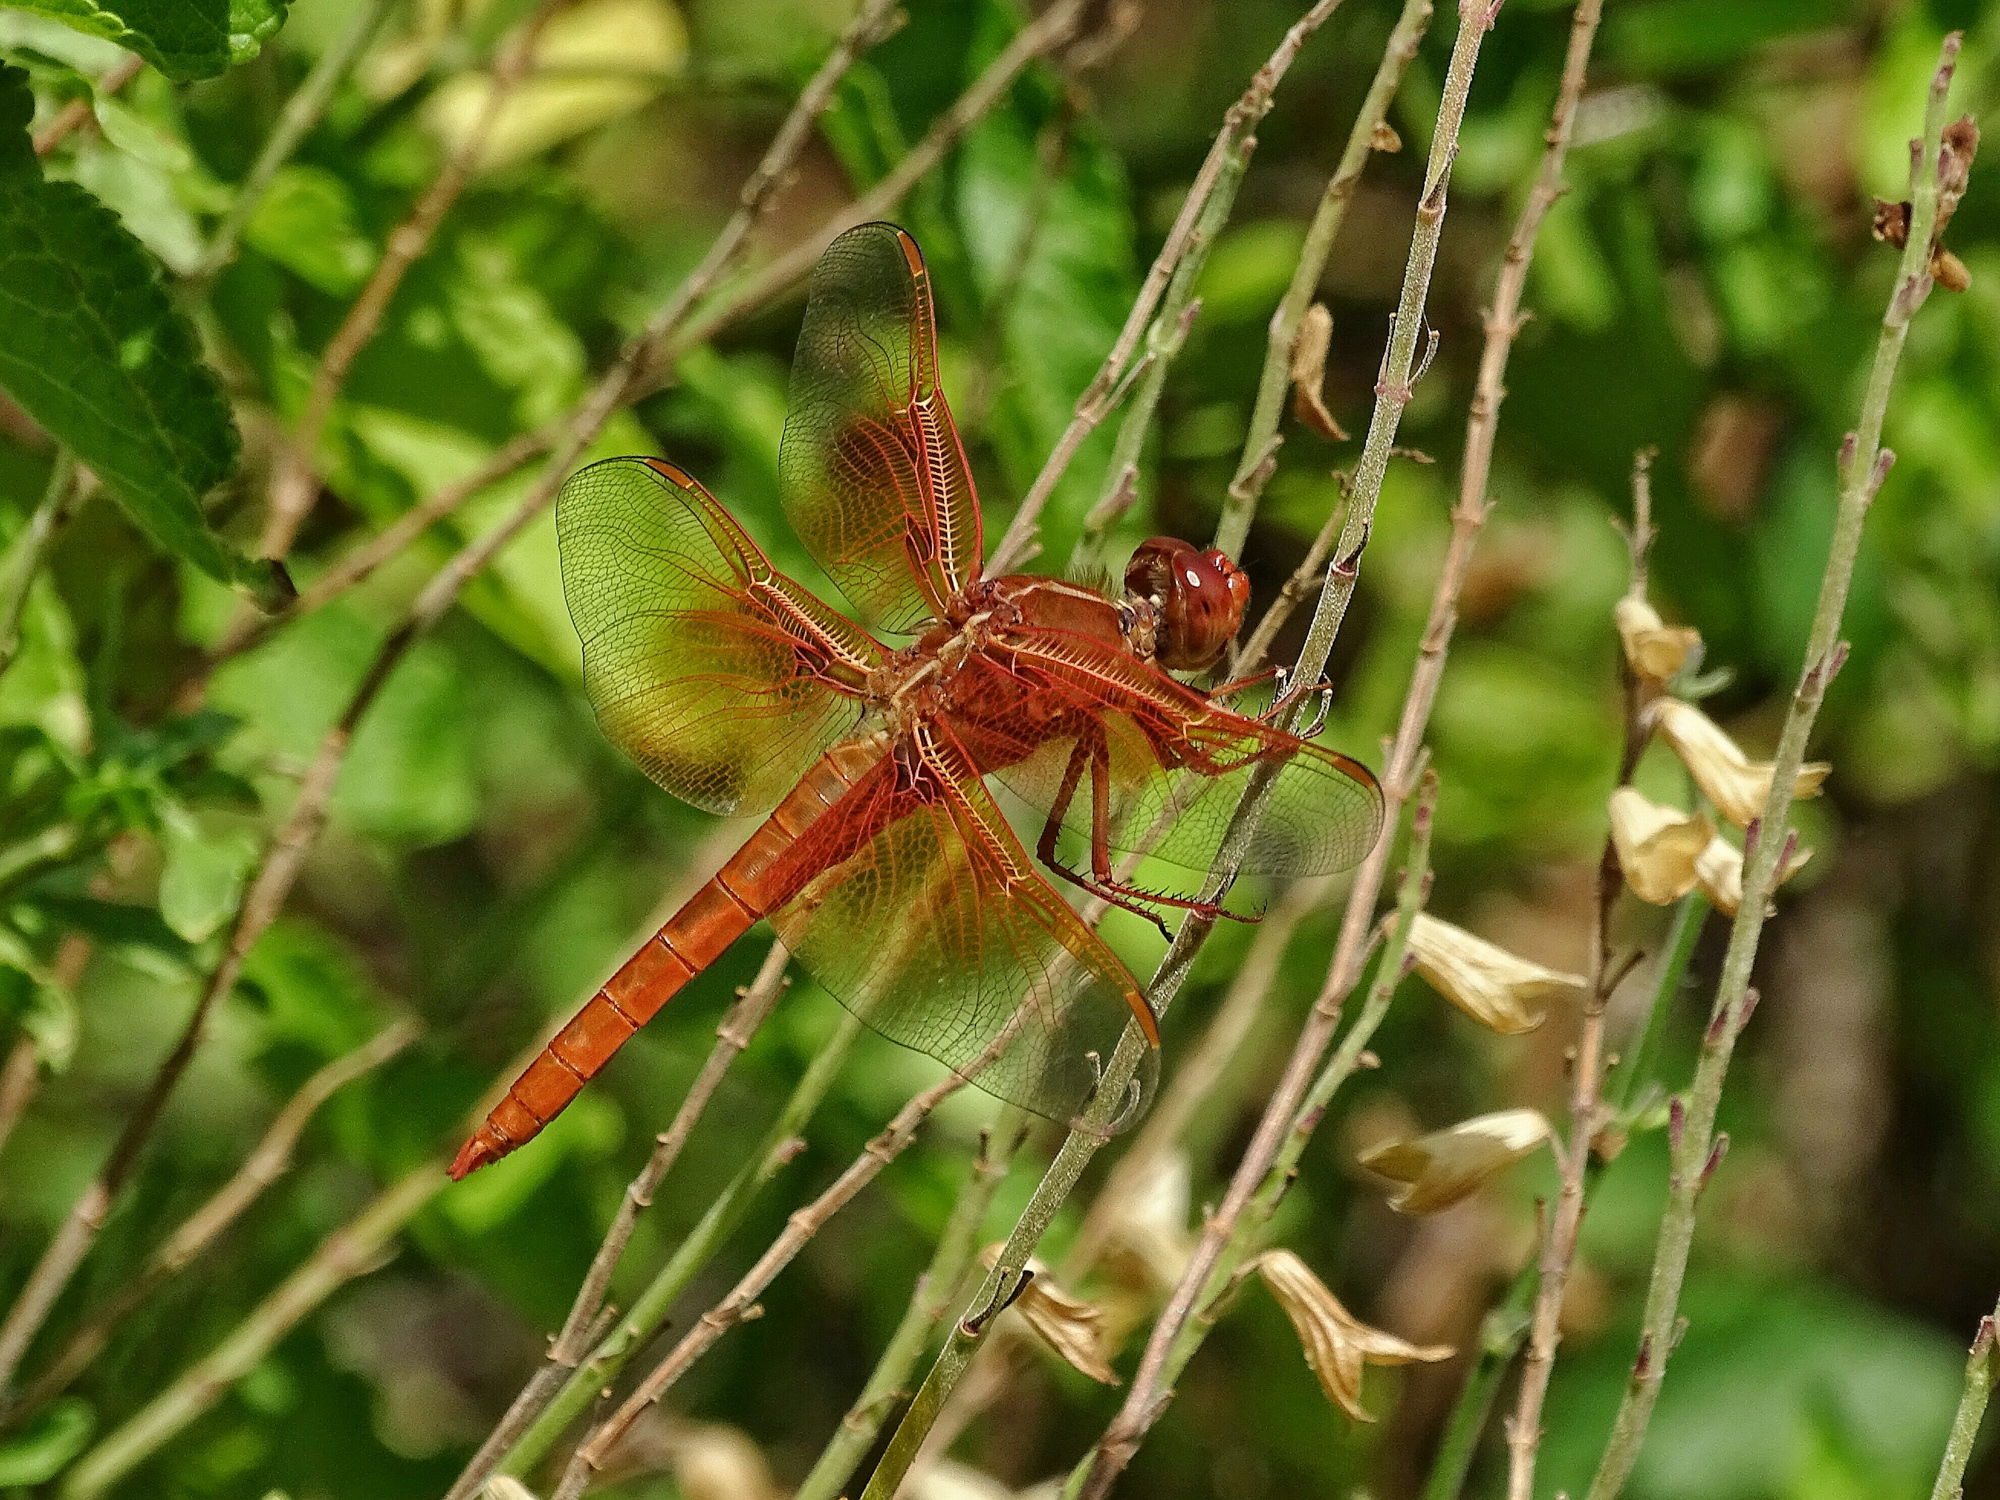
If there is some kind of intelligent digital telephoto extender built in to your camera…most have some kind or other…make sure it is set so you have quick access to it. I am not talking about digital zoom. Most superzooms today have a mode that applies extra processing up to 2X beyond the optical zoom setting to produce very satisfying images at great magnifications. If yours works well, you will find yourself using it on occasion, even if you have over 1200mm optical equivalent to work with…especially on birds, butterflies, and dragonflies.
The final setting is zoom position. I keep mine set to full zoom.
Last, and most important, navigate to the menu area that allows you to memorize the the whole set of settings you just made. It might be called save settings, or custom mode, or something similar. Some cameras will allow you to save one set of settings, some will allow for two or more. Save your settings.
Now, rotate the control dial to P or A. Zoom all the way back in to wide angle. When you move the control dial to M1, or C2 or whatever the memory setting is called on your camera, just like magic, all of the Bird and Wildlife Mode settings will be restored…you will be in shutter preferred, continuous shooting, spot focus and metering, etc…and the zoom will automatically extend to full zoom. Within a second or less, you will be ready for birds and wildlife. 🙂
Depending on the features and capabilities of you particular P&S superzoom, you will want to fine tune my formula as you gain experience…or add features that I have not mentioned. For instance, Sony provides adjustable Creative Styles to control the way the image is processed from RAW to Jpeg in the camera. I have a custom designed Creative Style for birds and wildlife that is also programmed into my Birds and Wildlife mode. (It is Memory 1 on my dial, of course! 🙂
By the way, using a similar technique, I set my Memory 2 to the HDR settings I prefer, and I have my P set up (it automatically remembers the last set of settings you used, with the possible exception of zoom length) for normal and macro shooting. With Sports set as my Scene Mode, I than spend 90% of my time at one of 4 settings on the control dial. And that is worth the effort with menus and manuals.
Excellent article… time for me to start using the custom menu/save functions in my cameras.
Sure will be glad when I get my desktop unpacked and running- and find my cables and adaptors to start downloading pic’s again! Hopefully in about a month.
I have created a mode on my Sony HX400 according to your article, yet find that a lot of my images are soft, even with sharpening turned up. Also, I find all of my photos are taken at least at ISO 1600, which as you imply in ‘Fear not the darkness’, yours are not. How do you manage this?
I would really have to see some images to make useful suggestions. You can email me some, or a link, to lightshedder@gmail.com If you are shooting in good light you should be getting lower ISOs…if you are in deep forest then it is possible the ISO 1600 is needed.
Help – we are going to Alaska in July and are going to Brooks Falls at Katmai Nat Park for the salmon run. I just bought the HX409v and am trying to figure the best setting for bear pictured
On the Sony HX400V the easiest setting for active wildlife is “Sports” mode.